Posts

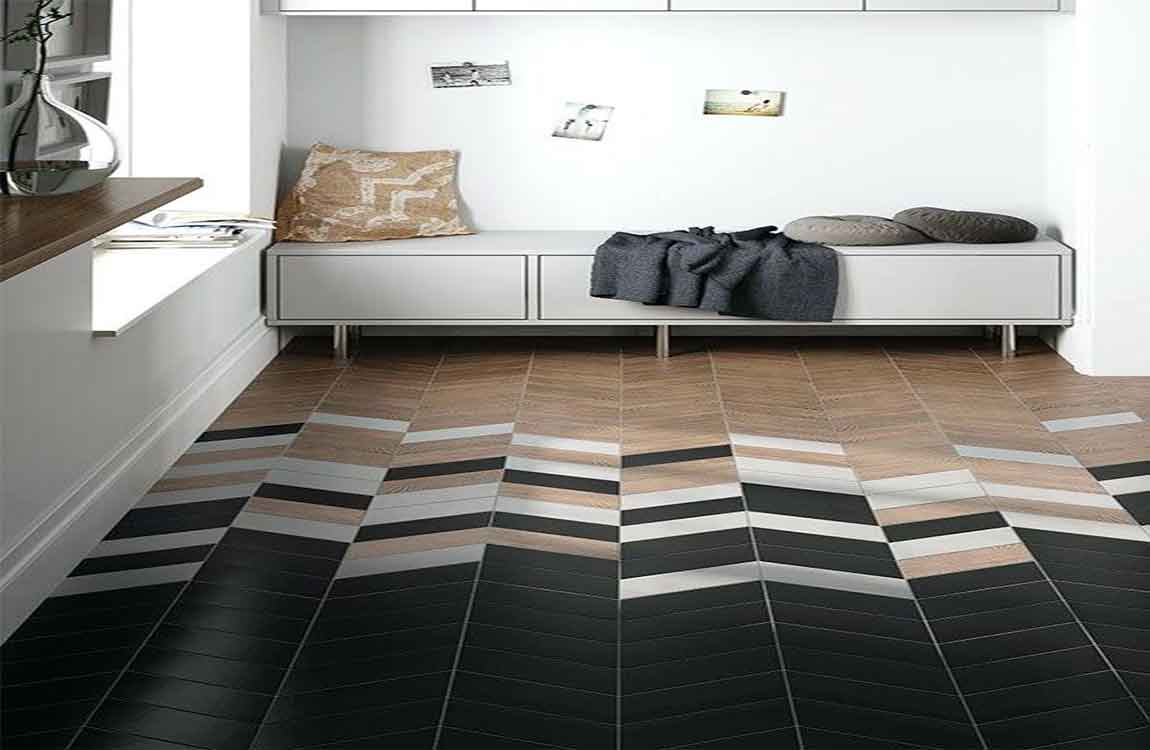
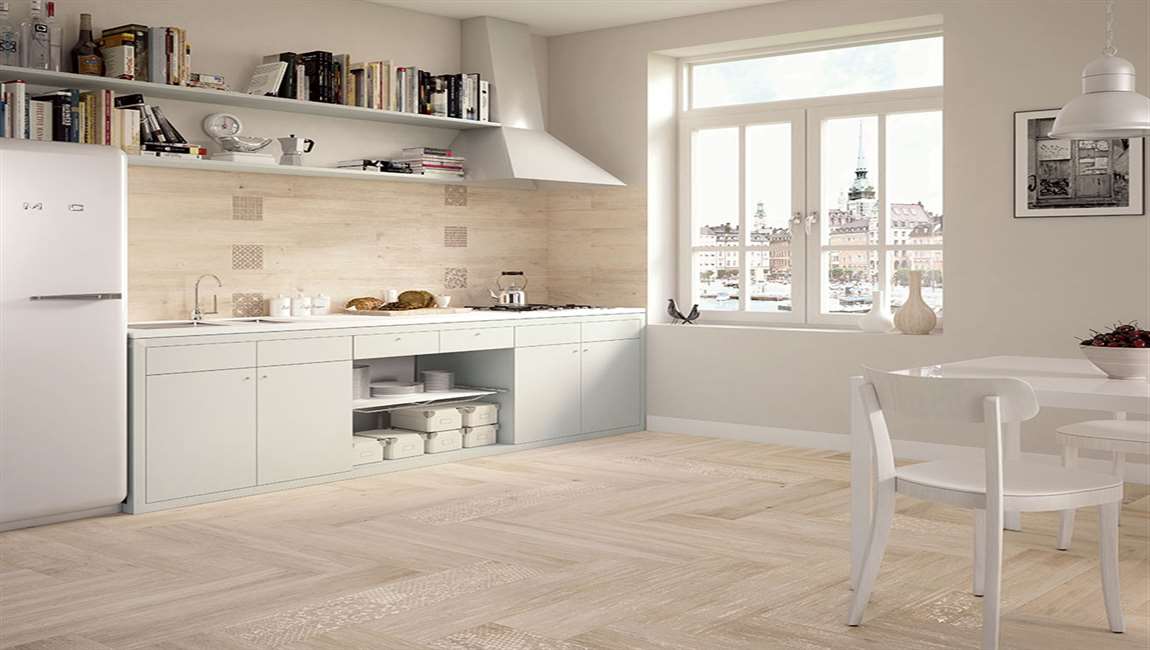
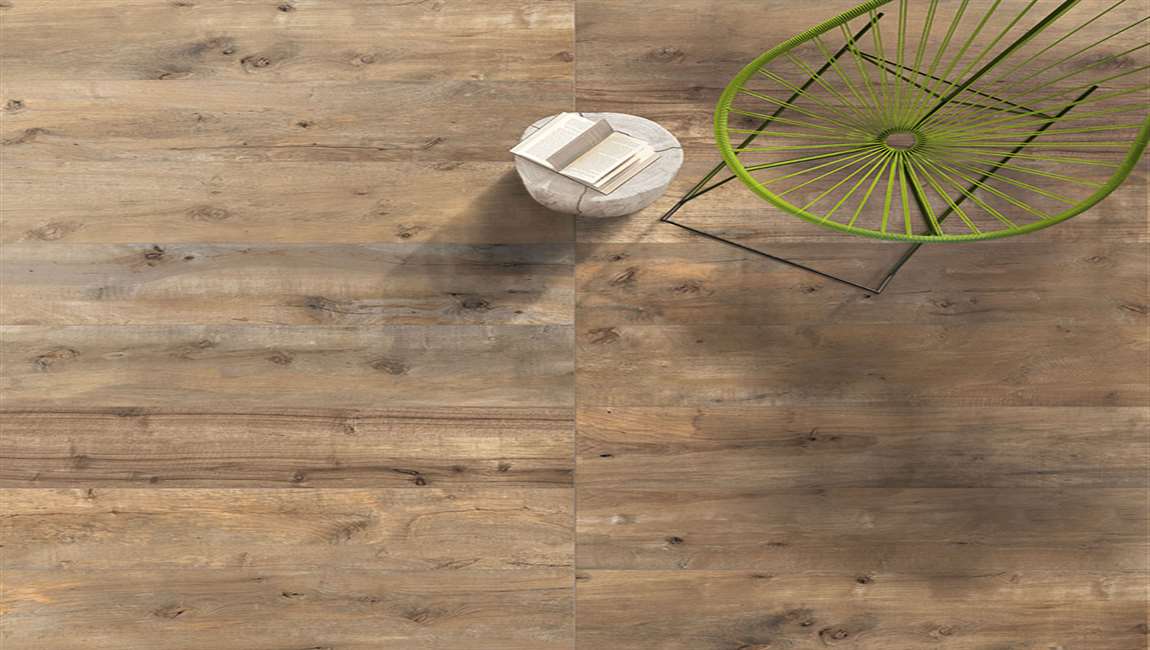
How to Repair Cracks in Wood Floors?


Get some sawdust from the floor you want to repair. If you don’t have any leftover pieces of matching wood laying around your house, you’ll have to go to a flooring store and buy a piece of wood to match. (same species and stain if possible).


If you can’t find any wood to match, you’ll have to “cannibalize” a piece of the existing floor. Pull up the baseboard and pry up a strip from the edge of the floor, or alternatively, remove a piece from under a doorway. Sand the side of the wood nearest the wall where it will be hidden under the baseboard once it’s re-laid, or at the edge of the strip under the door where it’s hidden by the door jamb.


Using a belt sander, sand off a cup or two of wood from the piece of wood into a container (or however much you think you’ll need to fill the cracks). Mix the sawdust with some wood glue to make a fairly thick paste. Using a plastic trowel (or a plastic spatula), lay the sawdust/glue mixture into the cracks. Try to finish off as smooth as possible.


Wipe the patch and adjacent flooring with a damp rag to wipe off any excess. Wipe on a diagonal to avoid pulling filler out of the patch. Let the filler dry for a day or two. Hiring a flooring specialist to work on your home involves a certain amount of trust. Go online to read reviews of contractors in your area or ask a friend or loved one for a personal recommendation to find one that meets your standards.


Sand lightly. If there’s a huge color difference between the patch and the rest of the floor, you might need to re-stain the patch.Using a very small artist’s brush, stain the patch. Allow to dry for a minute and wipe off. Let the stain set overnight and using another small artist’s brush, cover the patch with a coat of varnish to match the existing floor.

How Tracing and Cutting Tiles Around an Installed Toilet?

Install the full tiles surrounding the toilet first. Take your time planning out your tile pattern and creating grid lines on the subfloor so that you need to make as few angular/circular tile cuts as possible. When you’re tiling around an already-installed toilet, plan out your pattern so that at there is at least 2 in (5.1 cm) of space between the base of the toilet and the edges of any of the tiles you’ll be laying around it.

You’ll usually save time (due to a greater margin for error with your tile cuts) if you remove the toilet, tile the floor, and then reinstall or replace the toilet. However, tiling around an existing toilet may be preferable in some cases. Tiling around an installed toilet is easier if the base rests flush against the wall behind the toilet.

If you have to tile all the way around the base, including the small space between it and the wall, strongly consider removing the toilet, tiling around the toilet flange, and reinstalling the toilet. Create sheets of paper that are the same size as a whole tile. Simply cut the paper to match the size of the tile—for instance, 16 by 16 in (41 by 41 cm).

Cut one sheet for each tile you’ll need to lay around the base of the toilet. Estimate your tile cuts and cut parallel slits in the paper in these areas. Visualize how each tile will fit around the toilet base, and estimate which parts of each tile will need to be cut away.

Transfer these estimates to the corresponding sheets of paper, and use scissors to cut parallel slits that are about 0.25 in (0.64 cm) apart in the areas that will need to be removed. When doing so, it’s better to overestimate the area that will need to be removed than to underestimate.

How Removing Greasy Marks from Tiles?

Wipe up oil splatters as soon as they happen, if possible. Tile splashbacks look fantastic but can get greasy quickly. Oil marks are easiest to remove when they are fresh. If you notice oil splashing on the tiles while you are cooking, use a paper towel to blot the oil. If you don’t have a paper towel on hand, use a clean dishcloth instead. This method will remove greasy marks from all types of tiles.

Fill a bucket with warm water and 2 drops of dishwashing liquid. If you notice greasy marks on the wood tiles that have likely been there a while, use this method to get rid of them. The warm water and dishwashing liquid help to break down the oil and remove the stains. Add the water and dishwashing liquid into the bucket and then use your hand to gently stir them together. Any dishwashing liquid or detergent works for this method.

Dip a sponge into the soapy water and use it to wipe up the grease. Soak the sponge in the water and then squeeze it to remove any drips. Press the sponge onto the greasy marks for 5 seconds and then wipe in circular motions until all the marks are gone.

If you are cleaning a large area, dunk your sponge in the soapy water regularly to ensure that it has fresh dish soap on it.

If there’s is a lot of excess build-up on your tiles, you may need to clean with a store-bought degreaser or use a vinegar solution.

Wipe the soap suds off the tiles with warm water and a dishcloth. Dunk a clean dishcloth in warm water and wring it out to remove any excess water. Wipe the entire tile surface until all the soap suds are gone. If the dishcloth get soapy, rinse it in warm water and then carry on wiping the tiles.

Dry the area with a tea towel. This avoids the tiles from growing mold or mildew. Use a clean tea towel to dry all the moisture from the tiles and grout. If you don’t have spare tea towel, use paper towels instead.