Posts

How to Install a Kitchen Backsplash?


Adding a backsplash to your kitchen is a great way to create atmosphere with color and texture. Thankfully, the process of applying a backsplash is easy. Here is the best way to apply a backsplash to your kitchen, using both traditional tiles and a peel-and-stick method.


Firmly attach your tiles. Press them into the tile adhesive on the wall, using a level to make sure they are even. Push them a few times to make sure they are secured to the wall. If your tiles are not attached together in sections, use spacers to make sure they are all evenly spaced. Wiggle the tile a little bit against the wall to ensure suction with the adhesive.


Completely cover your wall. Attach all remaining tiles to your wall using this method, until you reach the edges. Before you stick your tiles to the edges of the wall, cut off any excess or oddly shaped corners to make sure the fit is perfect. Always cut out holes for outlets or odd edges prior to attaching the tile to the wall.


Any empty spaces can be filled with pieces of spare tile you cut to size with your tile cutter or utility knife. Apply grout. Use your (cleaned) trowel to spread grout evenly across the tiles. Don’t worry about covering the tiles, as that is what is supposed to happen. You will remove the unnecessary grout later.


Spread the grout at a 45 degree angle in a sweeping pattern. Allow a few minutes for the grout to set, and then use a damp sponge to clean off excess grout. All of the cracks between the tiles should be filled, while the remaining tiles should be cleaned of all unnecessary grout.

How Preventing Gaps in Laminate Flooring?


Allow your laminate flooring to acclimate for 48-72 hours. Bring the planks inside and leave them to sit undisturbed prior to installation. This will give the material a chance to get used to the unique conditions in your home, which can help you avoid many environment-related complications later on.


Fluctuations in temperature and humidity can cause certain types of laminate flooring to swell and shrink slightly. Over time, this can result in noticeable gaps and other inconsistencies. Storing your laminate flooring materials in your garage, basement, or foyer also keeps them from being exposed to the elements.

Make sure the subflooring is perfectly level. Use a level to check the angle of your subfloor every 2–3 feet (0.61–0.91 m). If there are rises or depressions present, your laminate planks won’t sit correctly, no matter how many times you reposition them. Subfloors that are off alignment will need to be smoothed out using leveling compound.


If you plan on adding a separate underlayment for insulation, it will be important to make sure it’s cut properly to eliminate wrinkling, folding, or bunching, all of which could contribute to an off-level subfloor.


Have your laminate flooring installed professionally. Attempting to measure, cut, and install laminate flooring yourself leaves a lot of room for error, even if you have experience with this type of project. In most cases, it will be better to leave it to the pros. They’ll have the equipment, expertise, and manpower needed to get the job done faster and with more lasting results.

How Using an Acid Solution Washing Your Pool Tiles?

Drain your pool. Remove debris like leaves and algae from the bottom of the pool once the water is drained. Then place your water hose at the deep-end side of the pool. Position it near the ledge so that the water will run over the tile when you turn it on. Wear protective clothing.

Because the acid solution emits noxious fumes and is harmful if it gets onto your skin and body, rubber boots, safety gloves and goggles, and a respirator with an acid approved filter are necessary. For extra precaution, wear a protective suit that is chemical-resistant.


Add 1 gallon (3.8 liters) of muriatic acid to 1 gallon of water in a bucket. You can use a plastic bucket. Make sure to slowly add the acid to the water and not the other way around. Because the acid will fizz and emit fumes when you pour it into the water, make sure you are wearing your respirator, goggles, gloves, and protective clothing. You can purchase muriatic acid and acid-resistant cleaning tools from your local pool maintenance store or online.

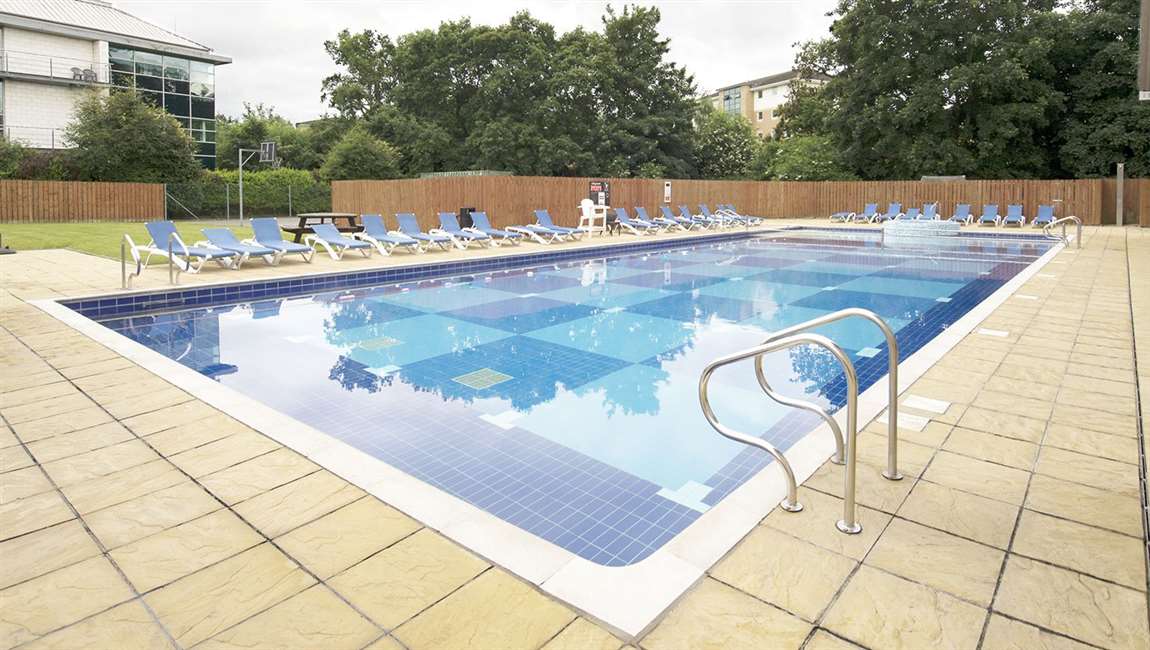
Apply the solution to the pool tile with an acid brush. Starting at the deep end of the pool, work the solution into the grout with the brush. Working on small sections at a time, scrub the flat rustic tile with an acid-resistant scrub brush. Once the calcium silicate scaling is removed, rinse the wall tile with water using the hose.

Alternatively, fill a watering can with the solution and use the can to pour it onto the pool tiles. Then use the acid-resistant scrub brush to clean the white tile. Repeat this process until all the tiles are cleaned. Add soda ash to the acidic solution at the bottom of the pool. Add 2 pounds (.9 kilograms) of soda ash for every gallon of acid. Do this once you are done cleaning all of the tiles. The soda ash neutralizes the acid so it can be safely removed from your pool.

How Pressure Washing Your Pool Tiles?

Rent a pressure washer from your local hardware store. Choose a steam pressure washer with a PSI of 2000 to 2600 and one that can reach a temperature of at least 300 degrees Fahrenheit (149 degrees Celsius). The pressure and temperature will enable you to clean your pool tiles quickly and effectively. With steam pressure washers, you do not need to pretreat the tile with chemicals or detergents.


Remove debris around the pool. Debris such as branches, leaves, twigs, and trash should be swept up and removed before using the pressure washer. Also remove lose furniture and objects that can be easily swept away such as plants, pool equipment and toys, lawn furniture, grills, and other lose objects.


Test a small area first. Set the machine according to the manual’s instructions. Start with a low setting and the least powerful nozzle first. Pick an inconspicuous spot and stand at least three feet away from it. Spray the area for 30 seconds. After 30 seconds, stop and check the spot to make sure the surface is not damaged.


Make sure all the outlets, inlets, and accessories are perfectly connected and secured before turning the pressure washer on. For your safety, make sure to wear safety goggles, close-toed shoes, and protective clothing that can get wet. Wash your pool in sections. Turn the pressure washer up to a higher setting, for example 2000 to 2600 PSI at 200 degrees Fahrenheit (93 degrees Celsius), and begin washing the pool in small sections.


Use the washer’s wands and attachments to reach tight corners and crevices when you need to. If you are having a tough time removing the scaling from the spots tiles, then turn the temperature up to 300 degrees Fahrenheit (149 degrees Celsius). Remember to stand at least three feet away.

How to Removing Cracked or Damaged Tiles Before Replace Pool Tiles?

Drain your pool below the tiles that need replacing and let the area dry. Use a submersible pump to drain out enough water to leave the damaged area exposed and dry. Once the area is clear, turn off the pump and let the calacata tile dry off completely. It’s best to do this in bright sunlight, which will dry the tile quickly.

If you’re only replacing a couple stone tiles along a top edge, you’ll only need to drain enough water to expose the area and keep it from being splashed. If you’re redoing your entire pool, drain all of the water and let it sit for a day or 2, until it’s fully dry. There are also special adhesives available for re-attaching single marble tiles underwater. However, your repair will be much more effective and durable if you drain your pool first.

Use a grout saw to remove the grout around any cracked mosaic tiles. This tool essentially looks like a screwdriver with a saw blade on the end of it. Push the blade end against the grout and saw it back and forth to cut through the grout. Keep cutting through until you remove all of the grout around the tiles that need to be replaced.

Use a hammer and chisel to remove any damaged tiles. Place the tip of the chisel in the joint of the cracked tile, then tap it with the head of the hammer to break the tile away from the mortar. Keep tapping until the whole pool tile design comes away, then repeat on any other damaged cement tiles. If your tiles are small, you can use a small flathead screwdriver instead of a chisel.

Inspect the beam behind the polished tile for any necessary repairs. Look for cracks, open seams, an uneven surface, or missing chunks in the beam. If the damage is greater than some damaged tiles, you’ll need to shore up the base with hydraulic cement or a plaster mix. This is essential for ensuring the longevity of your pool as well as creating a flat surface for the pool tile to stick to.

If the damage looks like it could be extensive, contact a professional full-service pool company to help diagnose and repair the problem.