Posts

The comparison of ceramic tile and stone material

  1. Property

Tile: Tile is a kind of fireproof metal oxide, it forms after being ground, pressed, sintered and so on, form porcelain qualitative or stone qualitative material.

Stone: Stone is a kind of natural material, after cutting, polishing and other processes, the material itself has not changed.

  1. Price

Tile: Some tiles are expensive, some are cheap. All of them can be tiled directly after buying.

Stone: The stone need to be processed before tiling, so the price of most stone material is higher than ceramic tile, nevertheless there are some types of tiles are about the same as stone.

  1. Practicability

Tile: Tile is less resistant to strike, and it is easily broken in transportation and tiling, so it costs more. Normally, the edge will be worn when tile was used in the family for about 6 months. For 8-12 months, the wear on the surface will take place on different levels. The tile that used in public place will be worn after 2-3 months and the abrasion will take place on different levels within 6 months.

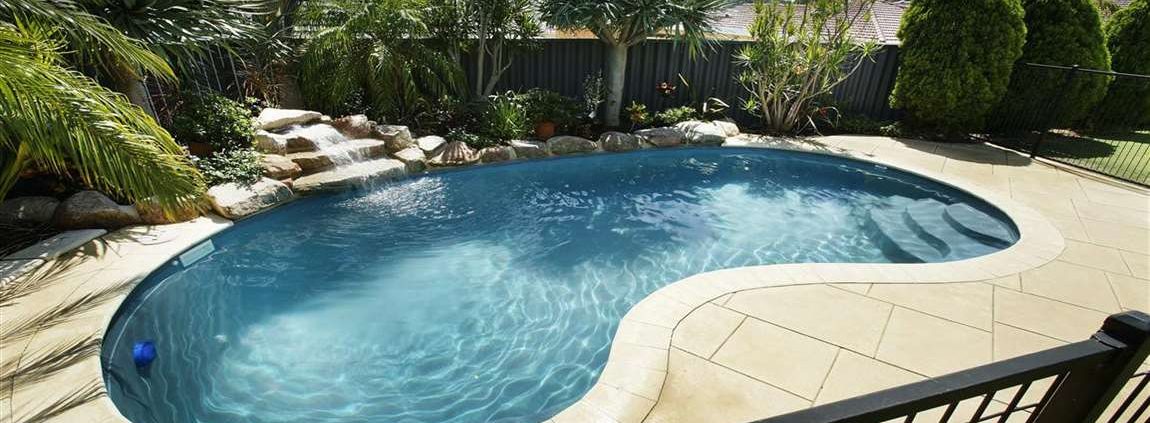
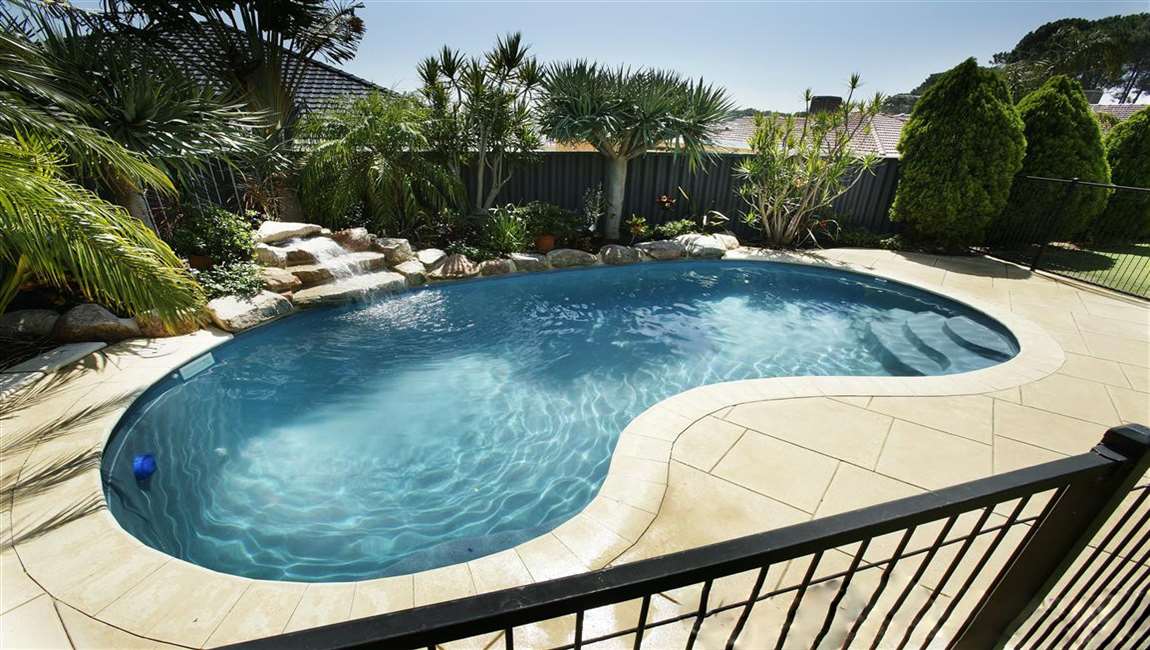
Stone: Stone is a very durable material, normally it used as some important architectural decoration and the service life is very long. In terms of wear resistance, stone material is far superior to ceramic tile.

  1. Colour Difference

Tile: Processed by machines, the tile has less colour difference.

Stone: Because stone is a kind of natural material, its colour difference is more obvious, and the surface pattern is also not as rich as the ceramic tile.

  1. Shape

Tile: When manufactured, the shape of tile is more limited, and it may cause some error due to temperature change or equipment.

Stone: Stone material can be cut into special shape according to the need of decoration, and it is more convenient to use.

  1. Security

Tile: Tile surface become smoother after being processed, especially with water on the tile, it’s even more slippery.

Stone: Stone is a kind of safety material, it can prevent people from slipping, and this material is safe to walk on, so there is little potential safety hazard here.

The Knowledge of Spray Buffing


Avoid stepping on or placing anything onto the final coat for 8 full hours to ensure a perfect finish. Wash all tools immediately. If you allow the wax to dry it will be extremely difficult to remove. Scrub it off of any tools you plan on using again using soap and hot water.


Flip or change the buffing pad if it gets clogged or dirty. Stop and check the buffing pad every few minutes to see if it looks dirty or clogged. Additionally, you’ll know the pad needs to be changed if the floor isn’t getting as shiny as it was previously. Most buffing pads can be flipped once during cleaning. If your pad looks soaked through, just switch to a new one.


Follow spray buffing with a pass of dry buffing, for best results. Switch out your red buffing pad for a gray or beige one. Then, start buffing your floor in the far corner. Slowly work your way toward the other side of the room. Your buffing pad likely won’t need changing on this pass. However, continue to check on it regularly to make sure it’s not clogged or dirty.


It’s best to wait until your floor is dry before you start your dry buffing. You may want to apply a finish to the floor to reduce slipperiness and increase the shine. Use a clean dust mop to remove any dust created by the buffing process. Once your floor is dry, return to the corner of the room and begin making short, even passes with your dust mop.

Continue working your way over the entire surface of the floor until you reach the other side of the room. This helps get your floor as clean and shiny as possible. Using a floor buffer can stir dust up into the air, which will then fall back down onto your freshly buffed floor. A clean dust mop can remove this debris.

How to Clean Pool Tile?

How you clean your tiles depends on what kind of calcium build-up they have. If your tiles only contain calcium carbonate scaling (minimal build-up), then use a pumice stone or a nylon bristle brush to remove scaling, mildew, and grime. However, if your pool tiles contain calcium silicate scaling, you may need to use a steam pressure washer or an acid solution to clean your pool tiles. If this is you, make sure to take the necessary precautions to prevent injury and harm.

Use a pumice stone cleaning calcium carbonate scaling. Because calcium carbonate scaling is white and flakey, it is easy to remove with a pumice stone. You can purchase pumice stones from your local pool maintenance store or online. Pumice stone is safe to use on hard surfaces such as tile and concrete. It can be used on both concrete and plaster pools. Do not use pumice stone on vinyl or fiberglass pools.


Try a nylon bristle brush. Use a nylon brush if your tiles are glass, ceramic or porcelain. A nylon brush will not scratch these tiles. As an alternative, you can use a 3M blue or white nylon scrub pad. Spray a releaser. Releasers, such as the Ocean Care Calcium Releaser, will soften the calcium for removal. The Ocean Care Calcium Releaser is acid-free, biodegradable, and non-toxic, making it safe to use without having to drain your pool completely.

Scrub the tile in a circular motion. Scrub the tiles until deposits, mildew, and build-up are gone. If using a pumice stone, make sure both the tile and the stone are wet at all times while cleaning. This will prevent any scratching. You may wear latex gloves to protect your hands while cleaning, but it is not necessary.