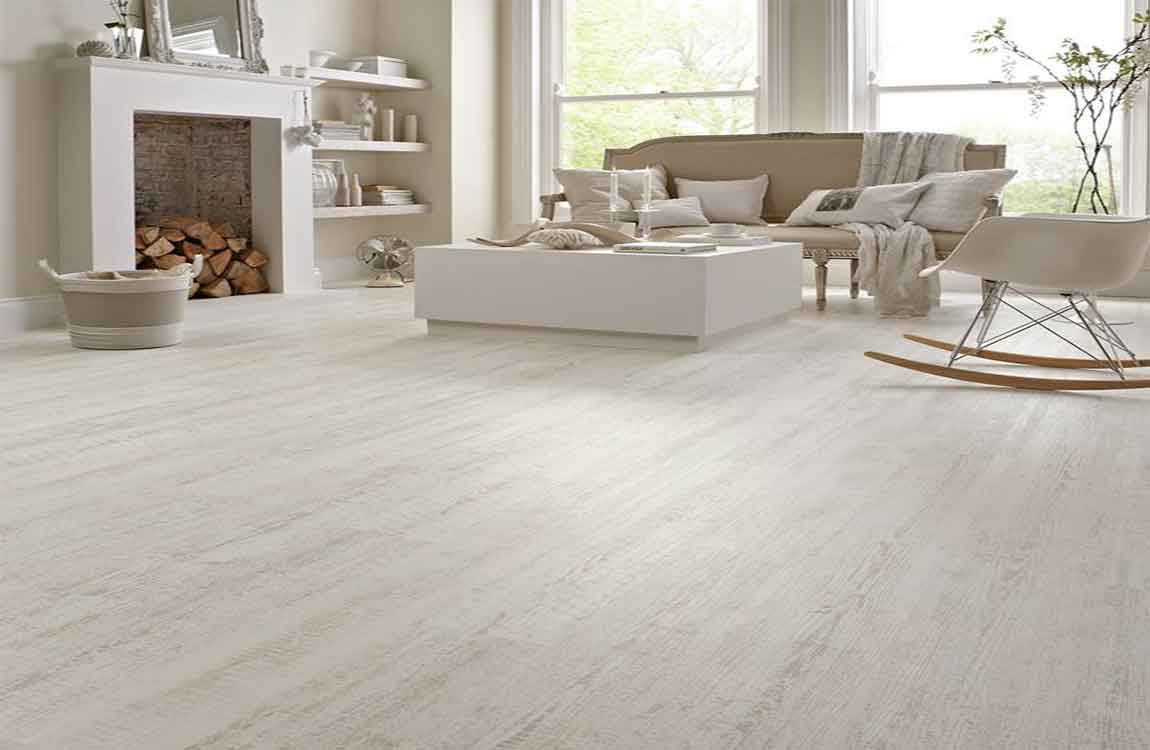
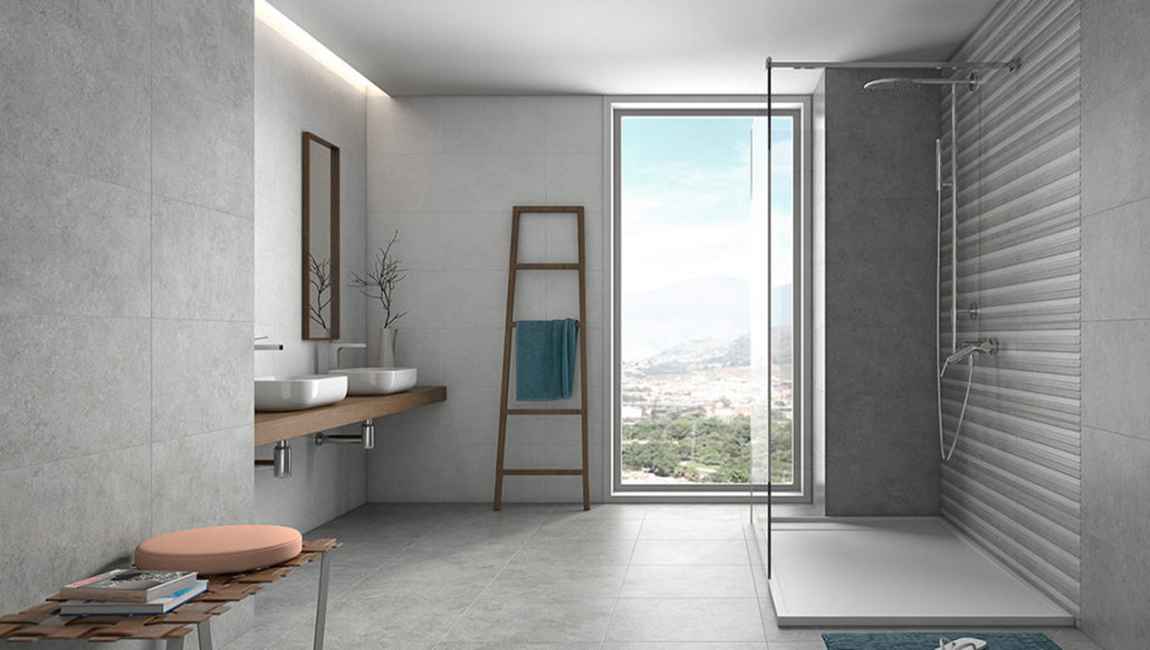
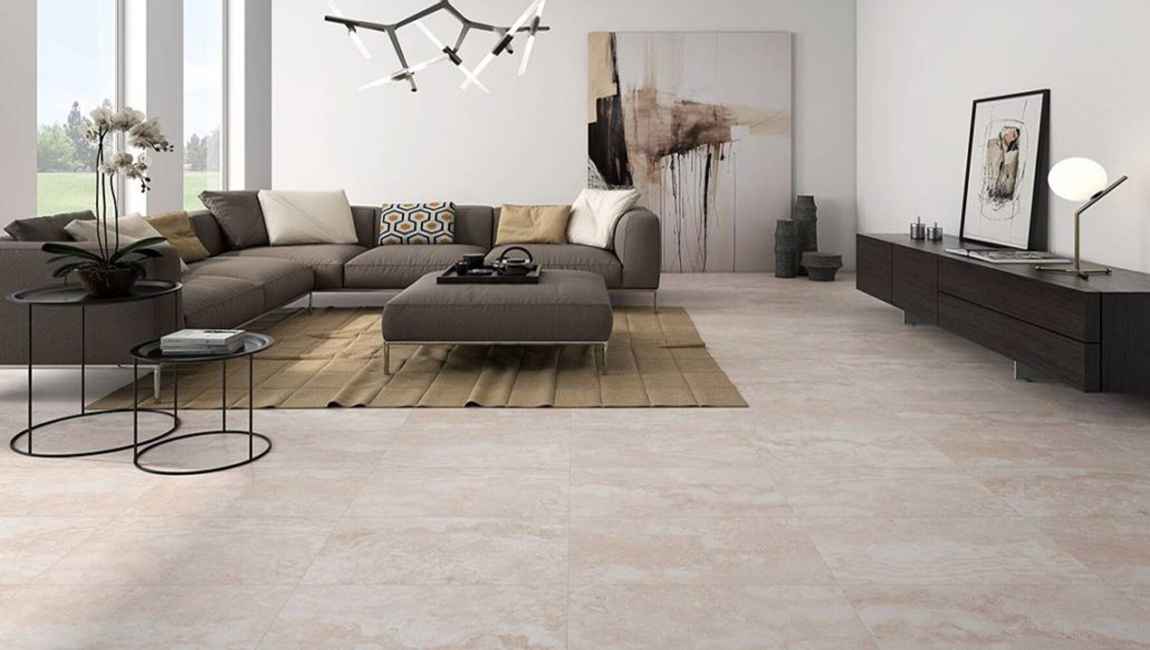
sandstone tiles is a natural stone that can be used inside and outside of your home for floor tiles, wall surfaces, monuments, and fireplaces. It is a particularly porous stone, so it can soak up liquids and get stained quickly if it’s not cleaned properly. In order to clean your sandstone tiles, you just need some common cleaning products and the proper technique.
With these things and a little bit of elbow grease your sandstone tiles can remain beautiful or look good as new. Acidic cleaners can etch the surface of the stone, which will potentially change the texture and the color of the stone permanently. Use dish soap if plain water doesn’t clean the surface enough.
In most cases, cleaning sandstone tiles with plain water works perfectly well. However, if you feel that you need some cleanser, use a very small amount of plain dish soap. Put a small squirt of soap on your damp cloth and rub it over the surface. Wipe the surface with a clean area of your cloth afterwords to clean the soap off of the surface.
Dry the surface off with a towel. You should not leave standing water on the surface of sandstone tiles, as it will gradually absorb it. Instead, once you are done cleaning, wipe off the surface until it is dry. Use a soft, clean, and dry rag to wipe down the surface so that it stays clean and doesn’t doesn’t get scratched.
After you think you’ve gotten the stain out, wipe the mixture off of the stone. Allow the area to dry to determine if the stain is gone. If it is, use a clean area on the cloth to remove any baking soda residue that remains. If the stain remains, apply the paste again and allow it to sit longer than 15 minutes before scrubbing it a second time.
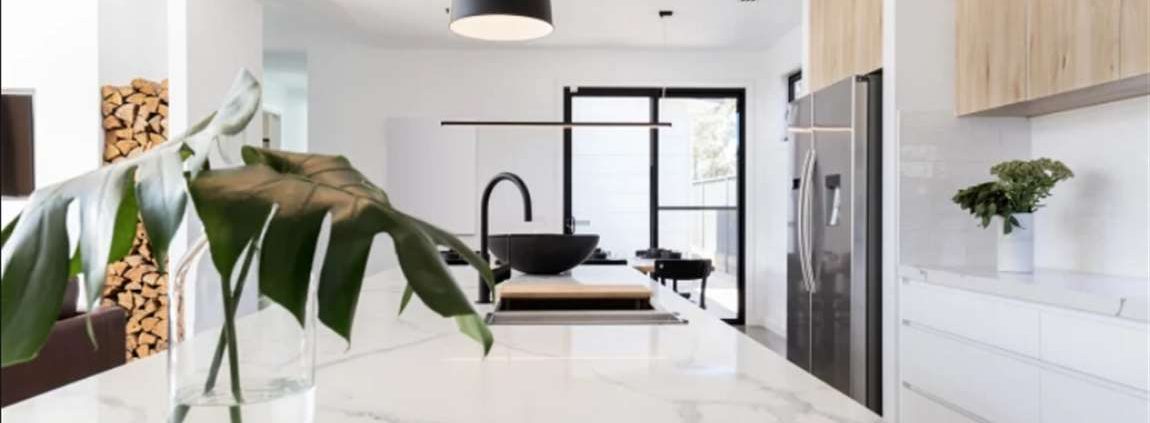
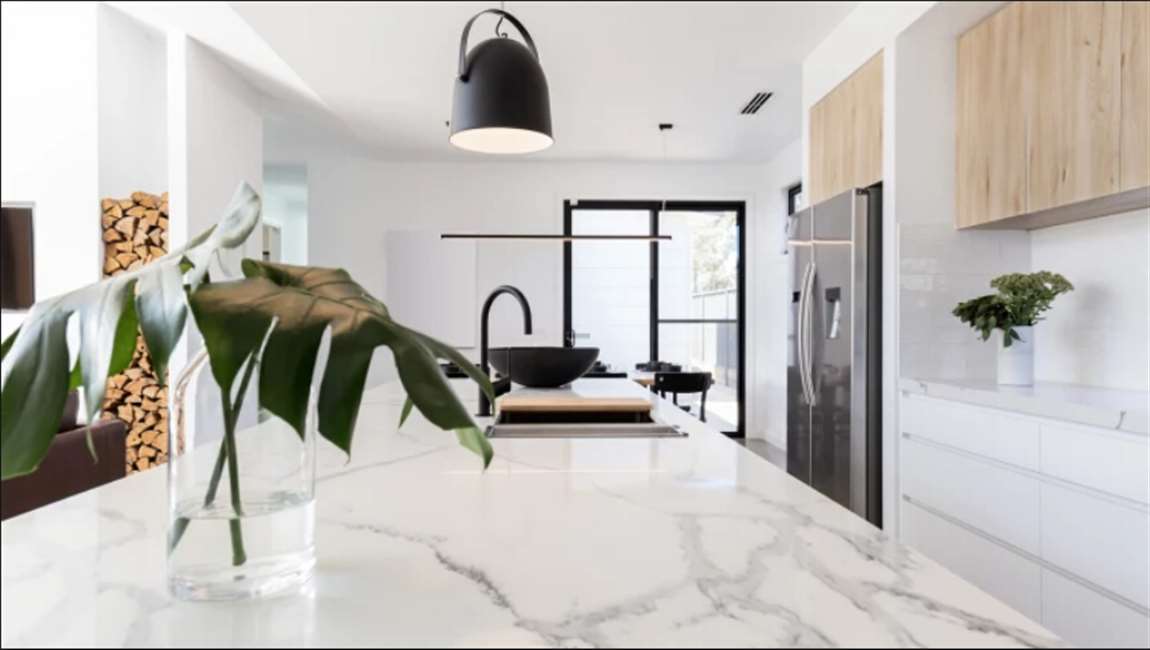
https://baranaceramic.com/wp-content/uploads/2020/01/Clean-sandstone-tiles-4.jpg7501150administratorhttps://baranaceramic.com/wp-content/uploads/2025/09/logo.pngadministrator2020-01-27 08:00:272020-01-16 01:58:56How to Clean sandstone tiles?
Clear the area to be cleaned. Sweep up any debris – leaves, twigs, etc – and move any outdoor furniture out of the way. Make sure that pets and kids can’t get into the area, particularly if you’re going to use bleach. Protect nearby greenery. Make sure to protect nearby plants.
Hose them down to give them a protective covering of water (it will help any bleach or vinegar slide right off) or cover them with light plastic. You can also create barriers between the area you’re cleaning and any grass by laying down rolled up towels or sheets at the edge of the grass.
Hose it down. Using your garden hose or buckets of water, rinse down the area to be cleaned. You can also use a bucket of water and a mop if you’re worried about the water draining properly. Apply the cleaner. Depending on the type of cleaner you’re using, you’ll want to spray, pour, or spread your cleaners over the area to be cleaned.
Use gloves and a protective face mask for this step, especially if you’re using bleach. You can let any of the mixtures soak for a few minutes or up to half an hour if you have particularly dark stains. If the stain persists after scrubbing, you may need to apply a second coating of cleaner. Wait 15 minutes before scrubbing again, and then hose it off.
Scrub with a short scrub brush. Once your cleaner has had time to soak, scrub at the stains with a short scrub brush. This will loosen up any stubborn dirt or grime that isn’t already lifted by the cleaner. Rinse off the cleaner. Once you’re done scrubbing, use a hose, spray bottle, or bucket of water to rinse the area you cleaned.
https://baranaceramic.com/wp-content/uploads/2019/12/Using-the-Cleaning-Solution-1.jpg7501150administratorhttps://baranaceramic.com/wp-content/uploads/2025/09/logo.pngadministrator2019-12-19 08:00:052019-12-16 10:10:09How Using the Cleaning Solution?
Start with a mild mixture. Expect a relatively small amount of vinegar mixed with warm water to be sufficient for the job a lot of the time. Simply combine 2 to 3 tablespoons of white distilled vinegar with 1 gallon (3.8 L) of water in a bucket or similar container. However: Keep in mind that you’ll be carrying that bucket around the room with you.
Depending on the size of your bucket, adjust the amounts as needed to keep it only halfway filled to avoid spills. Test-clean a select spot on your wall. Pick an area that is blocked from view by furniture or otherwise hidden. Wet a sponge in your mixture and squeeze it until the excess water has been wrung out. Wipe the area in a circle, using minimal pressure. Repeat with a second sponge and clean water to rinse. Then pat dry with a soft cloth or towel.
Use soft sponges (as opposed to a more abrasive kind meant for scrubbing burnt food), especially if your walls are painted. Using tougher sponges could ruin your paint’s surface. Sponges in bolder colors may leave their color on the wall.
Add more vinegar if necessary. Compare the test-spot with the rest of the wall. If your mixture did the trick, use it as is. If the test-spot still seems dirty, increase the ratio of vinegar to water and repeat. Start by adding ½ cup (118 ml) of vinegar to your gallon of water. If that still seems weak, keep adding ½ cup of vinegar at a time. Extremely dirty walls may require a ratio of 2 parts vinegar to 3 parts water.
Add baking soda if needed. If the dirt on your walls has crusted over and/or built up, you may need something a bit more abrasive than just vinegar and water. Start by adding a ¼ cup (55 g) of baking soda to your solution and test-clean again. If necessary, keep doing so up to 2 to 3 cups (442 to 662 g). However, bear in mind: If your walls are painted, abrasive agents like baking soda may damage the paint, especially if it’s latex-based. If your solution starts ruining your paint job, you may need to apply a fresh coat rather than clean.
https://baranaceramic.com/wp-content/uploads/2019/10/Creating-a-Vinegar-Solution-1.jpg7501150administratorhttps://baranaceramic.com/wp-content/uploads/2025/09/logo.pngadministrator2019-10-09 08:00:272019-10-10 09:14:40How Creating a Vinegar Solution?
If DIY tasks like replacing a toilet and installing a tile floor are within your skill set, then you can also handle tiling around a toilet. Cutting tiles to fit neatly around the base of an installed toilet requires careful template-making and tile-nipping, however, so patience and precision are critical.
In most cases, you’ll have more room for error if you remove the toilet, trace and cut one or multiple tiles to fit around the toilet flange, and then reinstall or replace the old toilet. For instance, imagine that you have a toilet with an angular base that will necessitate cutting a triangular section away from one of the corners of one of your tiles.
You’d cut the parallel slits into that same area of the corresponding sheet of paper, with a little extra “wiggle room” added to your cuts. Lay each sheet into place and crease the slits along the toilet base. One at a time, lay the sheets of paper down where their corresponding tiles will go, remembering to account for spacing between tiles due to grout lines. The slits will fan up and over the installed toilet’s base.
Use your finger to press a crease into each slit—one at a time—where the subfloor meets the toilet base. When you’re done, you’ll have created an accurate template for that tile. Then you can move onto the next sheet of paper. To account for future grout lines, utilize the same plastic spacers that you use when permanently setting the tiles in place.
Cut the slits along the traced lines and dry-fit the sheets. Once you’ve creased all the sheets of paper, take your scissors and cut carefully along the crease lines. Then, lay all these cut sheets of paper down around the toilet (again, accounting for grout lines) and make sure they fit snugly against the toilet base.
https://baranaceramic.com/wp-content/uploads/2019/08/Cut-Tile-Around-a-Toilet-3.jpg7501150administratorhttps://baranaceramic.com/wp-content/uploads/2025/09/logo.pngadministrator2019-08-27 08:00:262019-09-03 05:42:16How to Cut Tile Around a Toilet?
Avoid cleaning with abrasive materials. Never clean your solid stone tiles with anything that’s abrasive. These can scratch and damage the tiles. When making or buying cleansers, avoid: Hard bristle brushes, Vinegar or lemon juice, Products with acid cleanse.
Trowel some thin-set onto the back of the tile and spread it with a notched trowel. This process is called “back buttering.” Apply mortar to the backer board along with back buttering and then set the tiles on top of that. It’s a lot cleaner, too!
Be sure not to apply too much mortar to the back of a tile. You only need a little in each corner and a little dab in the middle for back buttering. More isn’t necessarily better when it comes to thin-set. Keep in mind that back buttering is only necessary when you are using a larger tile (8″ x 8″ or larger) and you only need to add a little dab of thin set mortar to each corner.
Set the first tile in the middle of the wall (or floor). This will create a pleasant visual effect and allow each tile that is placed beside it on either side seem centered. After back buttering, simply press the tile onto the backer board and apply pressure to make sure that the mortar adhered properly to both the tile and the backer board. Then, give the tile a little twist and tap each one with a rubber mallet, especially the floor tiles.
Wipe away any excess thin-set mortar after pressing the tile onto the backer. Although you’ll be grouting and caulking between the tiles, it’s best not to leave any thin-set on oozing out from the sides of the tile. Dig out any oozing thin-set that you notice. Simply wipe away excess thinset with your finger or a Q-tip.
https://baranaceramic.com/wp-content/uploads/2019/07/How-to-Cleaning-tile-5.jpg7501150administratorhttps://baranaceramic.com/wp-content/uploads/2025/09/logo.pngadministrator2019-07-25 08:00:212019-07-23 10:28:04How to Cleaning tile?
Sweep the floor with a dust mop. Start by sweeping the floor to remove any dust on the porcelain tiles. You can use a dry dust mop or a vacuum. You can also use a microfiber mop, as it will be gentle on the tiles. Brooms with straw or plastic bristles will be too harsh on the floor and could scratch the tiles. Make sure you sweep in the corners and between tiles. You want to try to remove as much surface dust on the tiles as you can before you move on to more intense cleaning.
Use a soft, nylon brush to remove any dirt. You can use a nylon cleaning brush or an old toothbrush to remove any dirt or dark spots on the floor. Wet the floor with hot water and use the brush to remove surface dirt. Scrub the tile in a circular motion, making sure the tile is damp when you scrub it. Do not scrub any tiles that are dry, as this could scratch the tile.
Apply a cleaning solution for stains. If you notice any stains on your polished or glazed porcelain tiles, you should apply a cleaning solution using a mop. You can use a home solution of white vinegar and water or a professional cleaning solution. Make a home solution by combining ¼ cup white vinegar with two gallons of warm water. Mop the floor and let it sit for five to ten minutes. Then, mop the floor again, rinsing off the solution. The vinegar will help to disinfect, deodorize, and clean the tiles.
For a professional option, use a cleaning solution from your local home hardware store or the cleaning supplies aisle. You should make sure the solution is safe for use on glazed or polished tile before you use it. You may want to do a spot test by using a small amount of the solution on the floor to ensure it does not damage the floor.
If there are coffee stains on the tiles, you can use baking soda to remove them. Apply a sprinkle of baking soda on the stain and then dampen it with a clean cloth. Gently scrub the area until the stain is removed.
Put on safety protection. Use rubber gloves, eye protection, older clothes that cover your arms, and a smock. If you don’t put on safety protection, you could potentially hurt yourself. This is especially true for eye protection, as you may get grout in your eyes without it. Make sure the room you’re working in is properly ventilated. To do this, open nearby windows and doors. If you have a bathroom vent, turn it on.
Tape plastic covers to surrounding walls and floors. Use painters tape to secure plastic to the area directly underneath where you’ll be working with grout. In addition, place plastic next to the portion of the wall you’ll be working on. This will protect these areas from grout spills or stains.
Remove polishedtile spacers from in-between the casstletiles. If you just laid new cementtile, you’ll want to remove the spacers you used to keep them in a grid pattern. Use needle-nose pliers to remove them. In the end, if you forget to remove them, you’ll wind up putting grout right over them. This could cause your grout to decay rapidly in the future.
Mix your grout until it is smooth and consistent. Read the directions on your grout product. Then, pour the appropriate amount of water into a bucket. Add the amount of grout powder the package specifies. Use a trowel or a paddle mixer attached to a drill to mix the grout until it has a consistency like toothpaste. After mixing your grout, let it sit for about 10 minutes before using it.
If your grout seems liquidy, add a little more powder. If your grout seems very thick, add a little bit of water. Alternatively, purchase pre-mixed grout to ensure it has the right consistency. Mix your grout every 15 minutes. Take your float/trowel and lightly mix the grout every 15 minutes. Do this by moving your float in a circular fashion through the grout. If you don’t mix the grout regularly, it will wind up setting and you won’t be able to work with it.
https://baranaceramic.com/wp-content/uploads/2019/03/How-Preparing-Your-Work-Area-Before-Grout-Wall-Tile-2.jpg6501150administratorhttps://baranaceramic.com/wp-content/uploads/2025/09/logo.pngadministrator2019-03-20 03:42:142019-07-30 09:04:30How Preparing Your Work Area Before Grout Wall Tile?
Tile is a very tough and durable wall and floor covering, but it is not indestructible. Tile can be made of ceramic, porcelain, quarry stone or terracotta (clay) and is vulnerable to damage caused by virtually any item heavy or strong enough to crack those materials. A floor tile may even crack on its own if it’s hiding a manufacturer defect or if it’s installed on an uneven subfloor. Fortunately, cracked cementtile is repairable and you don’t have to be a flooring contractor to be able to do it. If you have a broken tile that needs to be replaced, follow these steps for how to repair wood tile.
Find a replacement tile that matches. Flooring contractors often leave spare tilesdesign in the garage or storage room for when the homeowner might need to repair tile mishaps. Choose a matching grout. Borrow colored grout samples from a well-stocked flooring supply store and bring it home to find the closest match.
Remove the old fashion impressiontile completely. Be careful not to damage any of the surrounding tiles. Use an electric drill with a masonry bit to drill a diagonal series of small holes into the cracked polishedtile, keeping drilled holes less than 1 inch (2.54 cm) apart.
Split the tile through the horizontal hole-line by using a ball-peen hammer to tap a cold chisel into the ceramictile. Tap very lightly so as not to crack neighboring grout joints. Remove the loosened pieces. Use a flat bar to pry up any shards that you cannot get up by hand.
Scrape the remaining old mortar from the subfloor using a stiff-bladed scraper. It is not important that you get every last bit up. Just make sure the area is fairly clean of mortar. Vacuum up any loose dirt or debris.
Set the replacement tile. Use a notched trowel to spread mortar onto the subfloor and lay the new fashiontile in. Use a level to ensure tile is laying perfectly flat and also to determine that the newly set tile is flush with surrounding marbletiles. Grout the area according to the grout manufacturer’s directions.
https://baranaceramic.com/wp-content/uploads/2018/12/How-to-Repair-Tile-1.jpg6001150administratorhttps://baranaceramic.com/wp-content/uploads/2025/09/logo.pngadministrator2018-12-17 03:46:412018-12-17 09:48:08How to Repair Tile?
In the construction of the wall tiles, the pursuit of visual beauty is pursued, but the blind pursuit of beauty and neglect of construction technology are also at a loss. The floor tile from selection to paving is needed to know certain decoration knowledge, so that we can easily create a comfortable and perfect living space. Which misconceptions must be avoid when tiling thetiles?
Seamless floor tile, the smaller the seam, the more beautiful. The seamless floor tiles with small joints hope that the gap is small when they are paved, and the smaller the gap, the better the overall effect. In fact, if the gap is too small, the ability of floor tile to respond to the environment will become worse. Due to the change of temperature, ceramic tiles showerwill be broken and the normal service life of subway tiles will be reduced. Therefore, the seamless floor tile sizes is equal to completely seamless, and the thermal barrier of ceramicfloor tiles needs to be stitched. The size of seamless floor tiles should be around 1-1.5mm, not less than 1mm. Special effects can also widen the gap to 5mm.
Ignore floor tiles cost product performance. In the construction process, a mistake that is easy to commit is to neglect floor tiles product performance and not to use paving according to regulations. Often appears to save the glazed floor tiles on the ground, and the physical and chemical properties of different tiles are different. For example, the water absorption of bathroomwall tiles and the water absorption rate of floor tiles are different. The wall tiles are high and the smallfloor tiles are low, so their flexural strength is different. In addition, the frost resistance of interior wall tiles and exterior wall tiles design are also different.
The tile adhesive are mixed with cement, mortar and so on. This will completely change the proportion of cement tile adhesive production ingredients, and the quality can not be guaranteed. Put the tile adhesive on the floor and mix it with a shovel. With the help of shovel, the tile adhesive glue can not be evenly distributed, and the effective components of ceramic tile powder will be lost. Similarly, the proportion of manual mixing water is difficult to accurately change the ratio of tile adhesive, so that the sticky force of tile adhesive drops.
Decoration is to use tile floor adhesive into the water for a long time, and then continue to use. When the decoration is used, the tile adhesive are used in accordance with the method of using cement, and the mixed tile adhesive are placed in the ground or water for a long time, which can easily lead to the lack of strength, powder and drop bathtile. The use time is too long, then add water and tile adhesive to mix with it. Some decoration will use the grey tile adhesive last night, in the second day in the morning to add water and tile adhesive powder for mixed use, in fact, the effective component of the tile adhesive has a chemical reaction, water only changes the operation performance, will lead to the later bond strength is insufficient. The tile adhesive should be used with stirring. The use time should be controlled within 2 hours. After drying, it should be discarded.
Integral wall construction and uneven scraping of tile surface and wall. The corner of wood tile is hollowed, which will lead to brick falling in a long wet environment. The tile adhesive is not evenly scraped, and the tile adhesive is sticky and incomplete. The tile adhesive suitable for thin layer construction, according to the smoothness of the base and the size of the tile adhesive to choose a suitable tooth shape scraper, when sticking, we should knead pressure in place, and check the full pulp rate at random. The floor tiles are kneaded on the base surface and the parallelism of the flooring tiles is adjusted, so as to ensure the parallelism of the tiles, the plastic cross is recommended.
The tile adhesive one time scraping area is too large. In outdoor dry and windy weather, the tile adhesive batching area is too large for construction. Use the toothed scraper to scrape the mucilage evenly on the working surface. For each construction period of about 1 square meters, the outdoor dry climate should wet the wall in advance.
The wall is not strong, sand, oil or dirt is too big. No tiles designare pasted without leveling. Because of low strength and oil pollution, the adhesive force of floor tile designs will be directly affected. The wall is not strong, and the base surface is easy to fall off. The wall is not smooth, the defect is too large, and the contact between tiles and wall is not in place, which is easy to cause hollowing.
https://baranaceramic.com/wp-content/uploads/2018/06/Which-misconceptions-must-be-avoid-when-tiling-the-floor-tiles-1.jpg600900administratorhttps://baranaceramic.com/wp-content/uploads/2025/09/logo.pngadministrator2018-06-01 03:30:182019-11-27 09:45:40Which misconceptions must be avoid when tiling the floor tiles?
In nineteenth Century, the French great writer of the Grand Master once said “Russia is crazy about France, and everything imitates France, but because they are too far away, they are always imitating France a century ago.” This sentence seems arrogant, but it did tell a European reality at that time: The whole of Europe is following France in the first place. In fact, this is not only history, but also reality. We have to admit that modern architecture originated in Europe. Europeans are in front of the people of the world in terms of design concepts and decorative styles. To take ceramic tiles, when Europeans are crazy about and pursue the “tiles color difference” of tile, there are still many users in China who are troubled by the “tiles color difference” of tiles.
In recent years, the most advanced tile design country in Italy is very popular with a very artistic design method, known as “return to nature”. What the designer seeks is to completely restore the rich changes of natural color. Just like the two leaves in nature, there are no identical two stones. The most unique charm of nature lies in its richness and diversity. Therefore, the so-called “chromatic aberration” of tiles is actually a presentation of a set of design logic and ideas, and also represents a popular trend of decorative materials.
Leonardo Vinci’s International Airport in Rome, the eternal city, realized the sense of hierarchy and rich aesthetic feeling by using natural chromatic aberration. We often see the United Nations lecture table on television, the entire background wall also used the “floor tiles color difference” approach. Many important regions of European countries that accumulate art and civilization use the transition of color and texture of materials to make the best use of space. Color similar but different tiles, showing a rich sense of hierarchy, The more you look, the more you look more durable
Everything in the world is the same, created by man, and naturally formed by differentiation. How does this “imitation of nature” come true? BARANA tiles use the most advanced technology “Colour Definition System”.This is an innovative digital printing system, which is a very important technology to show the effect of tiles design. Colour Definition System can also make perfect combination of glaze and solid ceramic material on the surface of ceramic materials to achieve the uniqueness of each tiles. In designing the surface effects of each product, BARANA tiles technicians need to carefully study the color reaction of each glaze and porcelain during the firing process and take into account the effect of raw materials and sintering temperature on the color reaction. After the paving, the overall harmony and unity, natural transition and better space effect will be achieved.
The transition of BARANA tiles color texture is divided into four levels. V1 level is pure color, no color gradient effect. The level of gradation increases continuously at every level at the back. Even the same tile can create different space effects, and truly achieve exclusive “private custom tiles”. This magic “color difference” tiles, especially in the laying of stone tiles and wood tiles, has a very amazing effect. Perfect restoration of the most pure sense of nature, full of natural spirit. Compared with the monotony of single color, the color of this change is not easy to cause dull resemble ness. Each tile is similar and different, which truly shows the artistic standard of design.
https://baranaceramic.com/wp-content/uploads/2018/05/Is-there-a-bad-quality-of-tile-with-tiles-color-difference-1.jpg600900administratorhttps://baranaceramic.com/wp-content/uploads/2025/09/logo.pngadministrator2018-05-24 03:13:462019-11-27 09:46:49Is there a bad quality of tile with tiles color difference?