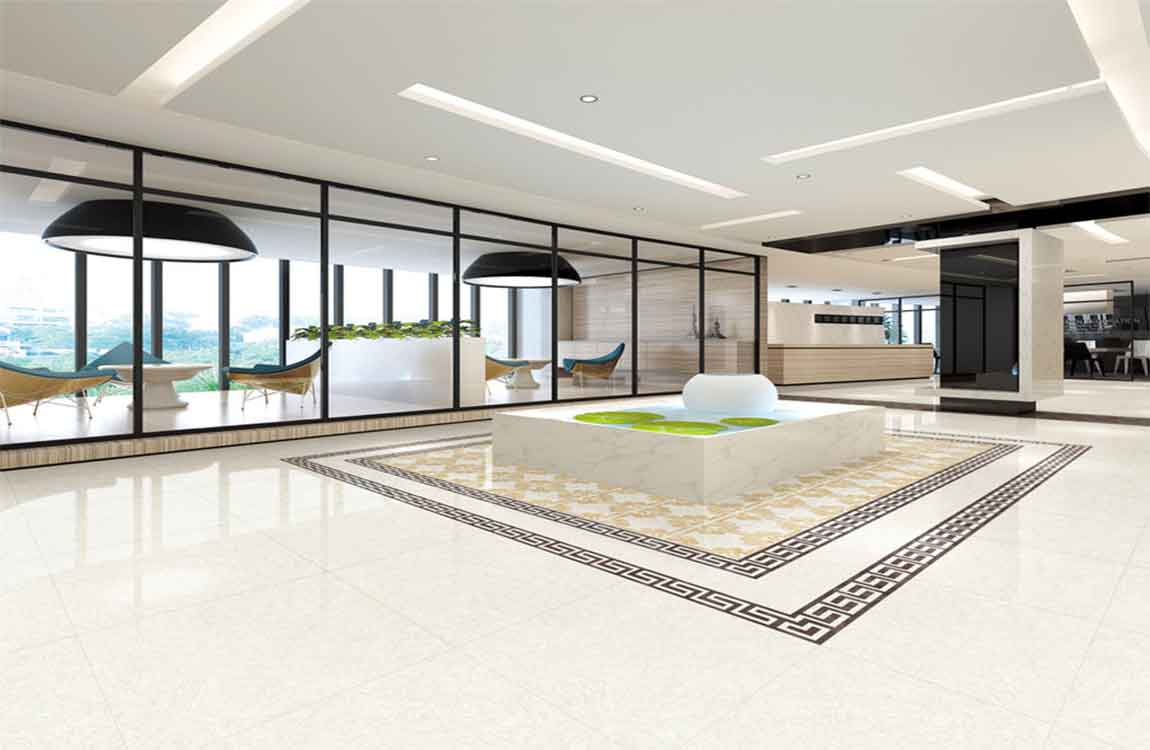
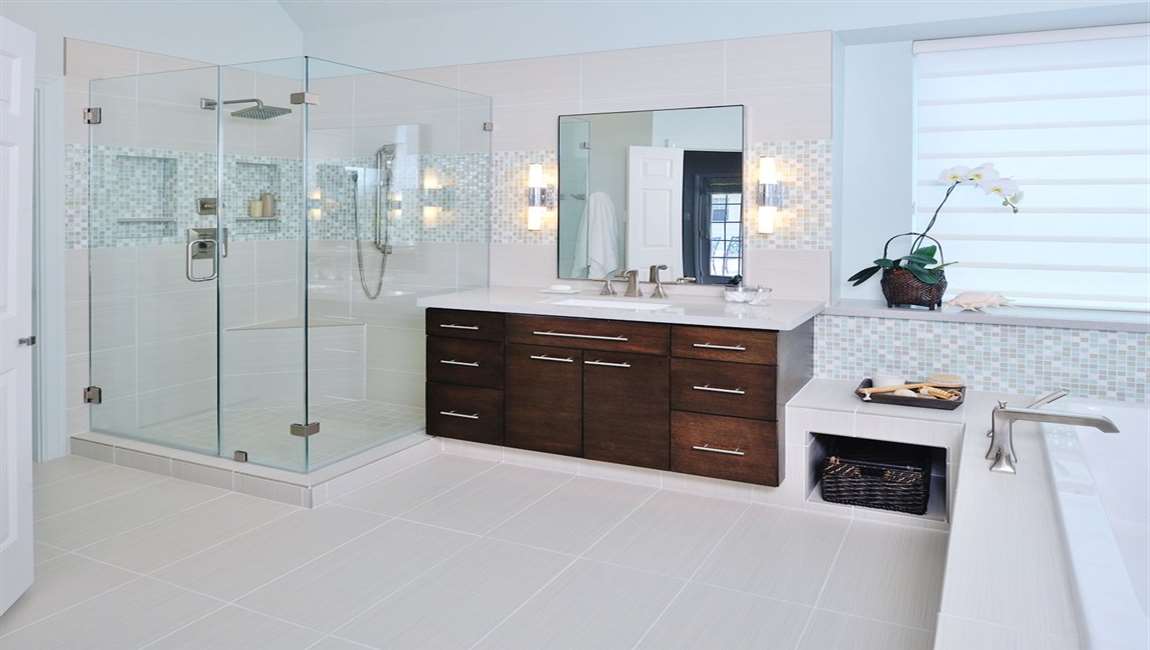
Clear the area to be cleaned. Sweep up any debris – leaves, twigs, etc – and move any outdoor furniture out of the way. Make sure that pets and kids can’t get into the area, particularly if you’re going to use bleach. Protect nearby greenery. Make sure to protect nearby plants.
Hose them down to give them a protective covering of water (it will help any bleach or vinegar slide right off) or cover them with light plastic. You can also create barriers between the area you’re cleaning and any grass by laying down rolled up towels or sheets at the edge of the grass.
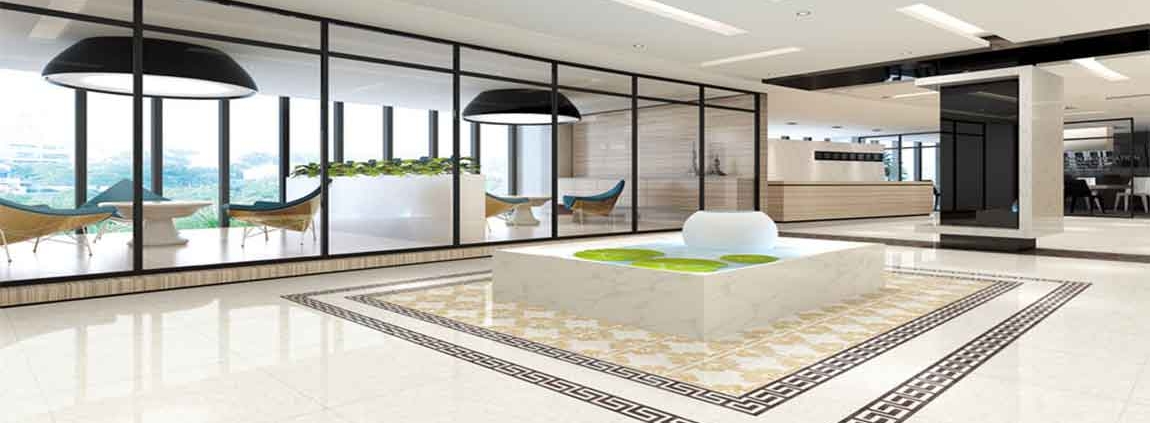
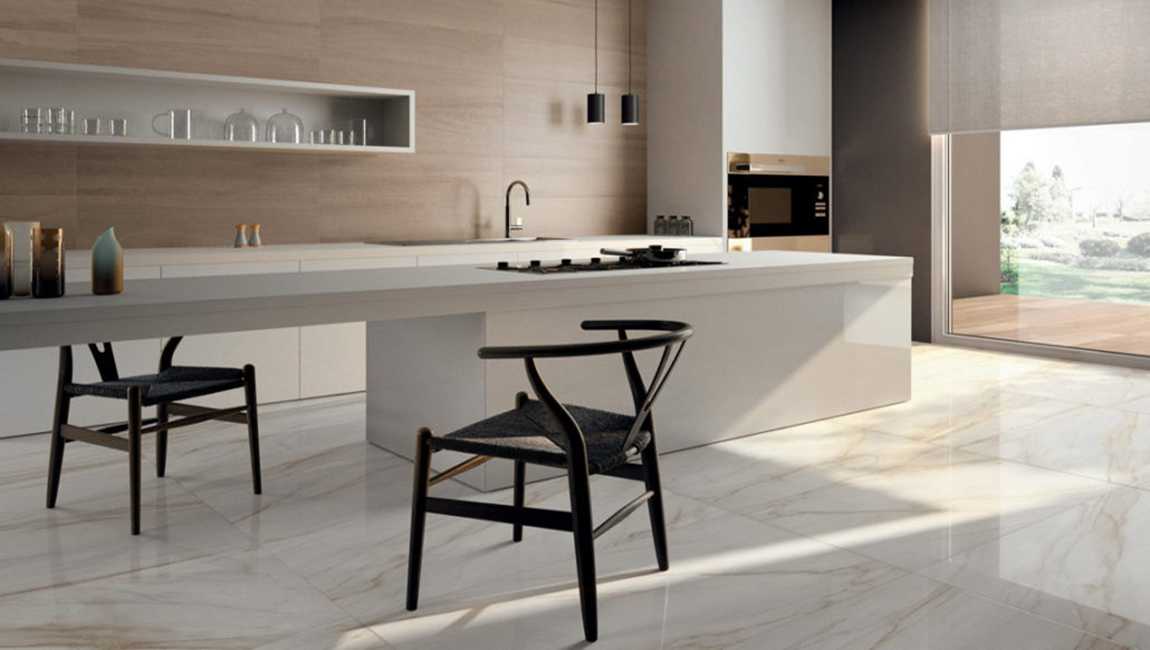
Hose it down. Using your garden hose or buckets of water, rinse down the area to be cleaned. You can also use a bucket of water and a mop if you’re worried about the water draining properly. Apply the cleaner. Depending on the type of cleaner you’re using, you’ll want to spray, pour, or spread your cleaners over the area to be cleaned.
Use gloves and a protective face mask for this step, especially if you’re using bleach. You can let any of the mixtures soak for a few minutes or up to half an hour if you have particularly dark stains. If the stain persists after scrubbing, you may need to apply a second coating of cleaner. Wait 15 minutes before scrubbing again, and then hose it off.
Scrub with a short scrub brush. Once your cleaner has had time to soak, scrub at the stains with a short scrub brush. This will loosen up any stubborn dirt or grime that isn’t already lifted by the cleaner. Rinse off the cleaner. Once you’re done scrubbing, use a hose, spray bottle, or bucket of water to rinse the area you cleaned.
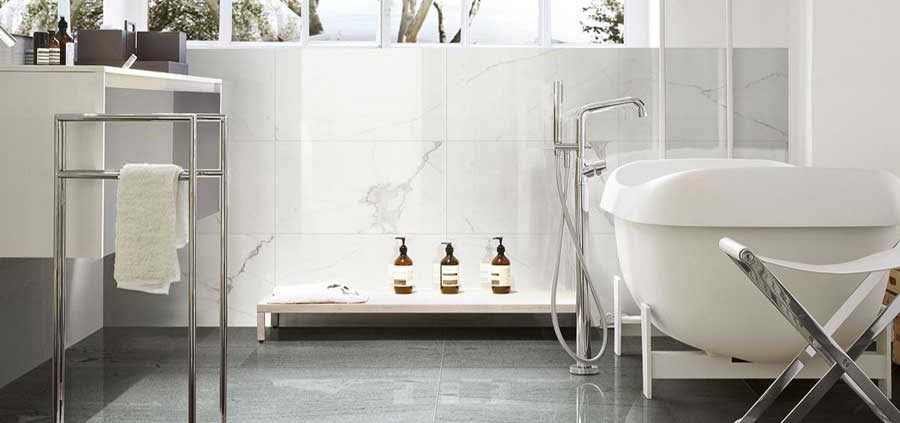
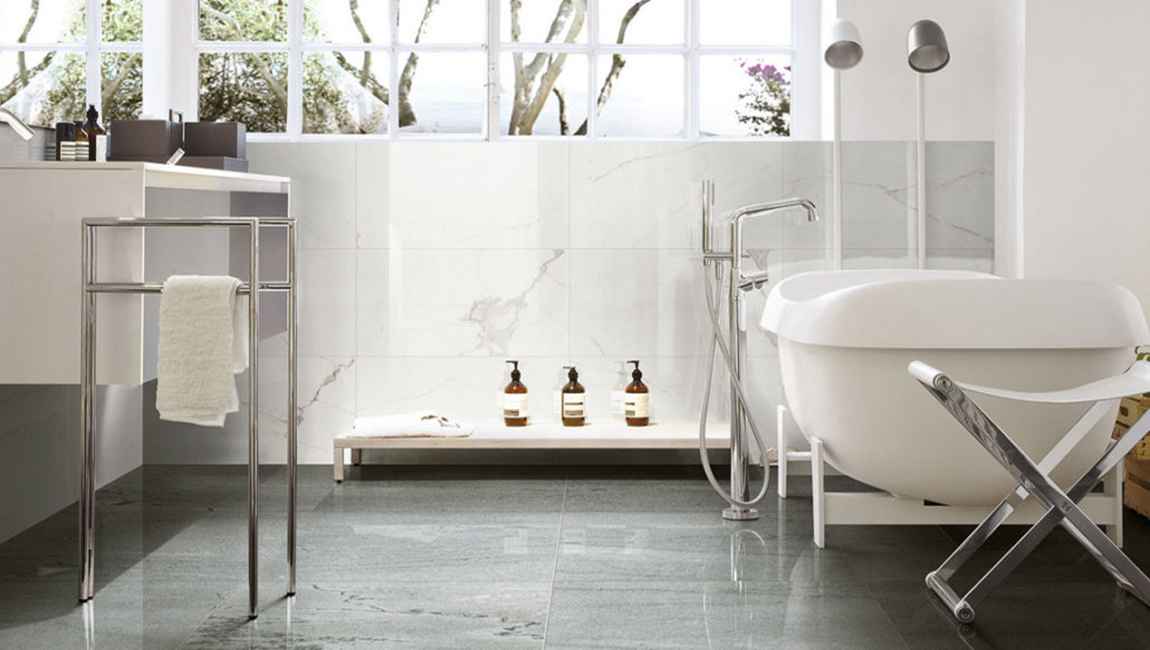
https://baranaceramic.com/wp-content/uploads/2019/12/Using-the-Cleaning-Solution-1.jpg7501150administratorhttps://baranaceramic.com/wp-content/uploads/2025/09/logo.pngadministrator2019-12-19 08:00:052019-12-16 10:10:09How Using the Cleaning Solution?
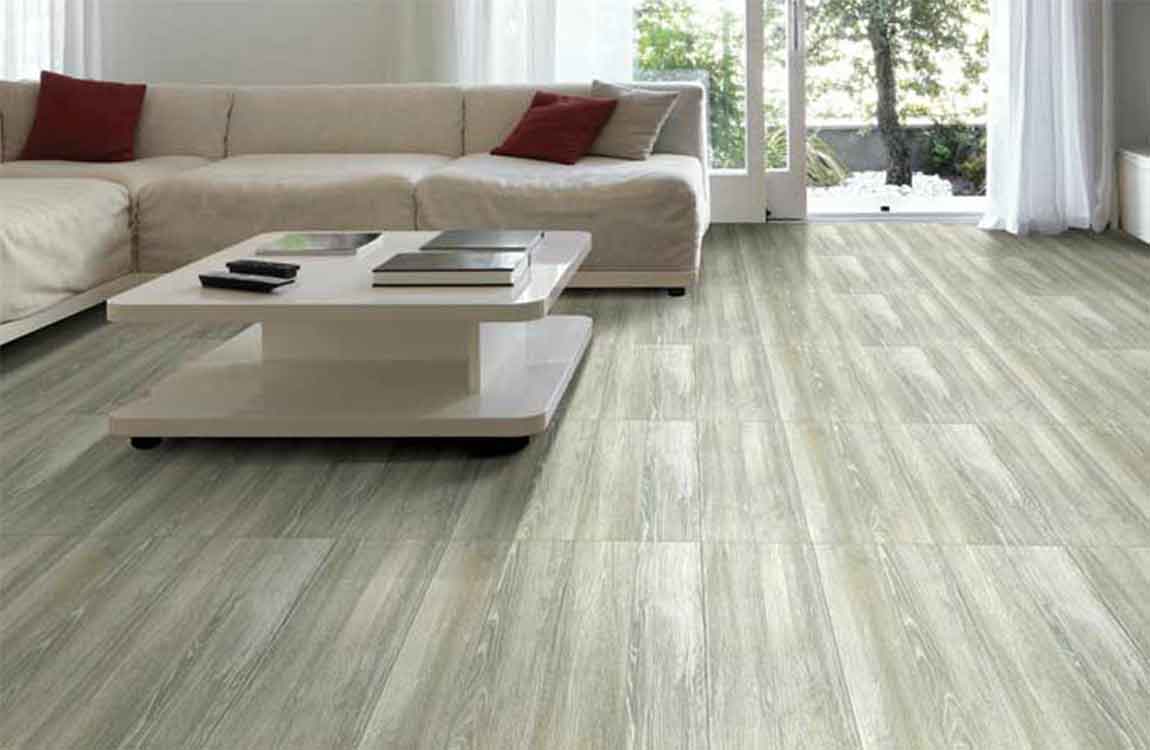
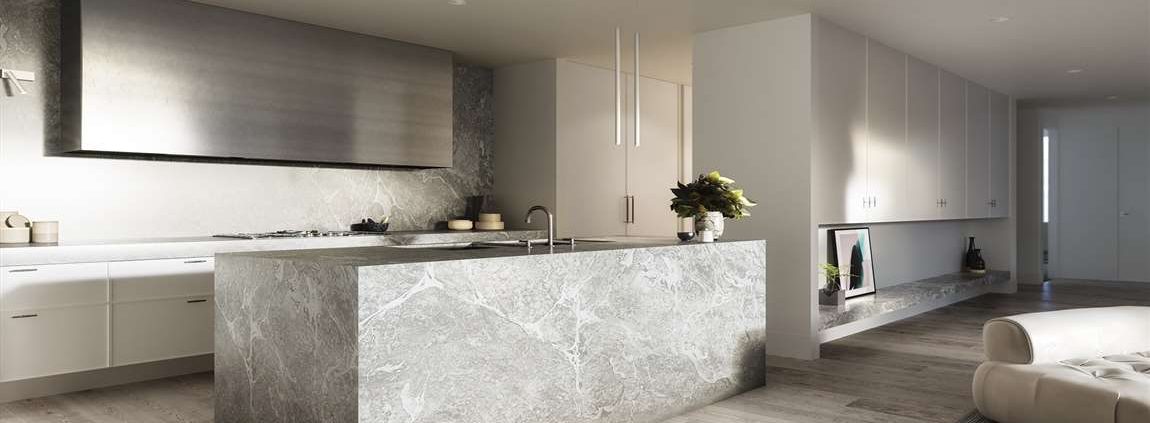
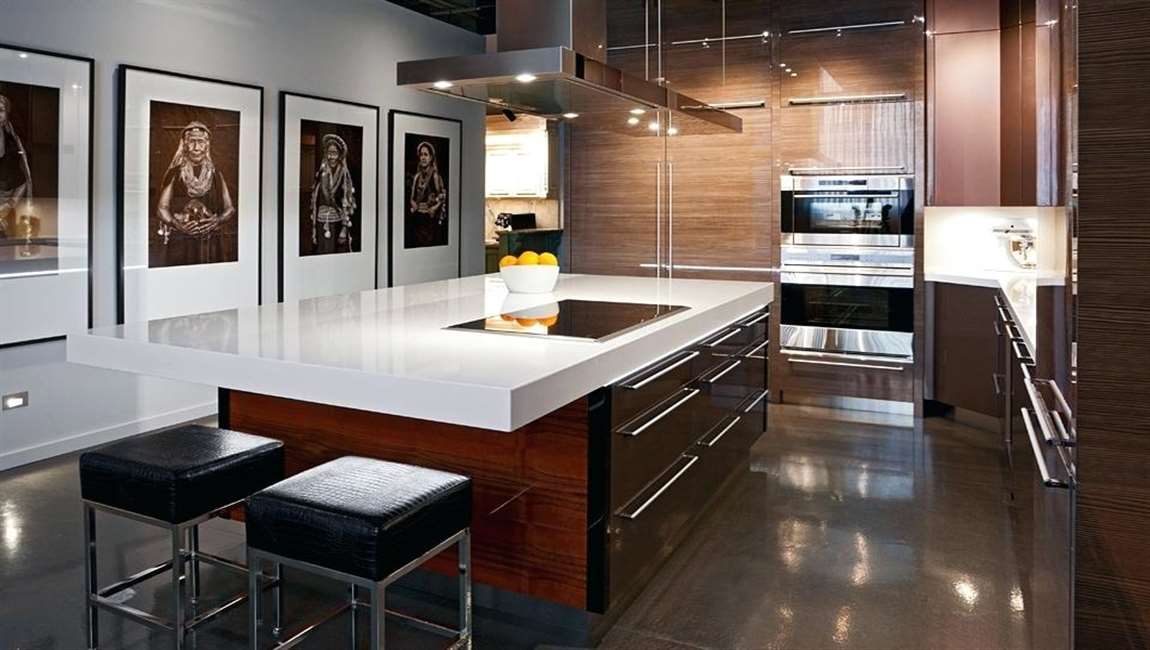
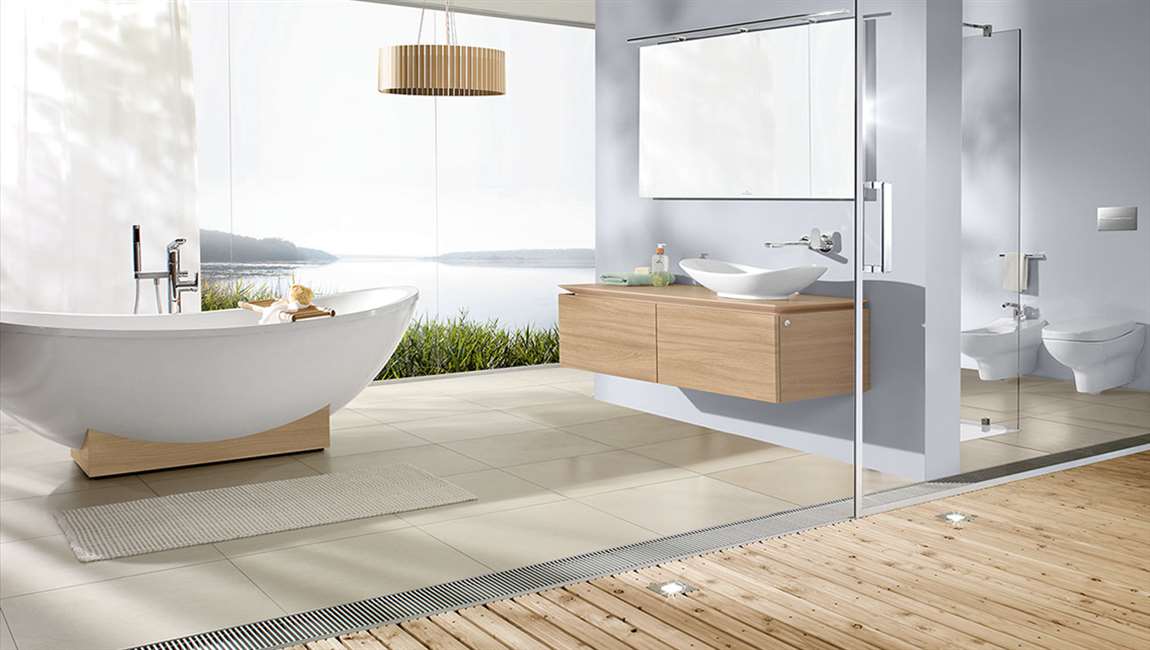
Glass tile is a beautiful material that can bring light and shine to any room in a house, creating a clean modern-yet-classic look. Sheets of paper-faced glass tilemake setting tile easier by mostly eliminating individual tile setting, but you can also get traditional tiles made from glass. With Barana as your guide, you’ll get a professional look without the professional price.
A laser level is handy because it will continue to be available even after you lay down your mortar. You can use a chalk line to line up your tiles but it’s easy to accidentally cover it. Getting a level line is important because walls, ceilings, and other surfaces in your home are often not as straight as they look. A wall, for example, can be taller in one spot than it is in another.
Test your pattern. Dry fit your woodtiles before putting up any mortar to make sure that you like your pattern and that you know how the different tiles or sheets properly fit together. Lay out a couple to get an idea and then get ready for the fun to start!
Mix some thin set mortar. You will use thin set mortar to attach the eleganttiles to the wall or other tiling surface. You’ll need to mix the mortar according to the package instructions, but generally you want to start with the powder and add water very gradually. When the mortar has a consistency like peanut butter, you’ve got the right amount of water. Mix only what you can spread in 20 minutes. Let the mortar sit for 10 minutes, stir it up again and then it’s ready to use.
Spread the mortar. Spread the mortar using a notched trowel in a roughly 3’x3′ space. Spread the mortar out and then use the trowel to create straight, parallel lines in the mortar. These will help the tiles adhere to the wall. You might want to do a test tile first, however, in order to make sure that your mortar is the right consistency. Place a tile down and them pull it back off: when you set the tile on the mortar, if the mortar comes up between the tiles so that it is even with the face of the tile, then your mortar is too thick or maybe wet. If you see lines of mortar on the back of your tile when you pull it up, then your mortar is too dry or the bed of mortar is too thin.
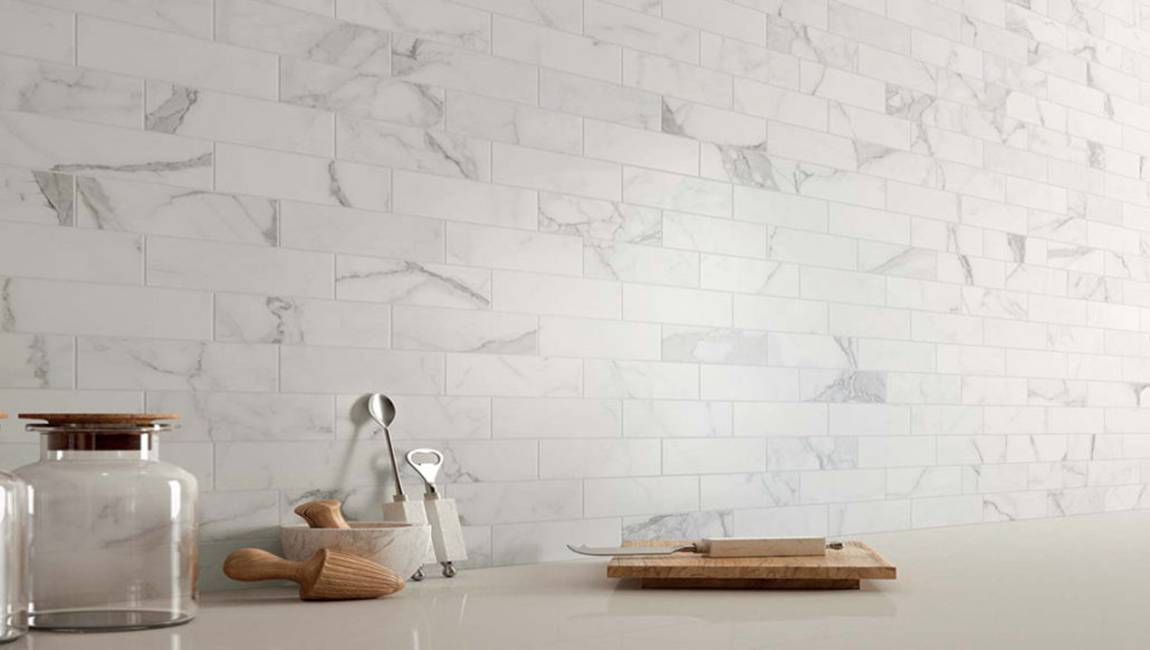
https://baranaceramic.com/wp-content/uploads/2019/06/How-to-Install-Glass-Tile-4.jpg6501150administratorhttps://baranaceramic.com/wp-content/uploads/2025/09/logo.pngadministrator2019-06-17 08:34:092019-06-18 09:32:57How to Install Glass Tile?
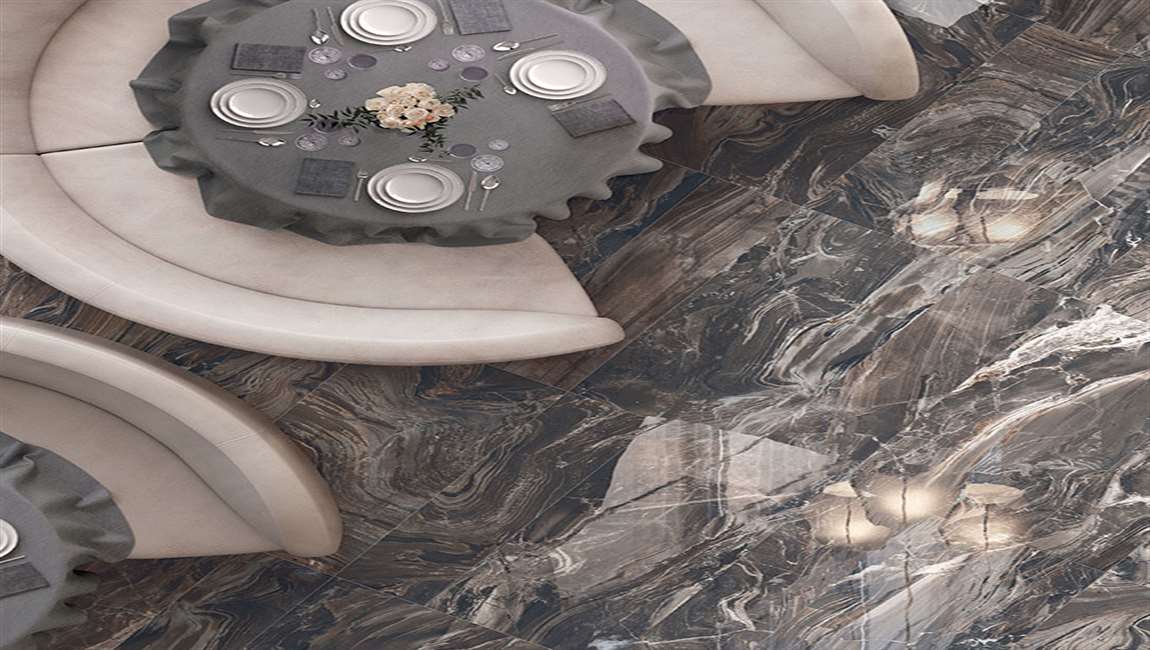
Mix the grout. Mix the grout in one of the 5 gallon (19 L) buckets using a drill with a mixing attachment or paddle mixer. Do an initial mix and then let it sit for a couple of minutes, and then mix the grout again. You may not want to mix it all at once. Just mix up a few cups at a time.
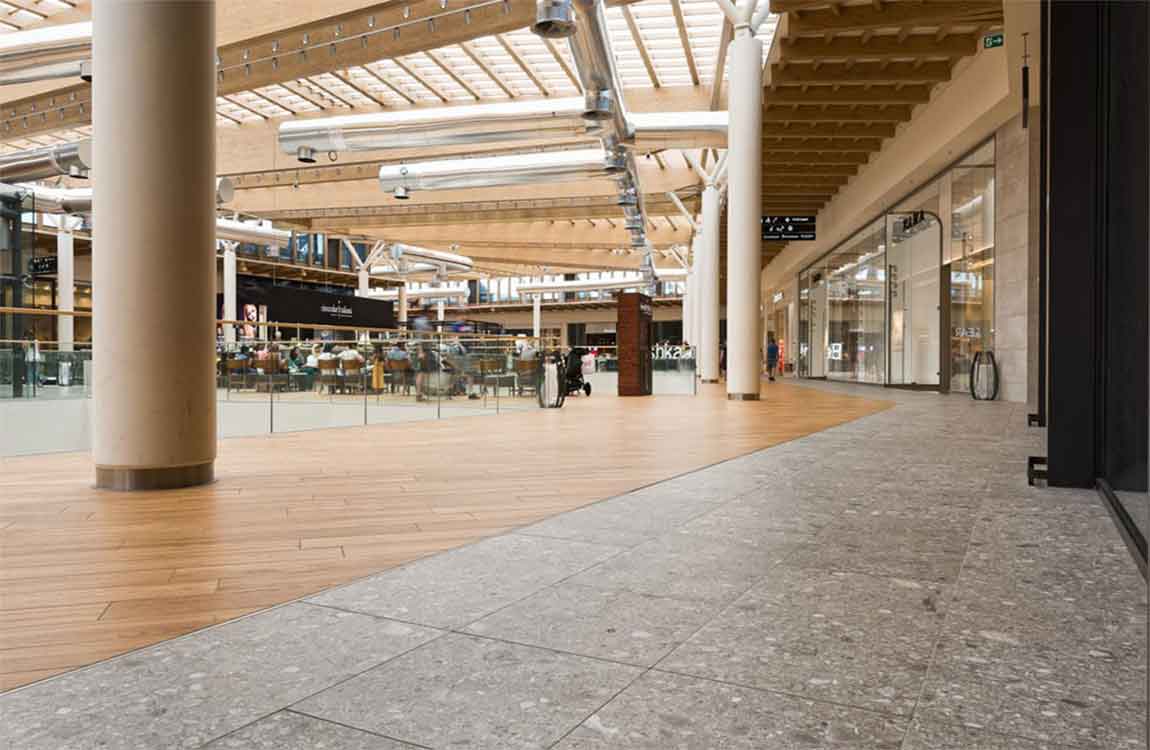
Apply the grout. Apply a generous amount of grout to your grout joints along yourtile floor using the rubber grout float. Be sure to distribute extra grout into the grout joints in order to fill them completely. Grout all areas of your tile floor except the expansion joints; these are the areas between the floor tile and bathtub, wall, door, and cabinet or sink area.
The rubber grout float is a rectangular, flat tool with a steel handle and rubber surface used to distribute grout. Hold the rubber grout float at a 30 degree angle and distribute grout across the surface of the tilefloor. Keep in mind that it is important to work quickly because the grout will harden in a short amount of time.
Remove excess. Remove the excess grout from the tile floor once every grout joint has been filled. Do this by going over the tile with the rubber grout float, only this time use it at a sharp angle and move it diagonally across the tile floor in order to scrap the excess grouting material off. Moving diagonally avoids detaching recently laid grout from the grout joints.
Let the grout set and prepare bucket. Let grout set for approximately 10 to 15 minutes. While the grout is setting, fill your second 5 gallon (19 L) bucket with water and grab your tile sponge to clean the tilefloor. Prepare your sponge. Dip the tile sponge in the bucket of water and wring out any excess water leaving a damp tile sponge.
https://baranaceramic.com/wp-content/uploads/2019/05/Laying-Down-the-Grout-Before-Regrout-Tile-2.jpg6501150administratorhttps://baranaceramic.com/wp-content/uploads/2025/09/logo.pngadministrator2019-05-23 07:21:042019-05-20 08:51:38Laying Down the Grout Before Regrout Tile
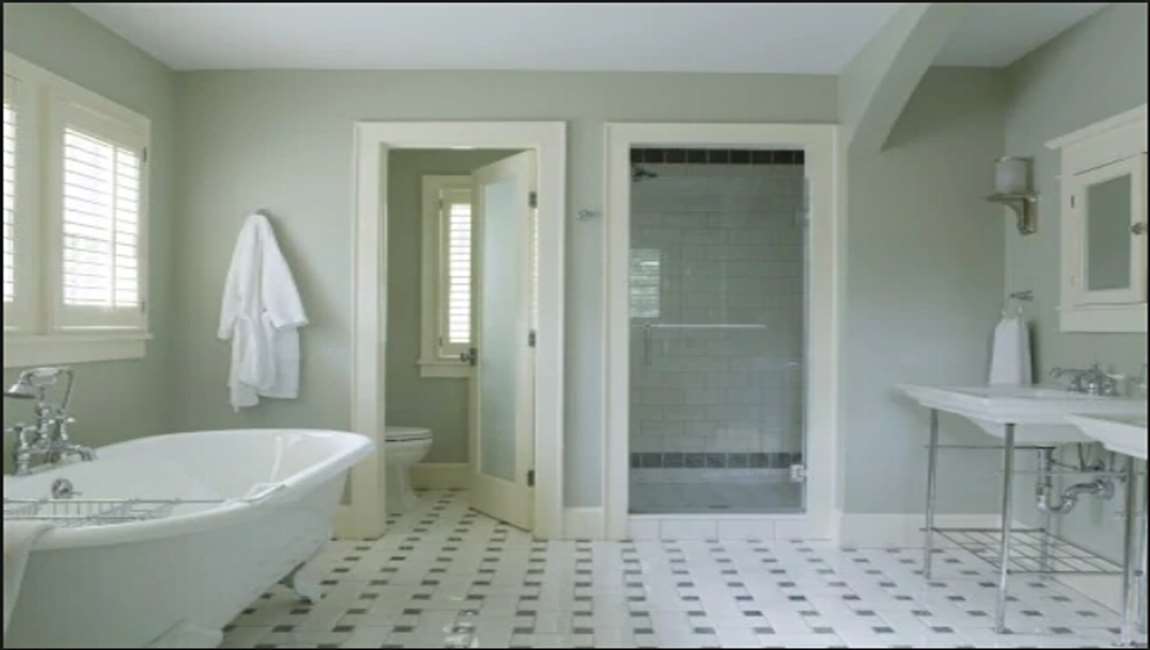
Mark your tile layout on the substrate and mark out your first course carefully. If your shower enclosure walls are not perfectly square, or if you plan to install accent tiles, the layout of these showertiles becomes increasingly important. Measure up from the bottom of the backer board the height of a tile minus 1/2″. This will give you a 1/2″ overlap over the bathroomtile lip on your shower pan. Make sure that you allow room for the grout joints as well. Mark this with a sharpie or chalk and using a level, transfer the mark across the shower stall. This will be a guide for the top of the first row so that all walltiles will be level. Only use dry tiles make sure that the lay out works as well.
Another way to plan out the first row of tiles design is to measure the high part and low part of the shower pan. Make the cut spot on the low end a full tile, mark it, and then cut the tiles on the high side down to the level of the uncut wall marbletile on the low side. Keeping grout lines away from the inside corners of the enclosure can prevent the need for tiny tiles and poor grout joints. Plan accordingly and always make cuts tight on the inside corner.
Mix enough thin-set for the bottom row. You want your thin-set to be the consistency of peanut butter — not too thick or it will dry out and not too thin or you’ll have a hard time setting the mortar with strength and cleaning. Use an electric drill and a mortar mixing bit attached to your drill to mix your thin-set mortar. This will ensure even consistency and ultimately a better product. Let the mortar set for seven minutes and then mix it again.
Dampen the cement board with a sponge before applying the mortar. If you do not, the cement board will draw the moisture out of the thin-set too quickly, making for a brittle set that is susceptible to cracking. Trowel some thin-set onto the back of the tile and spread it with a notched trowel. This process is called “back buttering.” Apply mortar to the backer board along with back buttering and then set the cement tiles on top of that. It’s a lot cleaner, too!
Be sure not to apply too much mortar to the back of a tile. You only need a little in each corner and a little dab in the middle for back buttering. More isn’t necessarily better when it comes to thin-set. Keep in mind that back buttering is only necessary when you are using a larger smalltile (8″ x 8″ or larger) and you only need to add a little dab of thin set mortar to each corner.
Set the first tile in the middle of the wall (or floor). This will create a pleasant visual effect and allow each tile that is placed beside it on either side seem centered. After back buttering, simply press the cementtile onto the backer board and apply pressure to make sure that the mortar adhered properly to both the tile and the backer board. Then, give the tile a little twist and tap each one with a rubber mallet, especially the floor tiles.
Wipe away any excess thin-set mortar after pressing the marbletile onto the backer. Although you’ll be grouting and caulking between the tiles, it’s best not to leave any thin-set on oozing out from the sides of the tile. Dig out any oozing thin-set that you notice. Simply wipe away excess thinset with your finger or a Q-tip.
https://baranaceramic.com/wp-content/uploads/2018/11/How-to-Laying-the-Tiles-for-a-Shower-2.jpg6501150administratorhttps://baranaceramic.com/wp-content/uploads/2025/09/logo.pngadministrator2018-11-30 08:32:402019-11-27 10:02:38How to Laying the Tiles for a Shower?
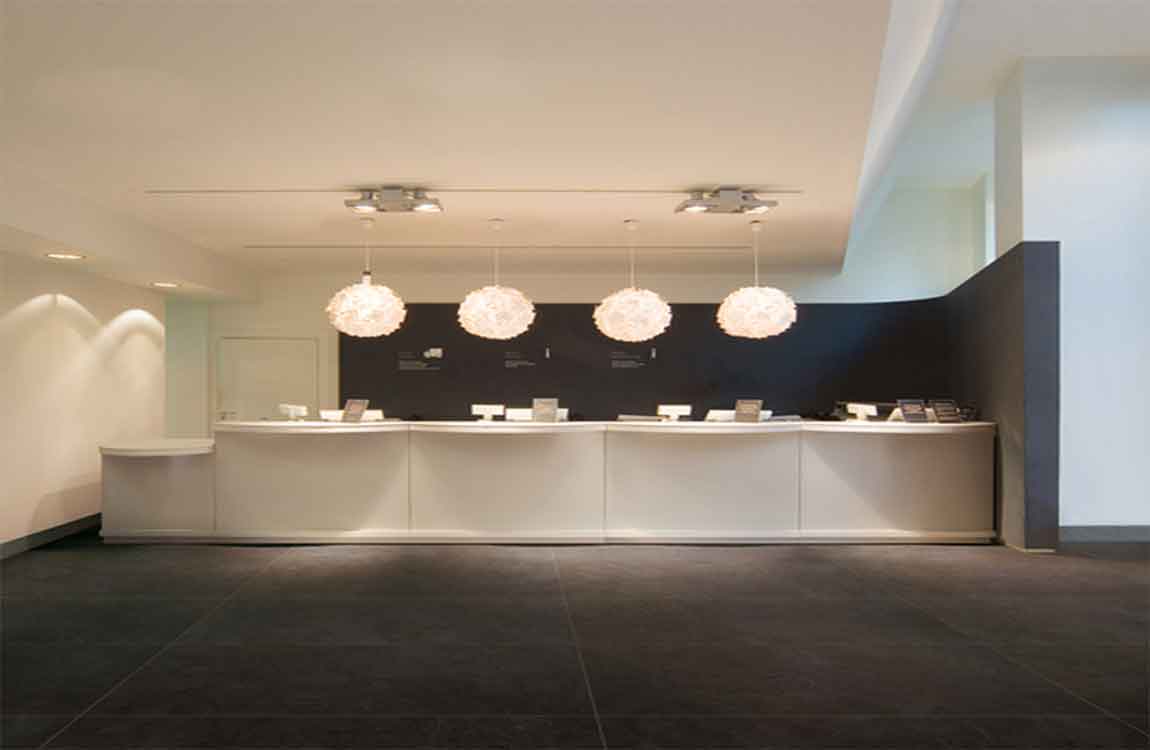
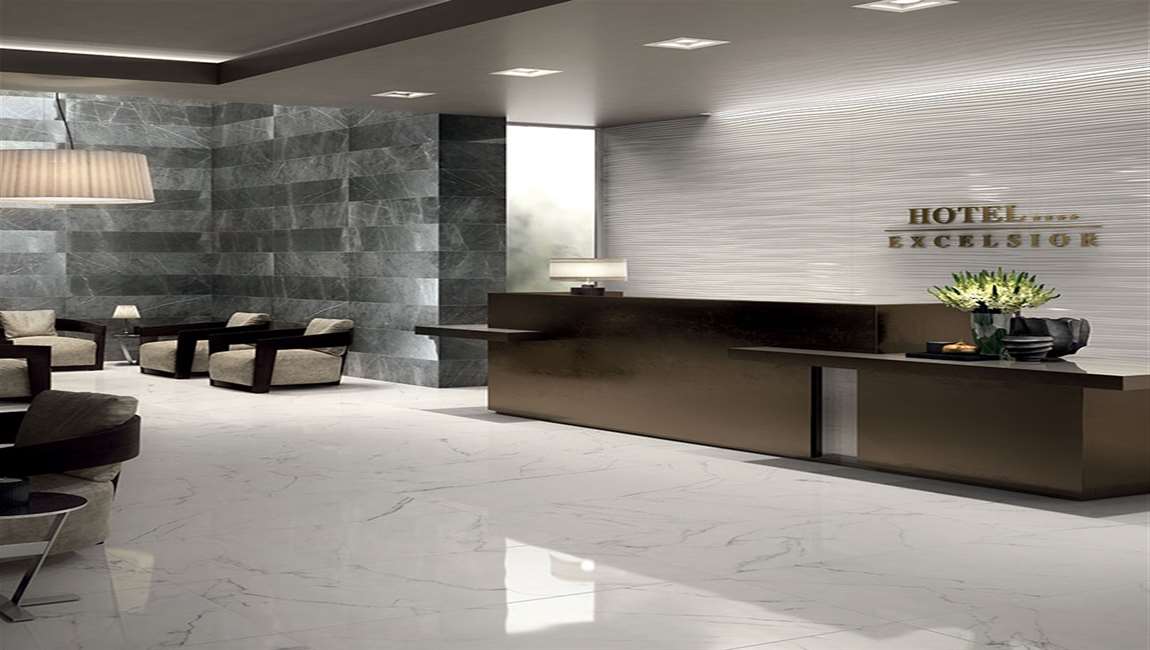
When the family decoration is purchased, many ordinary consumers are entangled in the color and lustre of the brick. Generally, they will choose the brick products with white brick. Although the color and quality of most tiles are not proportional to the quality, the normal quality of the tiles can not be determined by the color and lustre of the bricks, but the undeniable point: White tiles with large size tiles have great competitive advantages in product sales.
In the case of fierce market competition and serious product homogenization, the manufacturer makes a distinction between the quality of the product, and the selection of the white tile material and the iron removal process are more complex. Due to the related marketing, the low degree of quality of tile itself has created the effectiveness of marketing, resulting in general consumers blindly being followed and misled. Some ceramic manufacturers sell their inferior quality and color and lustre ceramic tiles in the market. For a long time, the ceramic tile products with deep color and lustre have left a very bad reputation in the market.
Some ceramic tiles have high requirements for whiteness, such as micro – powder tiles. It is necessary to improve the whiteness of white lines and transparency of transparent materials to improve the sense of the product. There are several ways to increase whiteness: One is to increase the amount of zirconium silicate; The two is to reduce the content of iron oxide in raw materials (white and transparent materials), so as to improve the permeability of products.
The most important factor affecting whiteness of ceramic floor tile is the content of ferric oxide and titanium dioxide in raw material, especially iron oxide content.
The raw materials for producing ceramic bath tile are mainly divided into two parts, feldspar raw materials account for about 80%, and clay materials account for about 20%. Generally, the content of ferric oxide in raw feldspar material is less than 0.2%, and the content of feldspar iron oxide in finishing (such as water mill) is less than 0.08%. The content of iron oxide in clay materials is about 1.2% ~ 1.8%, and the content of iron oxide in washed clay is about 1.2%.
The iron oxide in the green body is mainly carried by clay materials. In order to improve the whiteness of ceramic tile flooring, we must control the content of iron oxide in clay and choose refined clay. For example, the main indicators of ultra white washed clay produced by some manufacturers are: The content of iron oxide is less than 0.5%, generally around 0.4%, and the electric furnace is 90 degrees white, and the firing degree of kiln is 82 degrees. High strength and proper loss of ignition will not cause difficulty in forming or black heart when firing.
The main means to reduce the content of iron oxide is to select high quality mineral resources and two to remove iron from water.
After processing, the composite white iron oxide with low content and high strength meets the needs of tile production. However, it should be noted that some ultra white mud is very harmful to tile production when it is processed to increase whiteness and add a lot of quartz powder. Some of the northern clay with high whiteness and high fixed carbon content and large loss of burning loss is used as raw material. Although the clay whiteness of the synthesized clay is high, it is easy to produce black heart, and its strength is low, and it is not easy to form.
The whiteness of ultra white mud can not be examined solely, but also the brightness of the simulated products.
The general method of detection is: 70% of the billet was mixed with albite and 30% super white mud. After mixing ball milling, the cake was fired and the whiteness was measured in the furnace. The whiteness measured in this way is the whiteness reflected in the actual production. There is also a simple way to soak the burnt white mud cake into the water to see the change of whiteness after soaking. All iron oxide with high content of clay, whiteness of white mud super hard; low iron content, whiteness of generally not more than 10 degrees.
In addition to whiteness, mud mobility and forming strength are also important indicators of ultra white mud. Poor fluidity of mud will cause difficulties in ball milling. When the forming strength of the slurry is low, the product will crack easily.
The core index of ultra white water washing mud is: Low iron oxide content, high forming strength and whiteness after porcelain. Using ultra white mud, the production cost can be reduced and the production cost can be reduced without or less use of zirconium silicate, and the problem of excessive radiation caused by the use of zirconium silicate is also avoided.
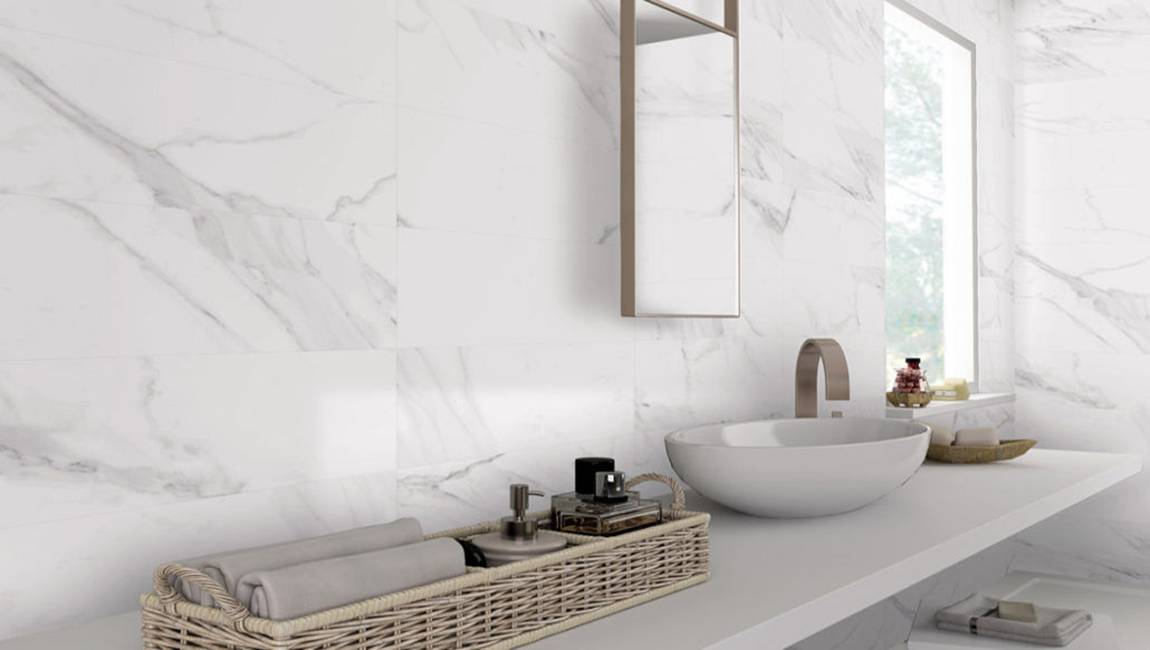
https://baranaceramic.com/wp-content/uploads/2018/05/Is-the-better-the-whiter-quality-of-tile-1.jpg600900administratorhttps://baranaceramic.com/wp-content/uploads/2025/09/logo.pngadministrator2018-05-16 03:30:082019-09-03 07:23:12Is the better the whiter quality of tile?