Posts

How Waxing the Floor?


Follow manufacturer’s instructions if you are using a finish instead of a wax. Floor wax is a natural product that works into the pores of the wood. If you are trying to create a similar result using a synthetic finish, which bonds over the wood, you will need to follow the specific instructions that came with your product.


Polyurethane, the most common modern finish, should be stirred, then applied as quickly as possible and in one back and forth layer across the room, overlapping the previous stroke so you keep a wet edge. You should wear an organic vapor respirator mask and keep a fan blowing out a window while you work.


Sweep and mop your floor until it’s as clean as you can make it. Use a dust mop to pick up as much dust and as many small particles as possible. Anything you don’t get off the floor is likely to get caught in the wax, where it will stay until someone strips off the wax.


Use a new sponge mop or flat wax applier mop. Never use a used mop, even if it doesn’t look dirty. Sponge mops that have also been used for cleaning the floor are likely to introduce dirt into the wax, ruining the look.


Line the mop bucket with a garbage bag and fill with floor wax. The trash bag prevents the wax from caking onto the mop bucket and ruining it for future uses. If you are using a flat wax applicator mop, you can skip this step. Those mops are designed to have the wax poured directly onto the mesh backing on the upper side.

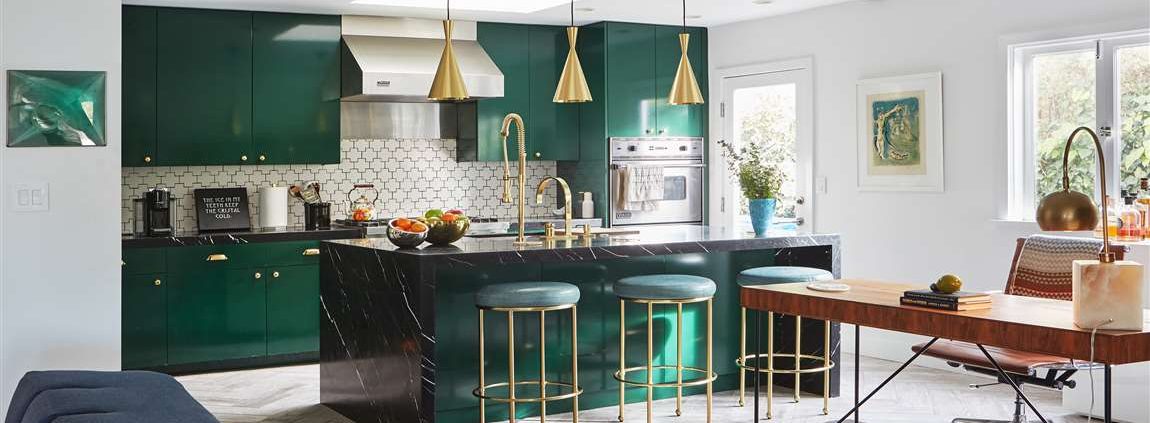
What Should We do When Tile a Backsplash?

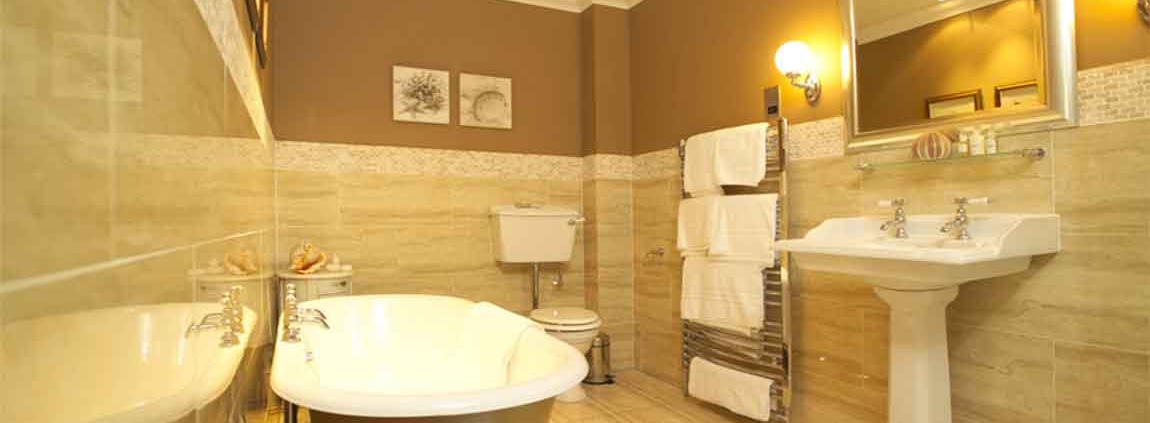
If you’ll need to cut the floor tiles to fit into corners or underneath cabinets, it may help to purchase more tiles than you need to make up for tiles that break while cutting. Wall tiles tend to be thinner and more lightweight than flooring tiles. Make sure you choose the right type of wood tile for your project.

Slate tiles have a tendency to crumble when they are cut, so may be more difficult to work with if you’ve not used them before. Ceramic tiles, or other types of mosaic tiles, will be easier to work with and cut.

Sand the wall with 80-grit sandpaper. Sanding down the wall will remove any grease or grime that will stop the tiles from adhering properly, as well as providing a coarse surface to help the mastic hold more tightly. Use a medium-grit sandpaper, around 80 or 120-grit, to sand down the entire surface you want to tile.

If your surface has a lot of grease stains, it may help to clean them up before sanding. Use a cloth dampened in a mixture of water and dishwashing liquid to wipe them away, giving the wall plenty of time to dry before you attempt to sand it down.

Wipe the wall down with a damp cloth or sponge. Dip a cloth or sponge in water and wring it out as much as you can. Wipe down the surface of the wall to get rid of any stray dust or dirt leftover from sanding. Make sure that the cloth is only slightly damp, and that the wall is completely dry before you begin tiling it. Water left on the wall may change the consistency of the mastic and stop your tiles from staying in place.

Mark a central line on the wall. Use a measuring tape to find the midpoint of your backsplash and mark it with a pencil. With a bubble level, draw a vertical line from the base of your backsplash to the top of it. This will help keep your ceramic tiles centered and even as you work. In place of a pencil line, you could also use a laser level as a guide for your first tiles. This will be much easier to see but isn’t necessary if you don’t have one. Marking a central line will help ensure that the edges of your backsplash are even.

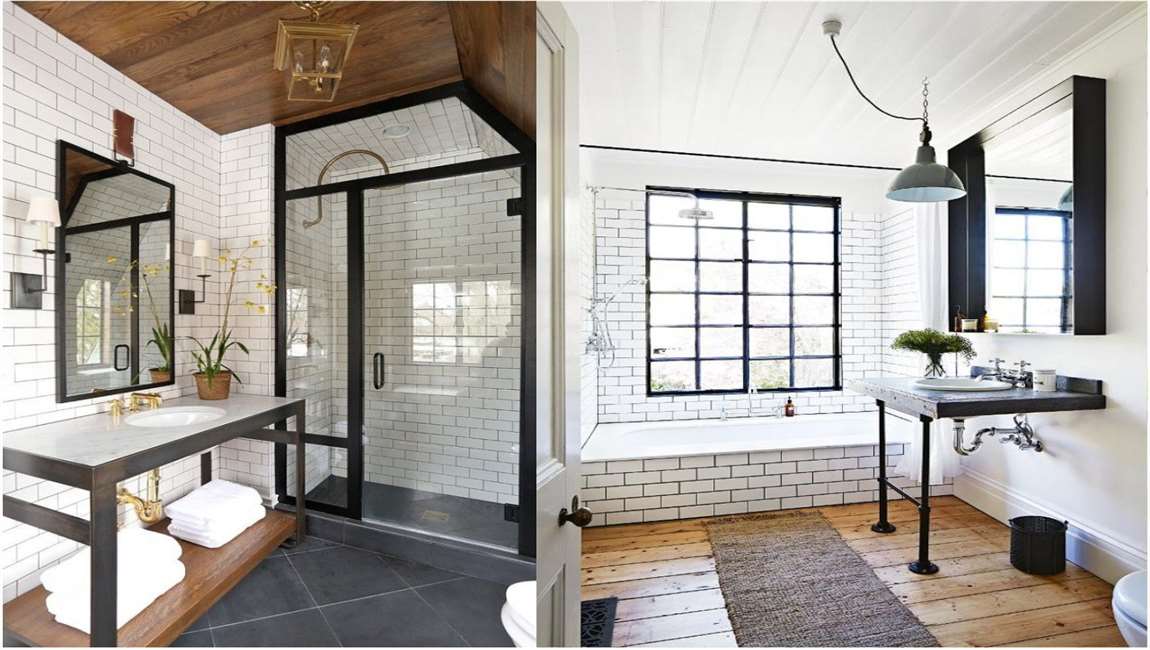
How to Cleaning a Tile Floor with Vinegar?

Sweep or vacuum the floor. Before cleaning a tile floor with vinegar, you will want to remove all debris from the surface of the floor. Use a broom, dust mop, or vacuum cleaner to remove all loose dirt and debris from the tile floor. Vinegar is great for ceramic tile floors. Don’t use vinegar on marble or granite. Instead, use a cleanser specifically formulated for these delicate stone types.

Mix hot water and vinegar in a bucket. Add equal parts hot water and vinegar to a bucket. The bucket should be large enough to easily rinse and wring out a mop. Wring out a mop. Place a mop in the bucket of hot water and vinegar. Lift the mop from the bucket and wring it out. Try to wring as much water out of the mop as possible.

Mop the floor tile. Use side-to-side motions to mop the tile. Rinse and wring out the mop frequently while mopping. If you are cleaning a large area, make a fresh batch of hot water and vinegar when you finish mopping half the area. Fill the bucket with clean water. Once you finish mopping the rustic tile with the vinegar solution, you will need to rinse the tile with clean water. Dump the vinegar solution down a drain. Fill the bucket with fresh, hot water.

Mop the tile with clean water. Dip the mop in the fresh water, wring it out, and mop the tile using side-to-side motions. Rinse and wring the mop frequently as you mop. If you are mopping a large area, fill the bucket with fresh water after mopping about half of the surface area.

Let the tile air-dry. Allow the bathroom tile to air dry before you walk on it. This will prevent footprints and debris from sticking to the wet wood tile. You can also dry the floor with a clean, soft towel if desired.

Create a vinegar and baking soda paste to work out tough stains. If there are any stains on the marble tile, then try mixing a small amount of vinegar into some baking soda to dorm a paste, such as 1 part vinegar to 3 parts baking soda. Apply the paste to the stain with a scrub brush or sponge. Then use a wet paper towel to remove the paste.

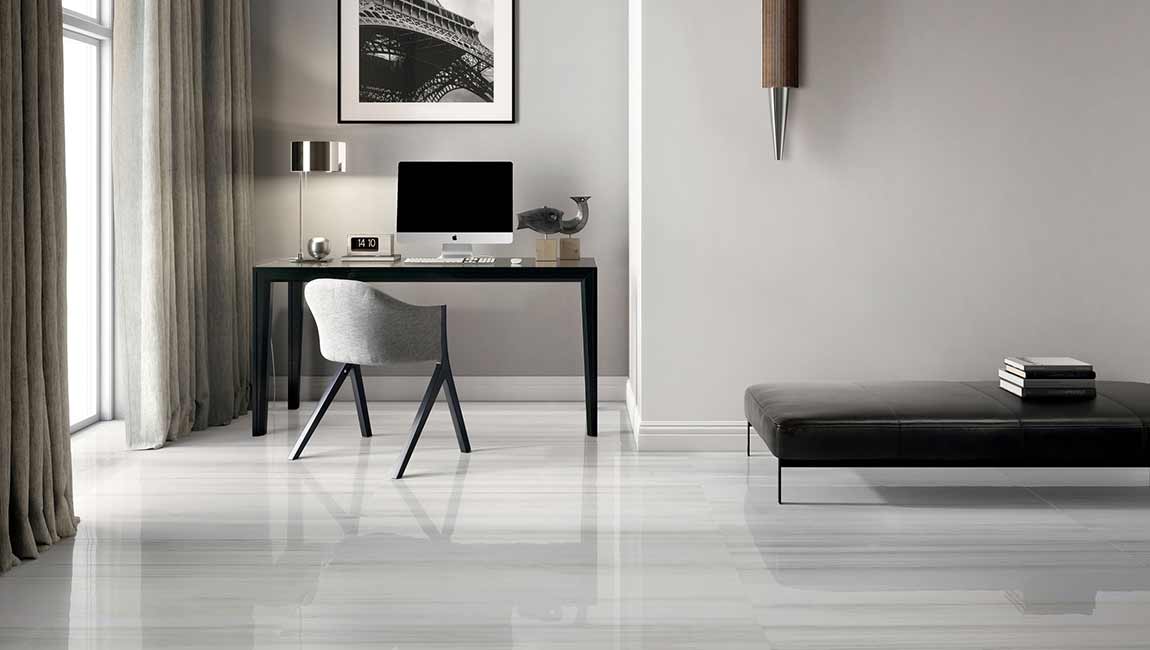
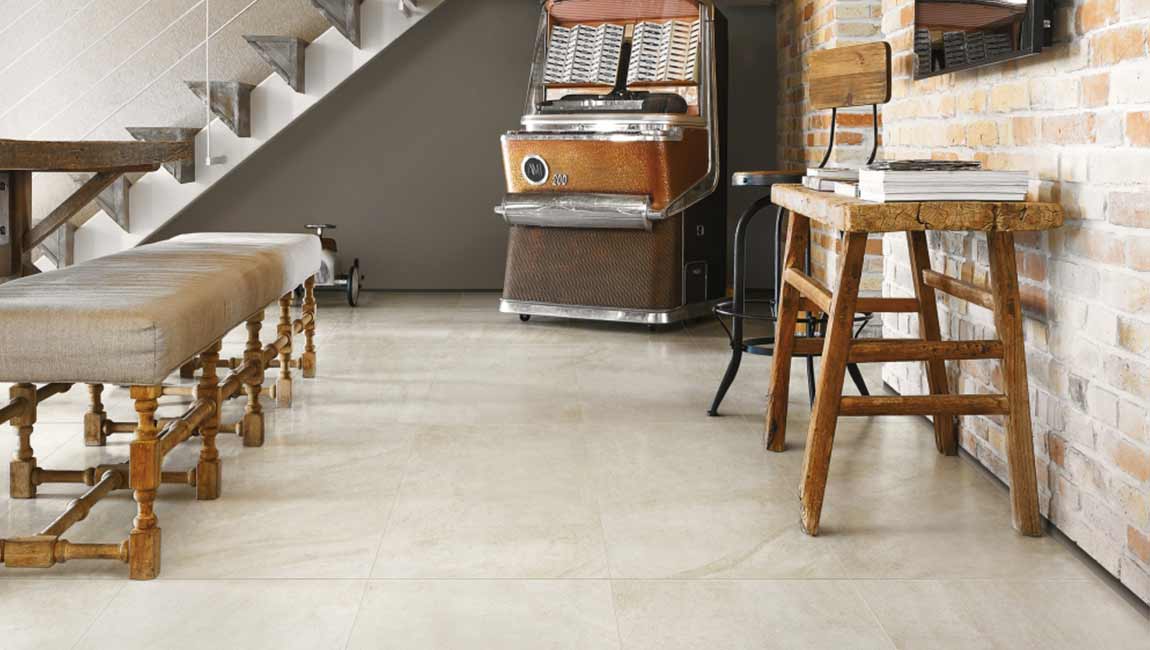
How to Shopping for Your Floor Tiles?

Shop in store or online. If you want to shop in person, you can visit a home improvement store or a flooring store. You can also source your tiles online. Shopping in person is a great idea because you can see the tiles in person to verify what the color or design looks like. Both options should provide you with samples of the floor tiles you’re considering, so don’t hesitate to ask.

Measure your floor so that you can estimate cost. Knowing how many square feet you need to cover will help you narrow down your choices. Use your measurements to see how many of each tile you would need, then add up the costs to make sure they’re within your budget. If you’re shopping in the store, an employee can help you determine how many wood marble tiles you would need for the space you’re tiling.

Bring photos and swatches of your room’s decor when shopping. It’s hard to determine what the wood tiles will look like in your home, but you can help yourself by bringing items from your home. This could include a photo, a paint swatch, a fabric swatch, or even a piece of your decor that you want to match.

Compare the items from your home to the tiles to see how they look. Bring your partner or a friend for a second opinion. Get samples of the tiles to get an idea of how they’ll look in your home. You can also bring the marble tiles into your home by getting a sample. These are usually available for free or for a low cost. You can request samples from a store or from companies online. Getting a sample can save you from buying a bathroom tile that doesn’t work in your home.

Choose tiles that are rated for use on floors. Tiles design are rated for durability using a rating system called the PEI scale. They can be rated from Class 1 through 5. Floor tiles should be at least a Class 2, but it’s a good idea to choose one that is a Class 3 or higher to ensure that the tile won’t be easily damaged by normal use. Lower rated tiles are better for use on walls or counters.

The History 0f Mosaic

People will not be unfamiliar with the Mosaic, as early as the early 1980s, many families laid toilet walls and ground materials. Mosaic is one of the oldest known decorative arts. It is a pattern created using small tiles or small ceramic tiles. In modern times, Mosaic is more of a kind of ceramic tile.

Early Greece: the most commonly used Mosaic of black and white to match each other. Only the authoritative ruler and the rich and rich can afford to be artisans and purchase materials to express this luxurious art.
Late Greece: artists enrich their work in a more diversified way, and they start to need smaller pieces of gravel and cut small stones themselves to complete a Mosaic.
Roman period: mosaics have been developed widely, and the floors and walls of general homes and public buildings are decorated with it.


The golden age of mosaics came from early christians who came to Rome and were persecuted and could only party in the basement and other passageways. Since most people are illiterate, the walls of these basements have glass Mosaic frescoes describing Jesus Christ’s story.