Posts

How Preventing Gaps in Laminate Flooring?


Allow your laminate flooring to acclimate for 48-72 hours. Bring the planks inside and leave them to sit undisturbed prior to installation. This will give the material a chance to get used to the unique conditions in your home, which can help you avoid many environment-related complications later on.


Fluctuations in temperature and humidity can cause certain types of laminate flooring to swell and shrink slightly. Over time, this can result in noticeable gaps and other inconsistencies. Storing your laminate flooring materials in your garage, basement, or foyer also keeps them from being exposed to the elements.

Make sure the subflooring is perfectly level. Use a level to check the angle of your subfloor every 2–3 feet (0.61–0.91 m). If there are rises or depressions present, your laminate planks won’t sit correctly, no matter how many times you reposition them. Subfloors that are off alignment will need to be smoothed out using leveling compound.


If you plan on adding a separate underlayment for insulation, it will be important to make sure it’s cut properly to eliminate wrinkling, folding, or bunching, all of which could contribute to an off-level subfloor.


Have your laminate flooring installed professionally. Attempting to measure, cut, and install laminate flooring yourself leaves a lot of room for error, even if you have experience with this type of project. In most cases, it will be better to leave it to the pros. They’ll have the equipment, expertise, and manpower needed to get the job done faster and with more lasting results.

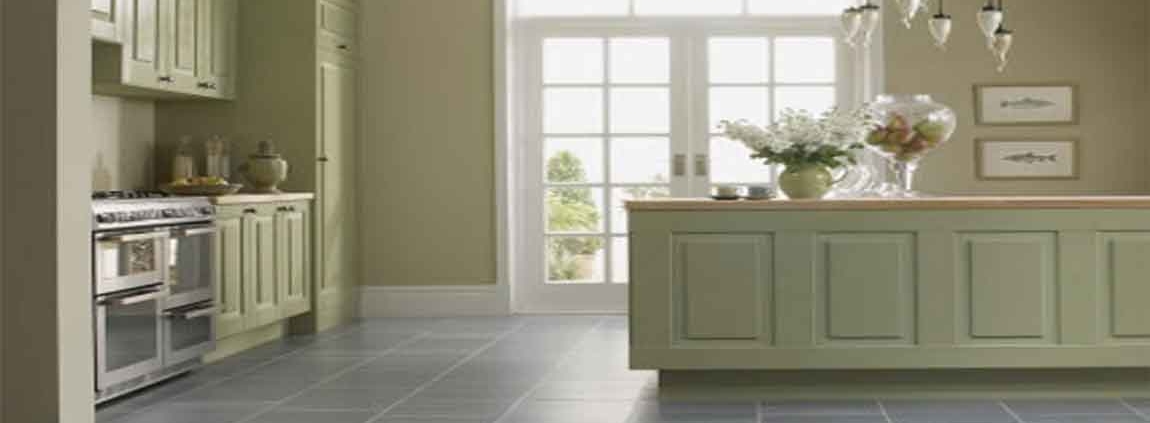
Preparing for Install Glass Tile

Check your surface for structural integrity. Before you start tiling, make sure that whatever surface will be supporting the tiles will be strong and structurally sound. You don’t want to do all this beautiful tile work just to have to tear it down in two years! This means checking the wall studs if you’re putting the tile on a wall, the subfloor and floor joists if you’re tiling a floor, or the counter base and marble tile backing if you’re tiling a countertop.

Look for signs of mold and rot. This will usually be obvious, with seriously discolored wood or a surface which is soft and gives way under pressure. You’ll also want to look for cracks in the surface that you’re tiling. Small cracks may be normal but big cracks might need to be dealt with before you can continue.

Add a base material if you don’t have one. If you don’t have a solid surface to put your tiles on, you’ll need to add one. Cement board or drywall is best, as these can handle the moisture of the tiling process. Plywood should be absolutely avoided, since the wood will warp with the added moisture and it will also be less waterproof, even after tiling.

Cover any joints. Make sure that joints between cement boards or drywall are bridged with fiber mesh tape. You do not want the panels to move individual once your tile is up, since this will cause the tiles to crack.

Create your guide lines. With your surface prepared, you’ll want to create even lines that you can follow when setting your tiles. For glass tiles, using a laser level will be the easiest option. These can be purchased fairly cheaply and will project a straight line onto your surface that you can follow with your tiles. Just set it to level and then project the line where you want the tiles to go.