Posts

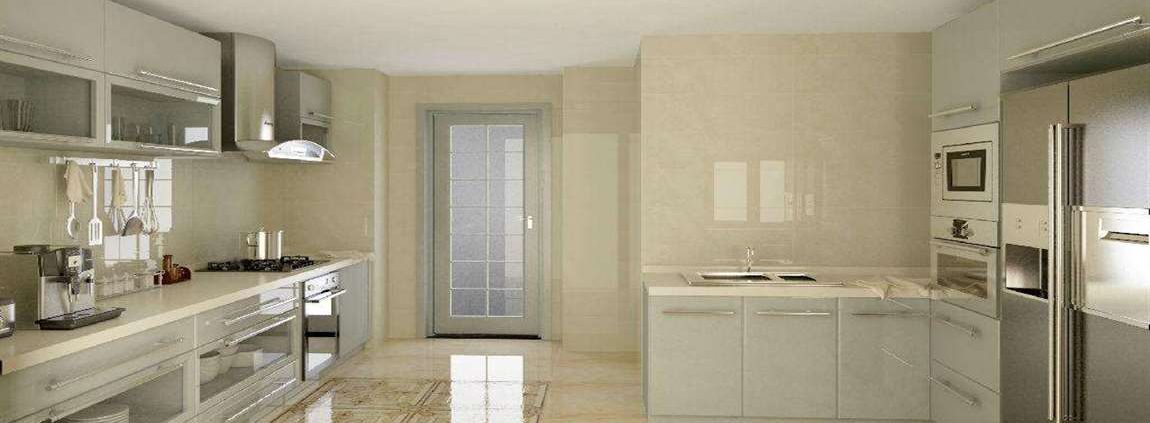
How to Clean Ceramic Floor Tile?

Cleaning ceramic floor tile is simple as long as you do so regularly and don’t allow heavy soil to build up. Regularly vacuuming, sweeping or dry mopping your flooring will save you from having to scrub and use stronger cleansers.

For a deeper clean, start with the mildest technique, which is warm water. If your tile is unglazed, you should only use plain water for cleaning. For glazed tile, you can use a soap and water solution, or a household cleaner that’s compatible with ceramic tiling. With the latter, you should always do a test area first.

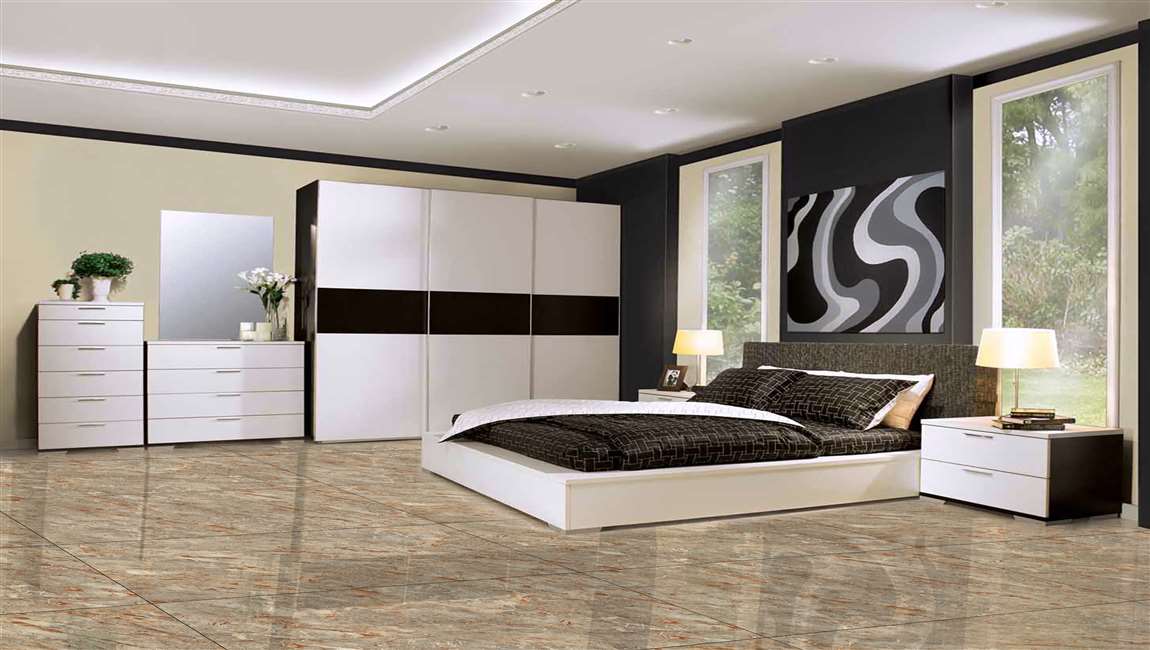
Bed Room Furniture Design Brilliant Fresh Interior Design Of intended for Bedroom Furniture Design Ideas – Best Family Rooms Design

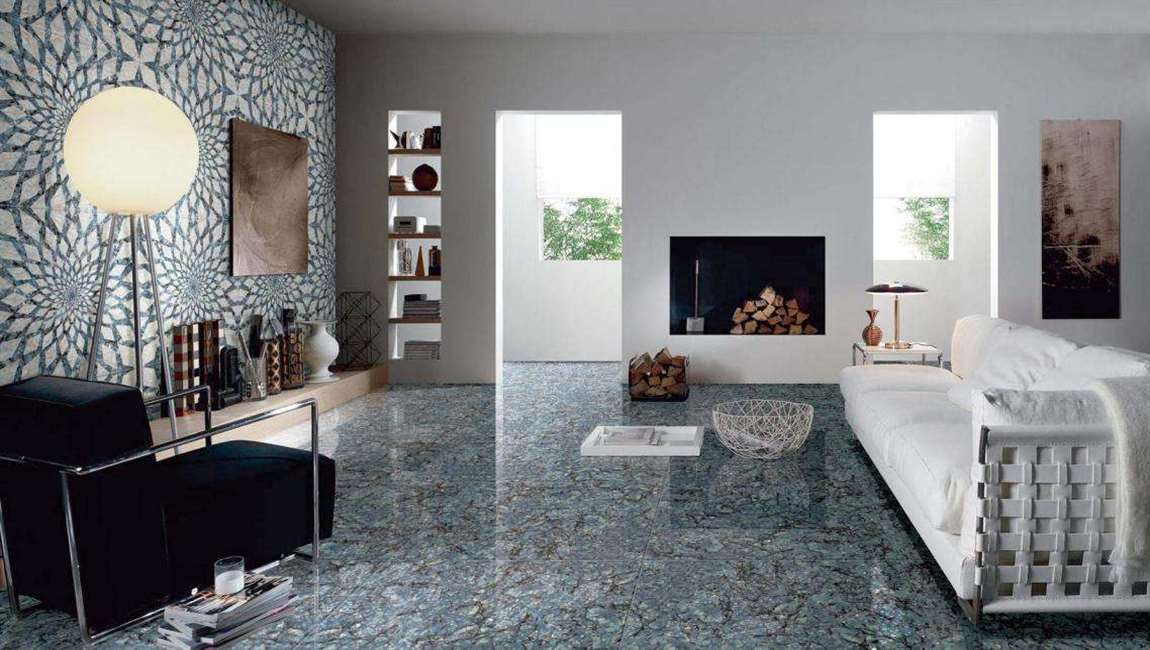
Clean dirt and spills right away. Avoid staining and damage by cleaning dirt as soon as you notice it, and wiping off spills when they occur. Keep absorbent cloths near your tile floor for easy access, especially near exterior doors and during wet or snowy seasons. Wet a cloth with warm water to wipe away tracked-in dirt and spills.

Minimize tracked-in dirt. Keep doormats near exterior doors. Consider adding an extra mat for shoes, and removing shoes as soon as you enter the house. Shake the mats off frequently. Wipe pets’ feet with a towel before they re-enter the house during wet weather.

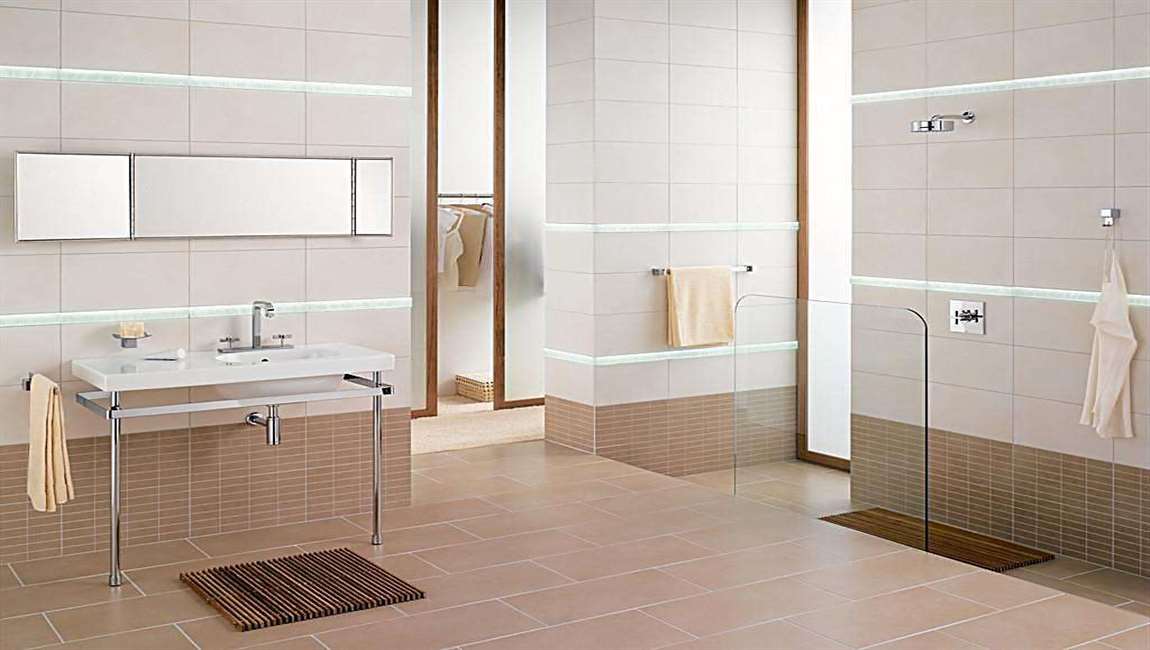
Use mats to reduce wear to your tile floors. Place mats in areas of your home that receive high traffic, such as in front of sinks and stoves. Place protective pads underneath heavy furniture.

How to Setting the Tiles Before Tile a Backsplash?

Apply a layer of mastic to the wall. Use a 3⁄16 inch (0.48 cm) trowel to scoop some mastic adhesive out and onto the wall. Holding the trowel at a 45-degree angle to the wall, begin spreading the mastic over the wall in large, sweeping strokes. Fill in any bare spots with extra mastic so that the wall is evenly covered.

Mastic is a thin adhesive used for adhering tiles to a wall. It should be available at your local hardware store or online. Use a firm pressure when applying the mastic, so that the trowel is pressed against the wall. You should be able to just see the wall between the thicker lines of mastic.

Mastic will begin to form a skin after around 10 minutes, which will stop the casstle tiles from adhering to it. Apply mastic in sections that are small enough for you to tile before it hardens. Use a damp cloth to wipe away mastic on the trowel as it begins to harden.

Place the first floor tile. The first spots tile will make the base for the rest of your backsplash, so it needs to be placed perfectly. Use your pencil line and bubble level to line the tile up in the middle of the backsplash, before pushing it into the mastic. Make sure the tile is lined up properly and perfectly straight before moving on.

Most wood marble tiles will have built-in spacers to ensure you leave enough room between tiles. If your tiles do not have built-in spacers, use external tile spacers or wedges to leave a gap between your countertop and the first tile. If the tile slides around too much, it may be a sign that you’ve used too much mastic. Remove the rustic tile, scrape away the mastic, and try again with a thinner layer.

Continue tiling the surface, working outwards from the first Powder tile. With the first tile in place, begin positioning and pressing tiles into place. Work outwards from the first tile, alternating sides as you go to keep the first Stone tile centered and balanced. Repeat this process, moving up the wall and applying mastic and tiles as you need them until the backsplash is tiled.