Posts

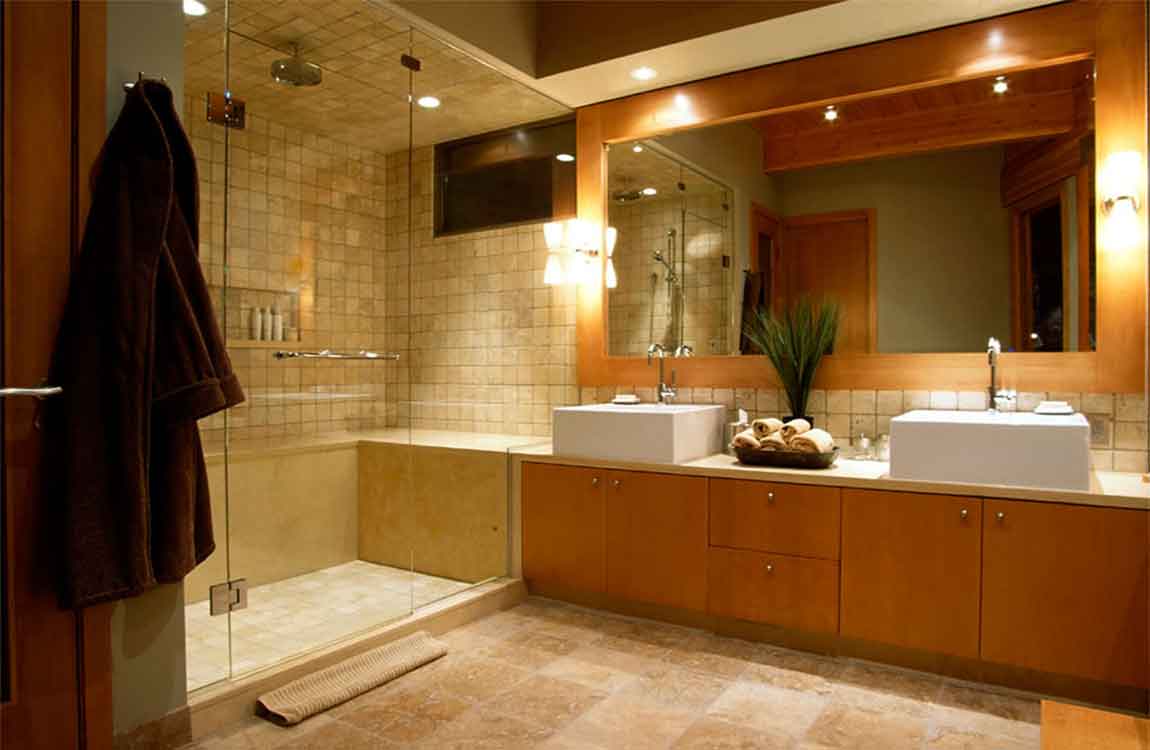
How Sealing Your marble tiles Shower?

Test to see if your shower needs to be sealed. Unless you have a white marble tiles shower, you should not seal your shower. You should also not seal your shower if there is already an existing seal on it. Test to see if there is sealer by putting a couple of drops of water onto the surface of the shower and allowing the water to dry for ten minutes.


If the area is dark, it means that your marble tiles has absorbed the water and most likely needs to be sealed again. If the sealer has pooled on top of your marble tiles, it means that it’s already sealed. If your shower is already sealed, there’s no reason to do it again, and it can actually be detrimental to your marble tiles.


Dust and clean the inside of your shower with a damp rag. The first step before you seal your shower is to make sure that all the dust and dirt that may be built up is removed before you seal it in. Wipe down your shower with a damp rag and water, then dry it with a clean rag. Make sure that your shower is dry and free of dirt before you start sealing.


Spray down your shower with the sealer and wipe it in. Spray down your shower with the sealer and use a sponge or a rag to wipe the sealer in. Work your way from the top of the shower to the bottom of the shower and try to apply even coats throughout it. Some popular brands of marble tiles sealer include DuPont Stone Sealer and Miracle Sealants.


It’s important that you get a stone sealer made for a stone like marble tiles. Allow the sealer to soak for 15 minutes. During this period the sealer will be absorbed by the marble tiles. You should start to see the marble tiles turn a darker color as it absorbs the sealer. Wipe off excess sealer on the surface of your shower. Use a dry absorbent cloth to remove any excess sealer that pools on the top of your shower.

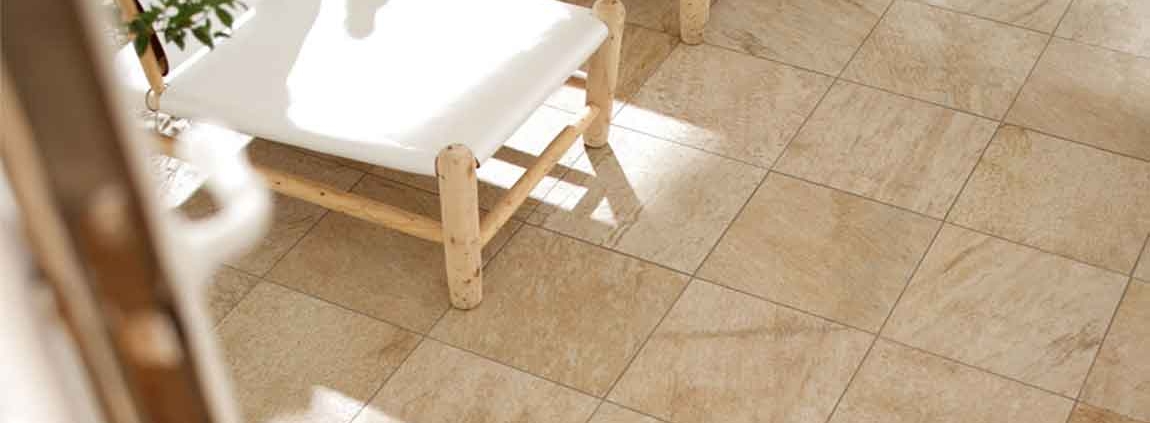
How to Close Gaps in Laminate Flooring?


With enough time and wear, unsightly gaps can begin to open up in interlocking laminate flooring. Fortunately, this tends to be a minor issue, and correcting it won’t require you to go to the trouble of replacing the flooring altogether. For most jobs, all you’ll need is a simple tube of wood glue, or a mallet and flat object heavy enough to provide enough traction to allow you to tap the planks back into place.


This will ensure that the far end remains concealed by the baseboard. If you go towards the wall instead, you may end up having to deal with gaps in adjacent planks as a result. When correcting more than one plank in the same row, it may be necessary to also move the neighboring planks inward to keep the spacing consistent and avoid making the gap worse.


Tap the end of the block with a mallet to close the gap. Steady the tool with one hand and give the side furthest from the gap a couple whacks to move the loose plank closer to the one it’s drifted away from. It should slide along a few millimeters at a time. Continue tapping the block until the plank rests snugly against its neighbor.


Be careful not to strike the block too forcefully. This could dislodge it, or even damage the underside of the flooring. After successfully closing the gap, simply pull up the floor gap fixer to remove it. Repeat with any remaining gaps. Use the block and mallet to repair any other slipped planks that have appeared in your laminate flooring. Work carefully to keep your floor looking neat. All in all, the project should only take a matter of minutes.


If necessary, wipe off any dust or debris that’s accumulated on the adhesive pad with a damp cloth before the next time you use it. If you own a floor gap fixer tool, consider using it in conjunction with a touch of wood glue to ensure that the gap stays closed for good.

Measuring Tiles

Measure the size of the tiles you want to use and any tile spacers or grout. Decide how many tiles you will need to use to complete your pattern. Ensure level tiles with the use of a batten, or wooden straight edge. Do not measure the tile according to the ceiling or floor, since these surfaces are not always level. Place a batten horizontally across the wall, and use a level to make it straight.

Pin the batten on the wall. Mark where the wood tiles will go with a pencil, including spacers or grout. The batten will help you to keep the tile straight and evenly spaced, so do not avoid this time-consuming step. Use a vertical batten for your first tiles as well. Pin a level vertical batten in place. This will ensure your first wall tiles are at a 90 degree angle.

Apply a layer of glue to the area above the batten with a notched trowel. You can use a vertical straight edge to help align the tile uniformly. In small areas, you may need to apply the glue with a brush, but make sure it has a notched surface. Place a tile spacer between the small tiles as you set them into the glue to allow space for grout.

Press the tile into the wall with a wooden board. Allow the cement tiles to dry according to adhesive directions in small areas, so that you can concentrate on making the tiles straight. Wipe away any excess glue with a wall scraper. Then, wipe away the tops of the tiles with a wet rag.

Cut porcelain tiles to go near the edges of your walls. You will need to use a wet cutter with a blade that goes in water. Measure each tile before cutting for a good fit. Allow the tiles to dry for at least 24 to 36 hours. The glue directions should specify the necessary time.

Spread grout over the surface of the tile with a grout float. Choose a tile that is water and mold resistant. Clean the surface of the tile with a wet sponge. Run the wet sponge over the surface of the tile. Allow the grout to dry completely. Polish the surface of your tiles with a dry cotton rag. This should remove any remaining grout residue.