Posts

How to Cleaning the Tiles with a Baking Soda Paste?

Mix 3 parts baking soda to 1 part water in a bowl. Mix the baking soda and water together until it forms a thick paste. The paste should have a toothpaste-like consistency. If the mixture is thin, then keep adding more baking soda until it reaches the desired thickness.

For tough stains, add hydrogen peroxide to the mix by substituting half of the water with peroxide. Alternatively, you can use a marble tile cleaner to clean your wood marble tiles if you do not want to use a baking soda paste.

Apply the paste with a sponge. Do this by spreading the paste over the tiles. Make sure to apply a generous amount in between the tiles and on tough stains. Spray the paste with the vinegar solution. The vinegar will react with the baking soda, making it bubble. The vinegar helps the paste eat through the soap scum.

Scrub your tiles with a scrub brush. Use a stiff bristle brush or a grout brush. Scrub your small tiles in a circular motion. Use pressure to remove tough stains and mildew from the tile, as well as when cleaning in between the marble wall tiles. For small crevices, use a toothbrush.

Rinse with warm water. Use a bucket or pitcher to rinse your tiles. Pour the water over the rustic tiles until all the soap and residue are removed. You may need to rinse your tiles three to five times. Dry the wall tiles with a clean towel. This will prevent water from pooling in corners and crevices, which will help in the prevention of mold and mildew growth.

Spray the vinegar solution onto the stone tiles. Do this after you finish showering two to three times a week. This will help keep your shower tiles clean for a longer period of time. Keep a spray bottle labeled “shower spray” in your shower for easy access. If you have children, keep the bottle up high and out of reach.


Deciding on a Pattern Before Tile a Wall

If you’re working on a very large wall, you may need to replace the water after a few passes of the sponge to ensure that the water is clean and the sponge is picking up the dust.

Roll waterproofing sealer over the walls if you’re tiling in a bathroom. Pick out a few rolls of waterproofing sealer to cover the areas where you’ll be hanging wall tiles. Roll it out over the walls, and use waterproof adhesive to attach it to the walls. Make sure all of the area where you’re hanging the  tile is covered, and wait 2-3 hours for the adhesive to dry. The sealer prevents the water from seeping into the grout and the wall boards, which can cause rotting.

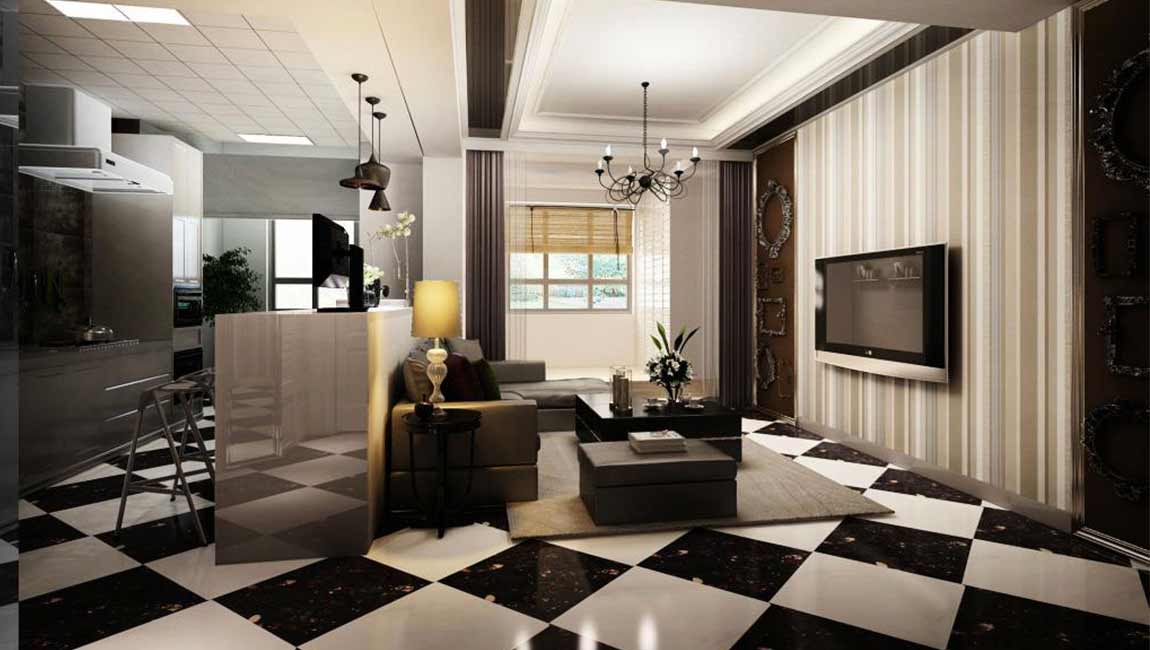
Pick a checkerboard pattern if you want a classic look. This pattern involves rows of  black and white tiles lined up like a checkerboard. Every-other floor tile is the same color, but the rows and columns are aligned in straight lines. You can pick any two colors to achieve this pattern, so don’t be afraid to get creative. This is one of the easiest patterns to create, but it can look busy if the room is already full of designs and colors.

Use a running board pattern for a less traditional look. Create an imaginary vertical line in the center of the pattern and organize the other floor tiles on this line. Place tiles of the same color along the line in each row so that the vertical line is going between two tiles, or it goes through the center of one tile. Overall, the appearance is that each tile is offset slightly but creates a staggered line. This is the pattern used for laying bricks and the popular “subway tile” pattern.

Use a stacked pattern to protect the walls from moisture. This is an extremely simple design that makes hanging the  tile and applying grout extremely simple. Just align rectangular tiles so that they form straight lines vertically and horizontally in the space. This pattern can have a stunning effect when done in large scales because it looks so natural and clean. If you’re using small tiles with one color, this is a great choice for making a bold statement.

Do a dry-lay of your pattern to see which tiles will need trimmed. Lay out the tiles on the ground in your desired pattern with grout spacers in between them, and then measure the width of the wall. Compare the width to the width of the marble mosaics tiles,and then mark which ones will need to be trimmed with a wax crayon. Consider shifting your pattern slightly if you need to trim any of the pieces to be smaller than 2 inches (5.1 cm) wide. It will likely be too difficult to cut these accurately with a wet saw or nippers.

What Should We Do Before Laying Ceramic or Porcelain Tiles Floor?

Laying a ceramic or porcelain tile floor can be considered a daunting task, but with adequate planning and preparation, this perception can be overcome. Laying one’s own polished tile is also much less expensive (and possibly more rewarding) than having it professionally installed. Cost can be minimized by careful planning and preparation.

Laying the foundation. An unpleasant question to be faced is “What is your floor made up of?” Plywood is good. But, if you have the typical 1/2″ to 5/8″ particle board on top of a deck made of 2x8s, you have some work to do. After removal of the base trim, the particle board should be pulled up (this is easiest if you first cut it into about 16″ squares)and replaced by plywood. You will need a Skil saw, and if you’re doing the kitchen, you’ll need a “toe-kick saw.” Replace the particle board up to where the wood tile will stop. While you have the particle board off, you can inspect the deck to make sure it is firmly attached to the floor tiles joists. Now you’re ready for leveling compound (if needed).

Lay the backer board. You will need to lay backboard (fiberglass or preferably cement tiles sheets that are usually 3 by 5 feet) as well, or the tiles design will pop off. Evaluate the wall tiles space to be tiled. A first phase of evaluation is to determine the size of the room to be tiled (or re-tiled). The number of kitchen tiles you will need will depend on the size of the tiles you wish to lay, as well as the small tiles pattern you will like on the floor. Using a tape measure or digital laser tape, measure the room from one wall to the opposite wall, and note the distance. Let’s say the measure of this distance is 12 feet (3.7 m). Measure the distance of the opposing walls to each other. Let’s say this distance is 7 feet (2.1 m). Multiplying these 2 distances (12 feet x 7 feet) will yield a total area of 84 square feet.

These measurements are based on squared dimensions. If the room is not perfectly “squared” (or in this case “rectangle”) because of an irregular floor plan (where there might be a small section off of one side, for example), do not factor this space into your measurement. While you will of course need to marble tile this space, factoring this space into your measurements will affect finding the “center” of the room, which will be discussed shortly. This area is important to note, since it will provide you with an estimate of the number of tiles you will need to purchase to cover the area to be tiled.