How to Clean Soapstone Tiles?
Soapstone tiles is a type of soft stone mined from quarries, similar to limestone and granite. Since it’s naturally non-porous and stain-resistant, it makes a popular choice for household surfaces like countertops and sinks. Another one of Soapstone tiles’s perks is that it’s easy to clean, though there are a few important maintenance tasks that you’ll want to stay on top of.
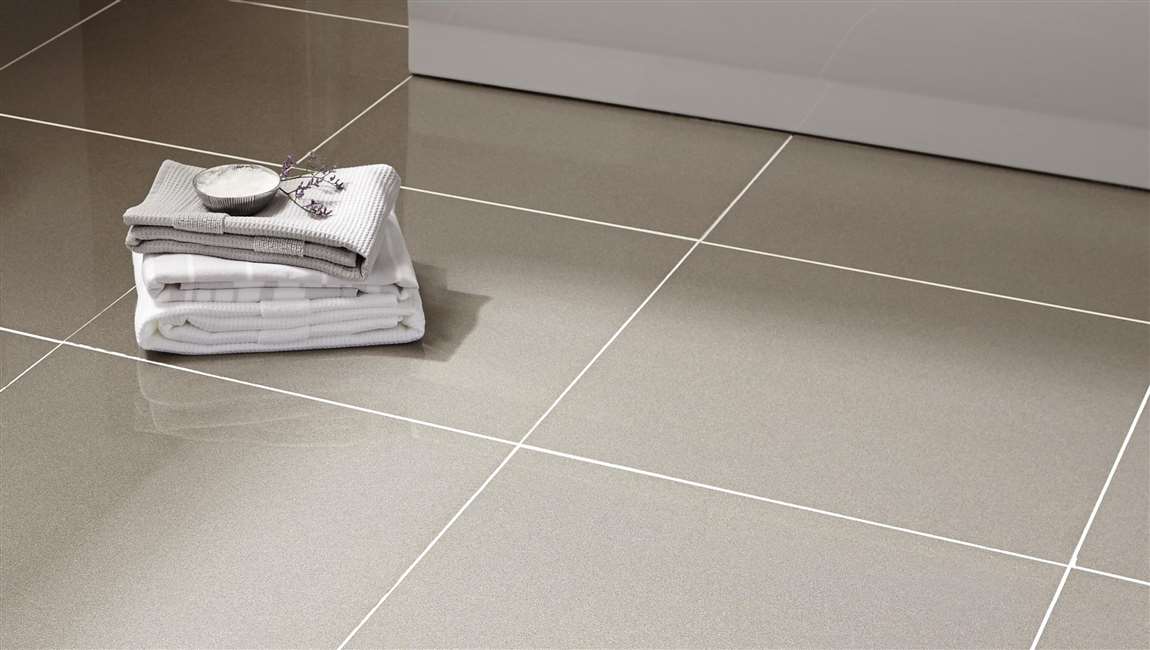
Start by giving your Soapstone tiles a preliminary coat of mineral oil to lubricate it and give it a deep, rich charcoal color. After that, get in the habit of re-oiling your Soapstone tiles surface every few months to keep them looking their best. Rub the oil into the Soapstone tiles with a clean, dry cloth.
Polish the surface using smooth, circular motions, working your way gradually from one end to the other. Fold your cloth or sponge or press your fingers into a central point to penetrate into corners and narrow recesses. When you’re finished, inspect the surface from various angles. It should appear faintly glossy all over. If you’ve missed a spot, it will be obvious.
If you apply the oil unevenly, some sections of the Soapstone tiles make turn out darker than others. Allow the oil to sit for about half an hour. Remember, the oil won’t actually soak into the Soapstone tiles. What it’s doing is trapping moisture against the outer surface of the stone, which will eventually cause it to oxidize and take on a deep, rich, near-black color.

Soapstone tiles fresh from the quarry is a very light gray color. After a few coats of mineral oil will darken it to a more robust earthy tone. Use a separate cloth to remove any excess oil. Take a second clean, dry, lint-free cloth or paper towel and run it over the top of the Soapstone tiles. Doing so will pick up any lingering oil residue, leaving the surface sleek and ready for use.
 If you don’t have a chisel, use the back of a claw hammer to lift and pry the
  Make sure the surface is completely smooth or else you won’t be able to lay another
  Use a floor scraper to smooth out any rough patches resulting from the
 Knee pads are super useful for protecting your knees while you’re kneeling on the
  Cover surfaces that you don’t want to get dirty. This includes the bottom of walls, cabinets, and any other surface that’s close to the floor. Dust and pieces of