Posts

How Create a strong bond?


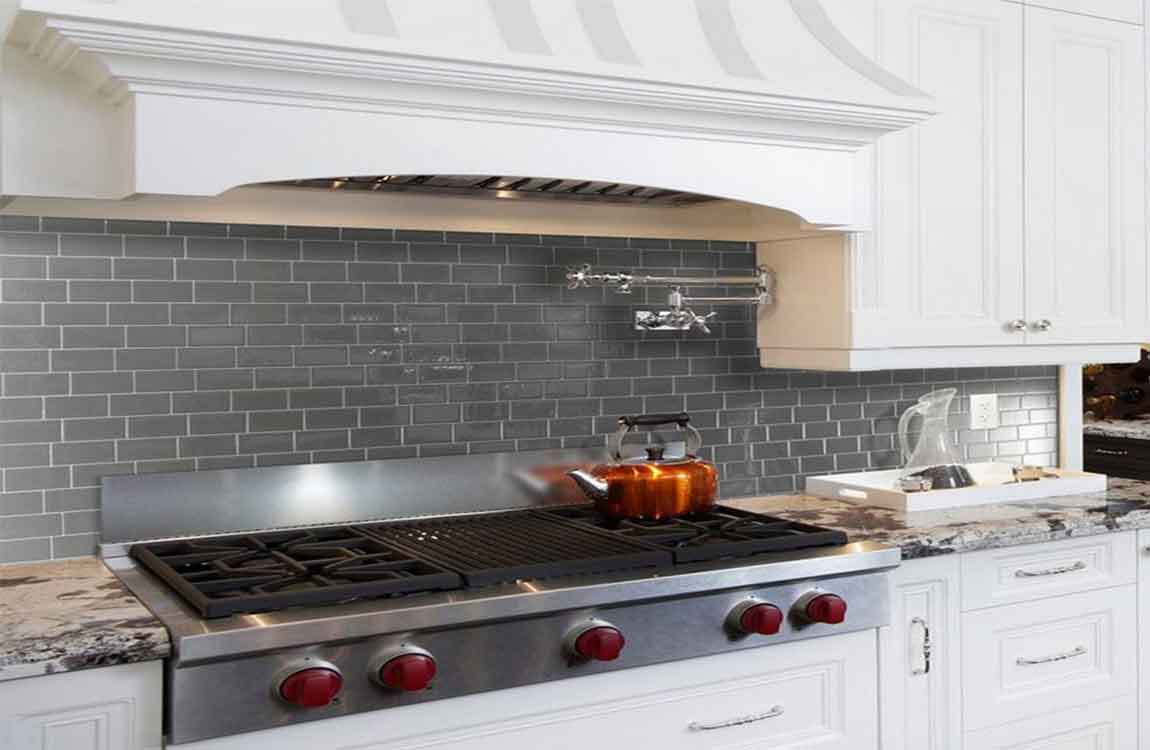
Since the surface of glass is very smooth, it’s important that the setting materials have a strong bond. Materials with a high polymer content have a high bond strength, ensuring that the glass maintains its spot in the installation.


Another installation concern is the glass-making method: small, boutique glass tile makers may not manufacture their products to meet industry standards due to surface treatments or tile backings. Metallic and painted backings will not bond well to cement-based mortars and may come loose. Similarly, mesh backing can trap water beneath the tile, weakening the bond or creating mold.


Make sure to create a mock-up to test the tile installation materials before proceeding with the full-scale project. Protect glass tile installations from temperature variance. Glass tile installations occasionally fail as a result of exposure to sunlight or other forms of heat.


Glass tile and cement setting materials expand and absorb heat at different rates, which can lead to cracks in the finished surface. Once again, the polymers in the mortar will help to absorb some movement, but silicone caulk should also be used to create movement joints that can handle the flexing tiles.

Tile nippers look and work like giant fingernail clippers, and are an essential tool for any tile job. Standard nippers will cut ceramic and porcelain tiles, but you may want to use specialty nippers for glass tiles or fragile stone tiles (like slate). Wear safety glasses so shards of tile don’t get into your eyes, and sturdy work gloves to protect your hands from sharp tile edges.

Knowledge of Grouting the Tiles

The old rule of “measure twice, cut once” is your friend here. Be very sure about how much tile you need before you cut it. Remove the spacers before you continue. Once you’ve got all of your tiles in place, you can remove your tile spacers. If you mixed your mortar correctly, the tiles should now stay in place. Let the thinset cure. You will now want to let the mortar thoroughly cure before you do the grout. This usually takes around 24 hours. Make sure that the area is well ventilated and that moisture is kept to a minimum.

Remove the excess. Get a large bucket of sink-full of water and a large sponge. Get the sponge wet and then wring out the excess water, so that it is only damp. You want to have as little water on the sponge as possible. Now, wipe all along the tiled area to clean off the excess grout. Do not press very hard or you will remove the grout between the tile. Rinse and wring your sponge frequently, keeping it as clean as you can. Get new, cleaner water as needed.

Let the grout cure. Once you have grouted all of the tiled area, allow the grout to cure. You should follow the instructions for your specific product but generally three hours are needed to cure grout properly (as many as 24-48 hours may be needed, however). Make sure that the area is well ventilated and that moisture is kept to an absolute minimum.

Seal the grout. Once your grout has cured, you will want to seal your grout. This step is often skipped but you should not skip it if at all possible. Sealing your grout will be very important in keeping it from getting moldy or stained. Find an appropriate grout sealant at your local hardware store and apply it according to the included instructions.

Usually, the sealant will be wax-like and is applied using a rag. Rub it in circular motions along the grout lines to apply. Grout will need to be resealed roughly every 6 months and should at least be resealed once a year.

Caulk as needed. If you need to, you can apply caulk as needed around your new tiles. This may be useful at the corners and along the seams, such as if you have applied a short backsplash along a wall. Simply caulk the line, shape the caulk by running your finger down the line, and let it set.