Posts

How Adding Stucco?

Wash the wall and remove debris to make it as flat as possible. Spray the cinder block wall with a hose to rinse off most of the debris. Look for tough stains, damaged spots, and other issues you need to address. Spend time lifting stains with soap, trisodium phosphate, and other cleaners. Also, clear debris out of damaged spots and repair them.


To repair damage, mix mortar. Fill in the gaps to level out the wall as much as possible. Brush a concrete bonding agent on the wall and let it dry overnight. The bonding agent provides a surface for the first layer of stucco to adhere to. If you don’t apply it, the finished wall may end up looking patchy and uneven.


Use a 3 in (7.6 cm) paintbrush to go over the entire wall top to bottom. Coat the wall with a single layer of the bonding agent. Concrete bonding agents, tools, and the ingredients you need for the stucco mix are all available online and at home improvement stores.


Get a stucco mix or mix your own in a wheelbarrow. Pour store-bought stucco mix into your wheelbarrow and stir in water until it has a paste-like consistency. If you’re making your own, get sand, lime, and Portland cement. Try combining 3 parts sand, 1 part lime, and 1 part cement to create a good mix that adheres well to vertical walls.


You can also mix in a concrete pigment to color the stucco if you don’t plan on painting it later. Apply a 1⁄4 in (0.64 cm) scratch coat with a trowel. If you have a concrete sprayer, use it to cover large areas quickly. Otherwise, try picking up the stucco mix with a flat tool like a hawk and then transferring it to the wall with a trowel.

How Avoiding Damage to Your Floor?


Wash your floor immediately after a spill. All spills on marble should be cleaned up immediately. This is because marble is a porous material and can absorb spills. If you let something sit too long, your marble will discolor or stain. Take a wet microfiber cloth and use it to blot up anything you’ve spilled on the marble floor.


Use pH neutral solution. pH neutral cleaners won’t damage marble floors. As a result, stay away from acidic cleaners. They might scratch or hurt the shine of marble floors. Avoid: Vinegar, Ammonia, Citrus cleaners (like lemon or orange). Cleaners intended for ceramic floors.


Do not let your floor air dry. One of the worst things you can do to your floor is to let it air dry. By letting it air dry, you’ll allow the water/solution to soak into the marble. This could stain or discolor the marble. Seal your marble. The best way to limit staining on your floor is to seal your marble periodically.


Locate a sealing product specifically formulated for marble. Read the directions and apply the seal onto the surface of the marble. Depending on the product (and use), you may have to reseal every three to five years. Make sure to protect other surfaces, such as wood, tile, or grout, with plastic or painters tape. Contact a professional if you are uncomfortable sealing your marble floors by yourself.


Use a felt pad to remove scuff marks. When you come across a scuff or other mark that won’t come off during a normal washing, use a felt pad to remove it. Simply dab the pad in a mixture of detergent and water and rub the marble gently along its grain. Do not rub in a circular pattern. This will damage your marble.

How to Choose Tile for Pools?

Designing a new pool can be an overwhelming process, given all of the options available to homeowners these days. Choosing a tile for your pool might not sound like an important decision, but the tile you choose can have a big impact on your pool’s durability and overall appearance.


Fortunately, there are a variety of ways you can go about choosing a pool tile that’s right for you, like looking at different styles, finding a good material, and visiting your local tile store. Install the tile. Once you’re satisfied with your layout, all that’s left to do is call a tiling contractor and have your tile put in professionally.


You might also consider tackling the job yourself if you’re handy with home improvement projects. When you’re done, you’ll have a handsome, custom-designed tiled floor to show for your efforts. Take care of any necessary last-minute adjustments before you break out the mortar and grout.


By the time you’ve begun setting the tiles, it will be too late to make changes. Keep in mind that the tiles will have to come up prior to installation. This isn’t an issue—when the time comes, simply lay them out again in the same formation you used during the dry-fitting phase.


If one or more do not, get more paper and repeat the process. You want the finished tiles to rest right up against the base of the toilet, so take your time to make sure the paper templates fit precisely.

How to Clean Tiles?

Tiles are both stylish and practical. Unfortunately, over time, they can get greasy and dirty. To do a general floor clean, mop the porcelain tiles with water and a tile cleaner. If your tile splashback has greasy marks on it, use soapy water to the oil splashes. Clean the grout between your tiles with baking soda and vinegar to remove discoloration. These methods are quick and easy, and will leave your string stone tiles looking sparkling clean!

Sweep up any dust and dirt with a dustpan and brush. Use the brush to push any debris and dust into the dustpan. This avoids you spreading the dirt around the floor when you mop it later. If you don’t have a dustpan and brush, use a broom instead.

Mix water and tile cleaner in a bucket. Choose a tile cleaner that is designed for your type of tiles. For example, look for a commercial cleaner marketed as “ceramic-friendly” or “safe for stone floors.” Fill a mop bucket with water and add the tile cleaner, as directed on the back of the container.

Purchase tile cleaner from a cleaning store. Most tile cleaners require approximately 1 capful of tile cleaner per bucket of water. Avoid using citrus cleaners on stone as this can damage the tiles. Try not to use cleaners containing soap or detergent, as these can make your tile floors slippery. If you want to make your own tile cleaner, mix equal parts of vinegar and water in a bucket. This can be used on all types of tiles.

Wipe the cleaner over the calacata tiles with a mop. Dip the mop into the bucket of water and tile cleaner, and then squeeze out any excess liquid to avoid drips. Push the mop back and forth over the entire area until the calacata tiles are clean. Press the mop down firmly when cleaning any stained areas, as the tile cleaner and the pressure of the mop will help to remove the stains.

Knowledge of Grouting the Tiles

The old rule of “measure twice, cut once” is your friend here. Be very sure about how much tile you need before you cut it. Remove the spacers before you continue. Once you’ve got all of your tiles in place, you can remove your tile spacers. If you mixed your mortar correctly, the tiles should now stay in place. Let the thinset cure. You will now want to let the mortar thoroughly cure before you do the grout. This usually takes around 24 hours. Make sure that the area is well ventilated and that moisture is kept to a minimum.

Remove the excess. Get a large bucket of sink-full of water and a large sponge. Get the sponge wet and then wring out the excess water, so that it is only damp. You want to have as little water on the sponge as possible. Now, wipe all along the tiled area to clean off the excess grout. Do not press very hard or you will remove the grout between the tile. Rinse and wring your sponge frequently, keeping it as clean as you can. Get new, cleaner water as needed.

Let the grout cure. Once you have grouted all of the tiled area, allow the grout to cure. You should follow the instructions for your specific product but generally three hours are needed to cure grout properly (as many as 24-48 hours may be needed, however). Make sure that the area is well ventilated and that moisture is kept to an absolute minimum.

Seal the grout. Once your grout has cured, you will want to seal your grout. This step is often skipped but you should not skip it if at all possible. Sealing your grout will be very important in keeping it from getting moldy or stained. Find an appropriate grout sealant at your local hardware store and apply it according to the included instructions.

Usually, the sealant will be wax-like and is applied using a rag. Rub it in circular motions along the grout lines to apply. Grout will need to be resealed roughly every 6 months and should at least be resealed once a year.

Caulk as needed. If you need to, you can apply caulk as needed around your new tiles. This may be useful at the corners and along the seams, such as if you have applied a short backsplash along a wall. Simply caulk the line, shape the caulk by running your finger down the line, and let it set.

How to Install Tiles on a Concrete Basement Floor?

At first glance, installing tiles might seem like tough work. Indeed, very few people choose to install their tiles themselves during renovation, instead choosing to let a professional handle it. If you want to tackle the job yourself, a basic overview can help you on your way.Pick the right tile. Concrete floors are dull, drab and boring, but oftentimes people lack the time or the necessity to lay down an alternative floor. Most often, concrete floors are seen in basements and other out of the way places. However, if you choose to remodel your basement and need a new floor, the first thing to consider is what type of floor you need. Several varieties of tiles, including ceramic and vinyl, can be used; choose the one that best suits your anticipated use.Clean the concrete surface. This is a vital step of the project. Accumulated mud, dirt and other debris must be removed completely to ensure that the tiles are laid properly and stick to the concrete. For this purpose, be sure to use a commercial or industrial strength cleaning agent, along with lots of water and a brush.Perform the concrete repairs and leveling. To lay an even surface, the underlying concrete needs to be uniform and level as well. To achieve this, get rid of any protrusions, bumps or cracks in the surface. Using sandpaper to level the bumps and concrete and other fillers to stop cracks, you should be able to get a smooth surface. Be sure to wash it after this is done and let it dry.Plan the layout. After preparing the surface, plan how you intend to lay down the tiles. Depending on size and shape, you can have a wide variety of patterns to choose from and you may even decide to get creative with your patterns and create something original. Be sure to plan this out carefully before starting the actual work to ensure that there are no mistakes.

3 Key Points To Test The Quality Of Ceramic Tile Paving

1, to see the use and treatment of decorative materials

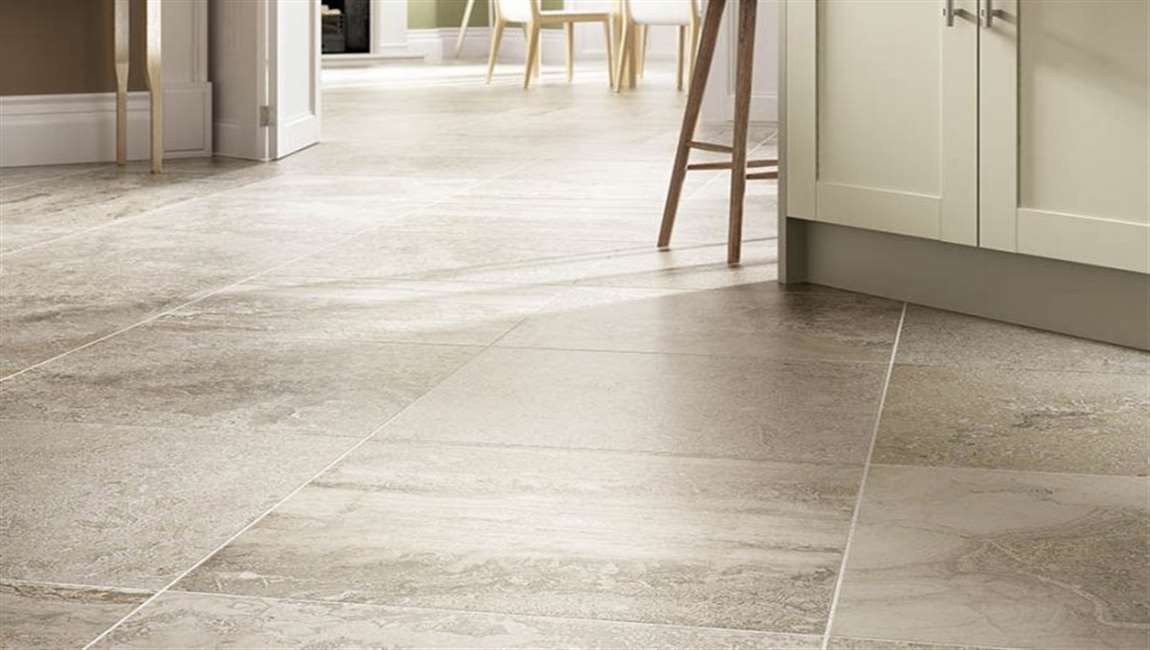
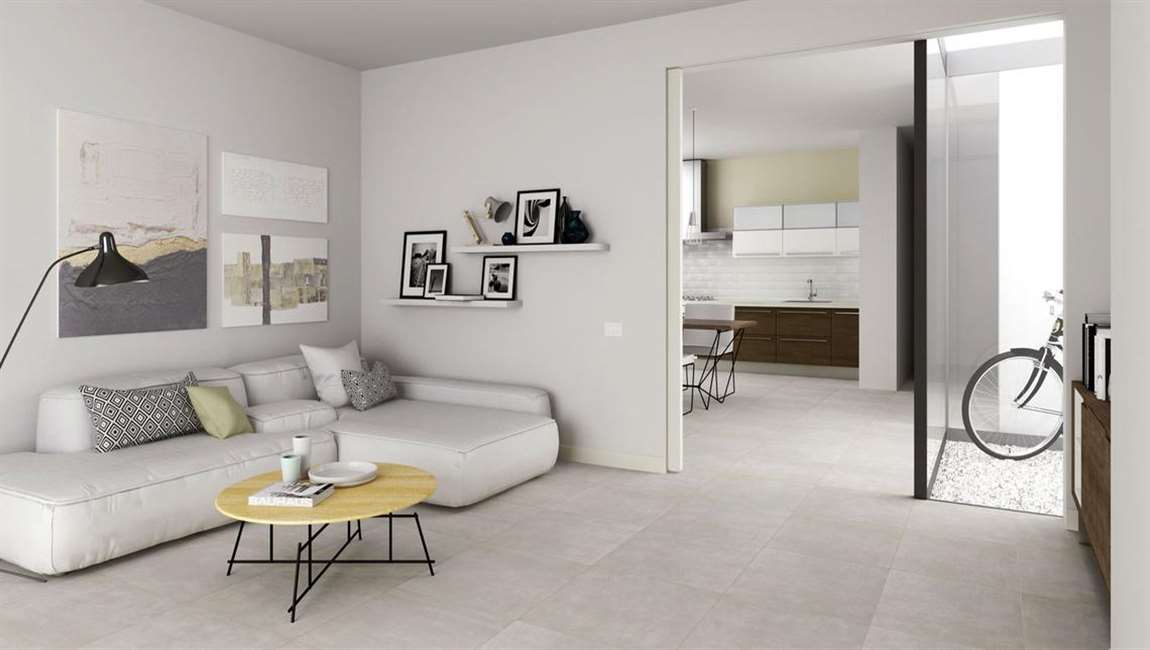
Tile varieties, specifications, grade, size, shape, smoothness, color and pattern should meet the design requirements for solid, uniform color stone, no crack, no pollution or deterioration of color, line, surface without warping, no blisters. The tile has no defects, sand drop, hole, drop angle, crack and other defects, the surface is neat, the color is consistent.

2, to see the quality of construction

Requirements facing layer surface to be smooth and clean, clear texture, uniform color, no skew warp, paste without hollowing; gap between veneer bulk uniform filled inlay very dense, flat, uniform color; brick special parts of pressure to the right, the whole brick using the appropriate position, arrangement of flat projections; application of whole plate cutting well, neat, smooth edges, uniform thickness, prominent.

3, to find and solve quality defects in time

After the wall tile construction prone to the following quality defects, we should carefully observe and supervise the construction personnel in a timely manner to solve.

(1) discoloration. Tile quality is poor, glaze is too thin and improper construction methods.

(2) the sloughing. Mainly adhesive material is not rich, brick impermeable and grassroots treatment is not clean.

(3) the seam is uneven. The main brick specifications are different and improper construction, such as the joint exceeds the allowable error, timely removal of wall tiles, resolutely rework.