Posts

How Doing General Cleaning and Polishing?

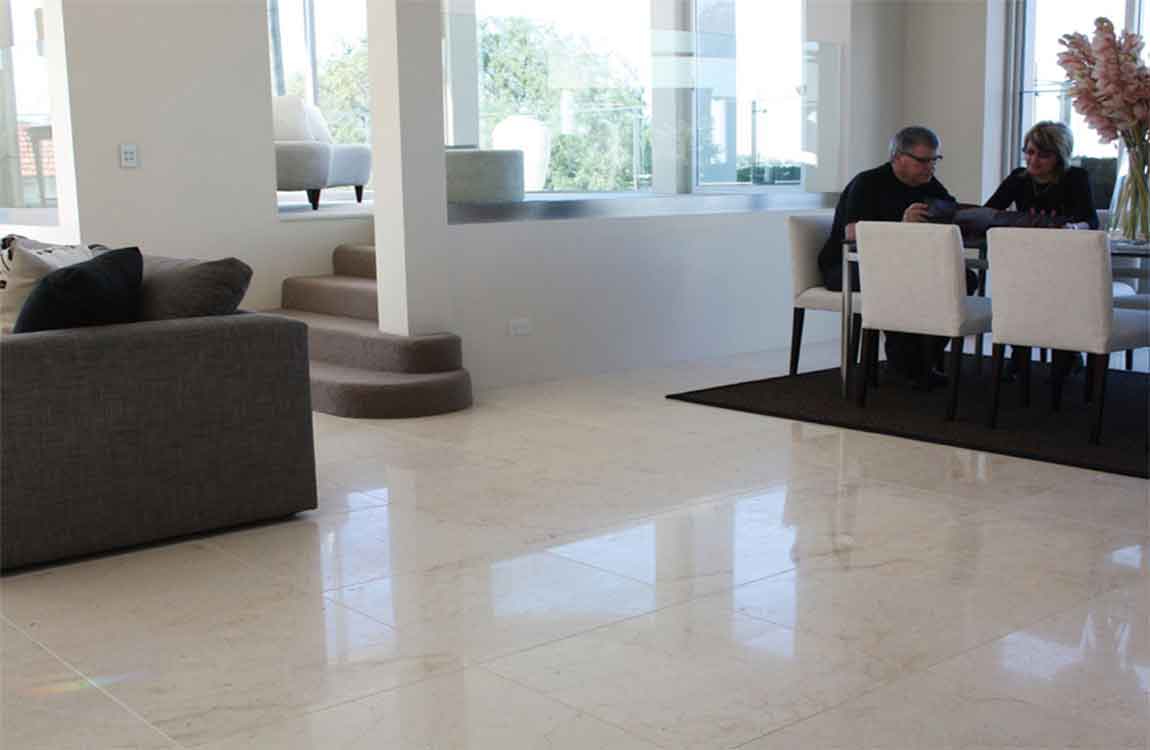
Wipe marble tiles surfaces with a wet cloth. Use only warm tap water, as many household cleaners are too harsh for marble tiles counters. Wipe the length of the counter with a wet cloth. Microfiber cloths are best for this if you have them, they’ll give the counter a better scrub without needing to use a household cleaner. If you need to clean your counter more thoroughly, you can use commercial cleaners specifically designed for marble tiles.


For marble tiles floors, passing a dust mop on the surface regularly should be enough for regular cleaning. However, if the floor is dirty and requires some extra cleaning, add a couple of drops of dish soap to a bucket of water and use a microfiber head mop to clean the floor with this solution. Dry the floor thoroughly after cleaning it. This kind of cleaning should be done daily to clear crumbs or any dust that may have accumulated on the counter, it won’t clean serious stains.


Wipe tiles dry with a separate cloth. Don’t let the marble tiles just air dry, since marble tiles is easily marked by water spots. Use a microfiber cloth to wipe tiles until they’re dry. Spread a baking soda mixture over the marble tiles polish it. Mix three tablespoons (44ml) of baking soda with one quart (946ml) of water. Use a shammy to spread this mixture over your marble tiles surface.


Let the mixture sit on your marble tiles for a few hours before wiping it away with a wet cloth. Sprinkle crushed chalk over your marble tiles to polish it further. For best results, you’ll want to use a box of white chalk and use a mortar and pestle to crush it into fine dust. Use a shammy to wipe the counter in circles, buffing it and bringing out the shine.


Wipe the chalk dust away with a dry cloth after buffing it. Remove the painter’s tape after applying the silicone adhesive and before it dries. Start removing each piece of tape immediately after applying your adhesive beads. Either remove your tape after each bead or all at once after applying all of the beads.

How to Clean Grout Using Natural Products?

If inhaling bleach and other harsh chemicals in order to clean grout doesn’t appeal to you, you do have an alternative method that is equally effective. Although you still need to put a little muscle into cleaning your grout you won’t be let down by the cleaning power of Mother Nature.

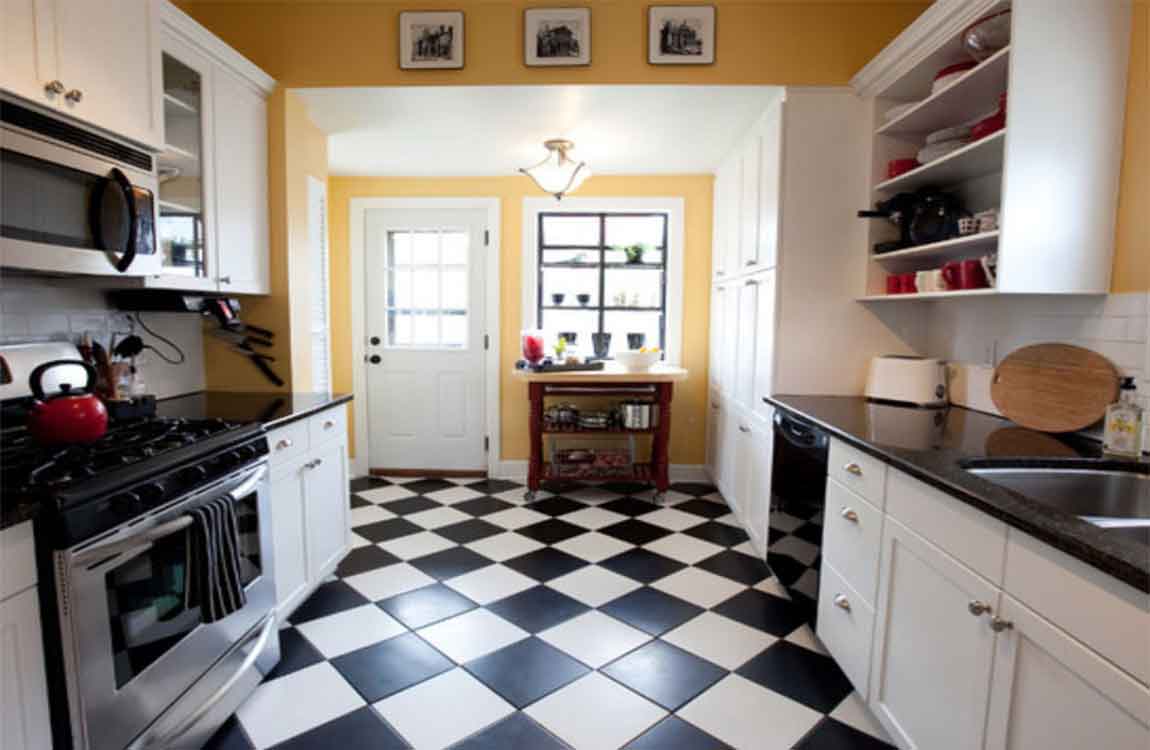
Cleaning the Tiles. Clean the tiled area. Remove any excess debris from the floor or counter area before attacking the grout. Use warm water and mild dish soap when cleaning counters or backsplash areas. Sweep floors and remove excess dirt and debris, concentrating on the grout area.

Cleaning the Grout with Vinegar. Attack the grout using a milder approach. Start with the easiest product first; you may be able to take care of the problem with just a little vinegar and water. Or, consider mixing vinegar with club soda instead of water. Combine half a part of white vinegar with half a part of water (or club soda) in a spray bottle or cup.

Pour or spray directly onto the grout and scrub. Allow the compound to sit before wiping away the vinegar and water. Cleaning the Grout with Baking Soda or Salt Add baking soda or salt to white vinegar/water (or club soda) mixture if stain or grime has not lifted. Add two parts baking soda to the vinegar/water mixture to create a thick paste. Apply the baking soda/white vinegar/water (club soda) compound directly to grout. Allow to sit on the grout for up to 15 minutes.

Scrub well. Wipe away the paste as you work to see if the solution worked. Cleaning the Grout with Oxygen Bleach. This method should work when the other methods aren’t cleaning adequately. Turn to oxygen bleach (Oxy) if all else fails. Create a thick paste using water and/or club soda and apply to grout (the same way you applied it with the banking soda paste). Wait 15 minutes and then scrub. Wipe away with a clean cloth as you work.

The Knowledge of Saw Cut Tiles

Wipe away the marker and use a rubbing stone to smooth the edges tile. Use a clean, damp cloth to wipe away the washable marker. The glass tile piece will be sharp and possibly a little rough, so take a rubbing stone, hold it at a 45 degree angle to the front of the tile, and rub it in a parallel motion over the edge to round and smooth it out. Rub the rubbing stone down the whole length of the edge. A rubbing stone can also be used to buff out any small irregularities in the break.


Turn on the saw and let it run for 15 seconds. Give the saw a chance to warm up and get going by turning it on and allowing the water to flow freely over the blade of the saw. Wait about 15 seconds before you begin cutting so you can be sure the saw is functioning properly and the water is flowing smoothly. Warning: If the water isn’t flowing, don’t cut with the saw! The friction could cause the glass to shatter and the blade could heat up and damage the saw.


Line up the cutting guide on the wet saw and the guidelines on the tile. The wet saw will have measuring or cutting guides that will lock the glass tile in place. Use the guide on the wet saw and match it up to the lines you drew on the tile with the washable marker, then slide the guide to lock the tile and keep it from moving. Align the saw carefully, because you won’t be able to undo a cut once you make it.


Push the tile through the saw and away from you. Feed the tile slowly through the saw with a light but consistent pressure as the blade cuts through it. Push with your hands on the edge of the glass away from the blade, keeping your movement continuous. Push the tile through the saw until it cuts all the way through for an even cut and a smoother edge.


Turn off the saw and wipe away the washable marker. When you have finished cutting your glass tile, use a clean cloth to wipe away the washable marker guidelines. Power down the saw and wait for the blade to stop spinning completely before you pick up or handle the saw. Wipe up and dust or glass pieces that may be on your saw or workstation.

How Cutting Standard Tiles?

Lay out your tiles on the counter, table, or floor. Make sure that your tile lay out matches the dimensions of your wall. For example, if your backsplash is 6 to 2 feet (1.83 to 0.61 m), then your tile lay out should also be 6 to 2 feet (1.83 to 0.61 m). Include the tiles that will get in the way of cabinets, corners, and edges. You will cut these down to size later. Also, remember to include the grouting gaps between the tiles; use a spacer if you have to.

This step is known as “dry-fitting.” It will help you figure out whether or not you need to cut any tiles. Leave a 1⁄8-in (0.32-cm) gap around the backsplash, where it connects to the cabinets, counter, and adjacent wall. If you are working with a large sheet of tiles, click here to continue.

Mark the tiles that will get in the way of cabinets and corners. Check the dimensions of your wall against your laid-out tiles. Use a marker to make a mark across the tiles where they will bump against a cabinet or corner. Mark the tiles that will be along the top edge of your backsplash, next to a wall, or under a cabinet. They will be more disguised that way.

Put on some eye and respiratory protection. A pair of safety goggles will protect your eyes against any flying pieces of tile. A good respiratory mask will prevent you from breathing in any sanding dust. Most masks are graded based on the type of particle they can filter. Choose one that can filter dust particles.

Use a score-and-snap tile cutter on large tiles. Use the cutting wheel to make a single, deep score in the tile. Snap the tile along the scored line. If the tile has a mesh backing, make sure that the mesh side is facing up. Do not use grinders on tiles made from slate. You can use them on ceramic tiles, however.

Choose with tile, you just need and I am just professional

The selection of tiles is not enough for the laymen, but BARANA is well known in that. Why not give these professional matters to professional BARANA? You only choose to believe in the choice of BARANA, the rest of the hand to us to do, you do not have to worry about, we just reflect the value of our own, why do you not do it?

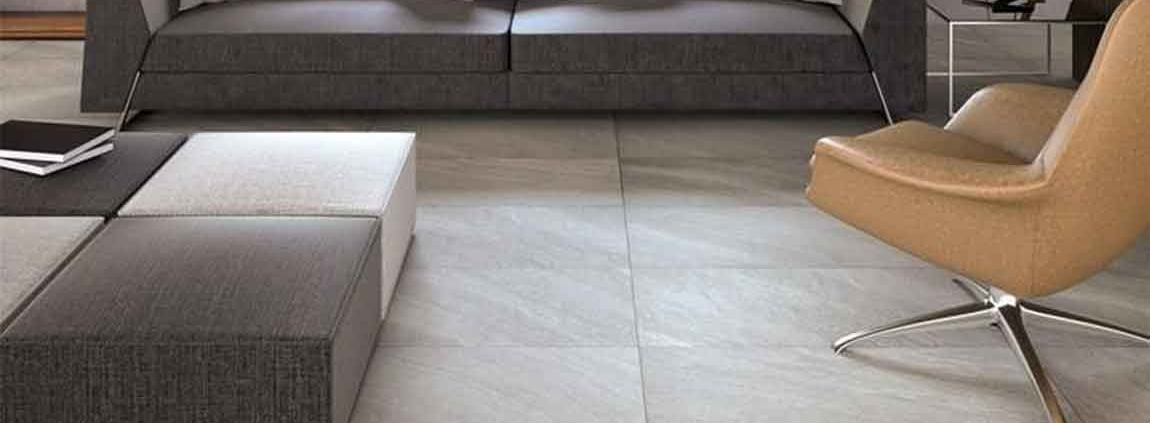
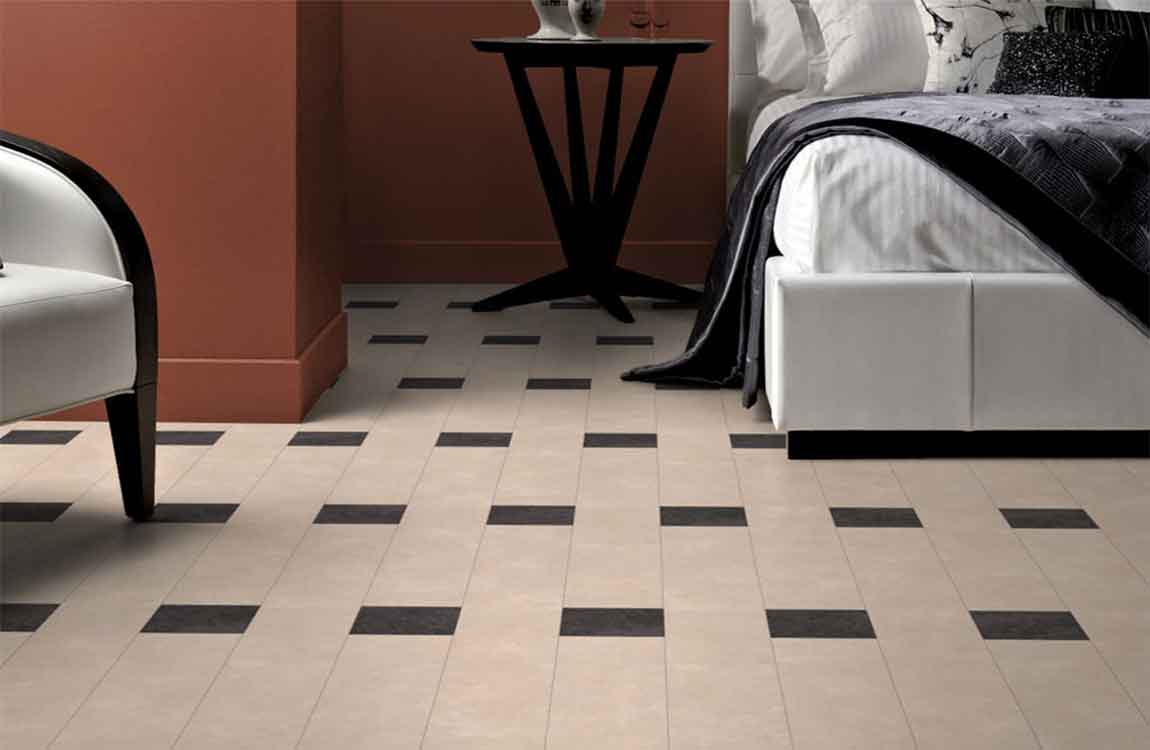
The appearance of marble tiles include color, pattern, gloss and so on. The quality of the tiles is generally uniform and the design is exquisite and lifelike. There is no obvious broken line, dislocation, etc. When purchasing tiles, we can extract several pieces of inspection from the same package, and compare the defects such as chromatic aberration, distortion and lack of edges and corners.

Using hard objects to lightly attack marble tiles design, the clearer the sound, the higher the degree of porcelain, the better of the tile quality. You can also clip the tiles price on the left thumb, forefinger and middle finger to ease down. Lightly hit the lower part of the tiles with the right index finger. If the voice is clear and pleasant, the quality of the tile design will be better. If the voice is dull and muddy, the quality of tiles is rather poor.

When purchasing cheap marble tiles, you can use a small knife or hard object to gently scrape the bricks to test the hardness and wear resistance. If there are obvious scratches on the tiles surface, the wear resistance is not high. If there is no obvious scratch and smooth as new, it shows that the wear resistance is very good. There is no scratches will be found in future use. Measure the side length, four corners and diagonal of ceramic tile, as well as the smoothness of tiles. The difference between the measured data of four corners of tile should be controlled within 0.5mm. If it exceeds, there will be cracks or uneven phenomena in the process.

The evenness of tile flooring can also be combined with two tiles. Set them up to see if there are gaps between the two tiles sizes. There are obvious gaps, indicating that the evenness of ceramic floor is not very good. In use, you will encounter the phenomenon of kick and bow back. The higher the accuracy of tiles side length, the better the effect after laying. The purchase of high quality tiles is not only easy to construct, but also saves labor hours and accessories.

Water absorb-ability and skidding are also the main points. On the back of the ceramic tile colors, drop the right amount of water to see the speed of water absorption after the water disperses. In general, slow water absorption indicates that the greater the density of tiles, the better quality of tiles. Floor tiles should not absorb water, if the floor tiles absorb water, and can see water stains from the front, indicating poor quality. Wall tiles have a certain water absorption rate, which is difficult to measure with this method. But now the wall tile and floor tiles are all matched, the flooring tile are qualified, and there is no big problem with the marble wall tiles.


Skidproof, which is a very important factor in tiles. The surface of the cheap ceramic floor tiles should be cleaned before the test. Because some of the protective wax on the surface of the tiles will affect the accuracy of self-test. Because when tile is in water, it is the easiest to fall. So water is measured on the floor tiles design and must be measured in person. Some tiles will be more slippery if they have water, so they can be considered.