Posts

How to Close Gaps in Laminate Flooring?


With enough time and wear, unsightly gaps can begin to open up in interlocking laminate flooring. Fortunately, this tends to be a minor issue, and correcting it won’t require you to go to the trouble of replacing the flooring altogether. For most jobs, all you’ll need is a simple tube of wood glue, or a mallet and flat object heavy enough to provide enough traction to allow you to tap the planks back into place.


This will ensure that the far end remains concealed by the baseboard. If you go towards the wall instead, you may end up having to deal with gaps in adjacent planks as a result. When correcting more than one plank in the same row, it may be necessary to also move the neighboring planks inward to keep the spacing consistent and avoid making the gap worse.


Tap the end of the block with a mallet to close the gap. Steady the tool with one hand and give the side furthest from the gap a couple whacks to move the loose plank closer to the one it’s drifted away from. It should slide along a few millimeters at a time. Continue tapping the block until the plank rests snugly against its neighbor.


Be careful not to strike the block too forcefully. This could dislodge it, or even damage the underside of the flooring. After successfully closing the gap, simply pull up the floor gap fixer to remove it. Repeat with any remaining gaps. Use the block and mallet to repair any other slipped planks that have appeared in your laminate flooring. Work carefully to keep your floor looking neat. All in all, the project should only take a matter of minutes.


If necessary, wipe off any dust or debris that’s accumulated on the adhesive pad with a damp cloth before the next time you use it. If you own a floor gap fixer tool, consider using it in conjunction with a touch of wood glue to ensure that the gap stays closed for good.

How Identifying Loose Tiles?

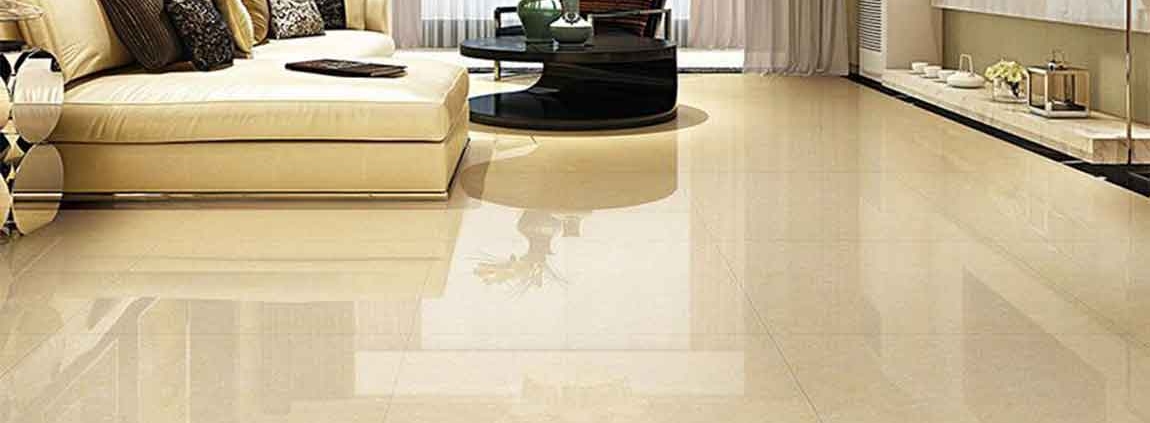
Inspect the tiles’ finish to see how smooth it is. You can do this either by visually inspecting the tiles’ top surfaces or by running your fingers over the top of the tiles. Porcelain tiles have a fine-grained finish that is smoother than the finish on ceramic tiles. So, if the finish is slightly bumpy or coarse when you touch it, you’re dealing with non-porcelain (ceramic) tile. If the tiles are already glazed, flip them over and look at the unglazed underside.

Look for chips in the glaze to identify ceramic tile. Look closely at the glaze: if it’s chipped, you will be able to see the tile’s white or tan base. This is a sure sign that the tile is ceramic. Porcelain tiles are sometimes, but not always, glazed. Most high-quality porcelain tiles will have a consistent color that goes through the top, body, and bottom of the tile. Ceramic tiles, on the other hand, are nearly always glazed. Glazed porcelain tiles are much harder and are more resistant to wear and damage than non-porcelain ceramic tiles.

Examine the sides of the tile for a white, tan, or red color. While porcelain tiles can be colored, ceramic tiles will always have a white, tan, or red color, with a colored glaze on top. So, if you see that the sides (and base) of the tile are any other color other than white, tan, or red, you can be sure that you’re dealing with a porcelain tile. Some cheap, low-quality porcelain tiles may not have the color mixed through the body of the tile. Avoid purchasing these tiles.

Compare the costs of the two tile types. In nearly every scenario, porcelain tiles are more expensive than ceramic tiles: they take more time to produce, are more versatile, and tend to last longer. If you’re looking at two types of tiles in a hardware or home-supply store, non-porcelain (ceramic) tiles will be a little cheaper. As a broad rule of thumb, porcelain tile usually costs approximately 60% more than ceramic tile.