Posts

How to Decorate Cement Floors?


Concrete is an affordable flooring option compared with linoleum, vinyl, ceramic tile or carpet. It is easy to maintain and anti-slip for safety in your home. Cement flooring doesn’t have to be dull-grey, you can decorate your flooring to match the design of your home or work. By staining or painting your floor you can have a stylish new look for less!


Apply sealer to the larger surfaces with a roller. Once the edges are finished you can apply a sealer to the remainder of the area with a roller. This will make the application quick and easy for you. Make sure that your roller is clean. Dirt will stick to the wet surface and be hard to remove once the sealer dries.


Wait for two hours before applying the second and final coat. The sealer will need two coats to protect your stained surface. Once the first coat has dried, apply the final coat with a paintbrush for the edges, and then a roller. Apply a sealer every 3 to 4 years to ensure the long life of your concrete stain. If applied correctly, the seal you’ve placed on your stained surface will last for 3 to 4 years.


Wait 24 hours before placing anything on the stained surface. After 24 hours, only use the area for light activities. Any pressure on the surface can damage the stain. For any vehicle traffic on the surface wait 72 hours. Then cover the whole surface with a roller. This will give your cement floor a clean and smooth finish.


Make sure your tools are clean when applying the final coat. It is important that there is no dirt on the surface to get the cleanest finish. Hence, some of the base colour should also show through. The only brush strokes should be fine ones to soften the look as the paint is still wet.

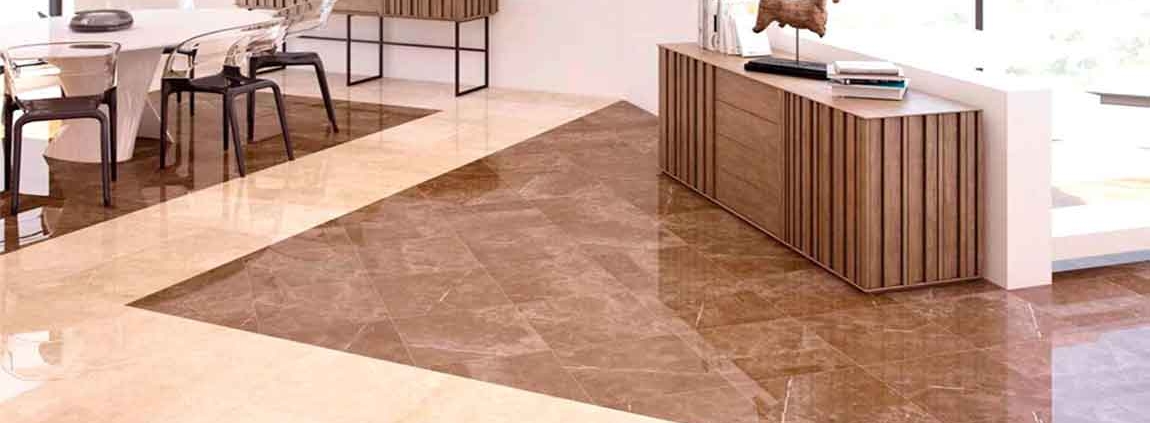
Measuring Tiles

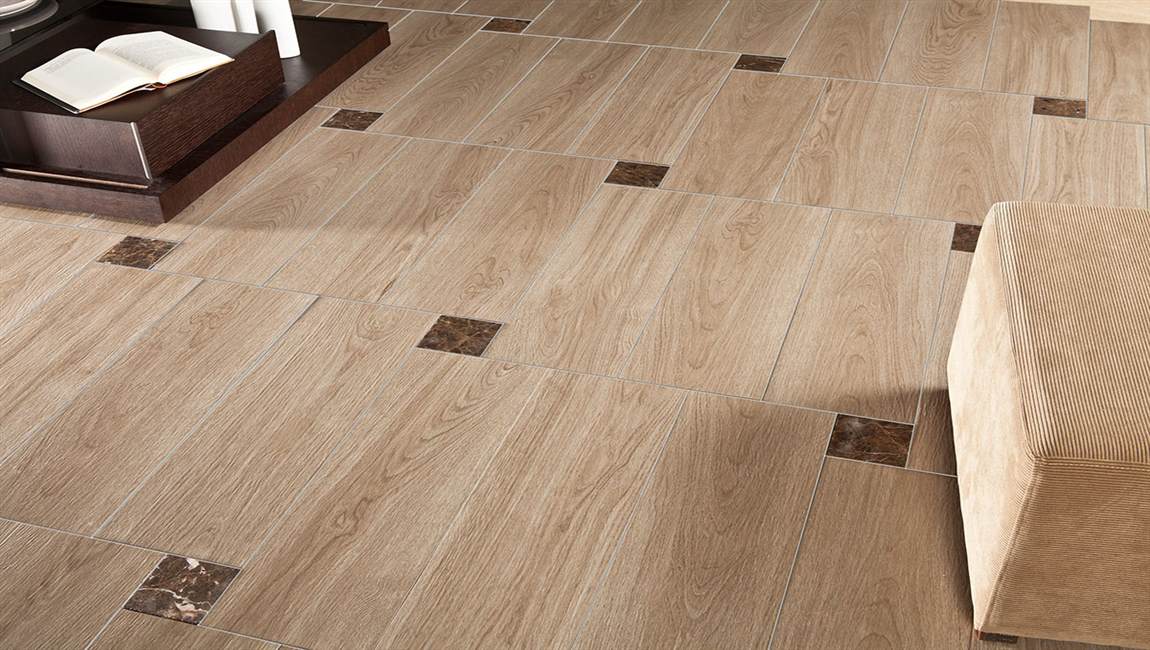
Measure the size of the tiles you want to use and any tile spacers or grout. Decide how many tiles you will need to use to complete your pattern. Ensure level tiles with the use of a batten, or wooden straight edge. Do not measure the tile according to the ceiling or floor, since these surfaces are not always level. Place a batten horizontally across the wall, and use a level to make it straight.

Pin the batten on the wall. Mark where the wood tiles will go with a pencil, including spacers or grout. The batten will help you to keep the tile straight and evenly spaced, so do not avoid this time-consuming step. Use a vertical batten for your first tiles as well. Pin a level vertical batten in place. This will ensure your first wall tiles are at a 90 degree angle.

Apply a layer of glue to the area above the batten with a notched trowel. You can use a vertical straight edge to help align the tile uniformly. In small areas, you may need to apply the glue with a brush, but make sure it has a notched surface. Place a tile spacer between the small tiles as you set them into the glue to allow space for grout.

Press the tile into the wall with a wooden board. Allow the cement tiles to dry according to adhesive directions in small areas, so that you can concentrate on making the tiles straight. Wipe away any excess glue with a wall scraper. Then, wipe away the tops of the tiles with a wet rag.

Cut porcelain tiles to go near the edges of your walls. You will need to use a wet cutter with a blade that goes in water. Measure each tile before cutting for a good fit. Allow the tiles to dry for at least 24 to 36 hours. The glue directions should specify the necessary time.

Spread grout over the surface of the tile with a grout float. Choose a tile that is water and mold resistant. Clean the surface of the tile with a wet sponge. Run the wet sponge over the surface of the tile. Allow the grout to dry completely. Polish the surface of your tiles with a dry cotton rag. This should remove any remaining grout residue.