Squeegee the grout after you shower. Try to get in the habit of using a squeegee to remove water from the surface of the tiles and the grout in your bathroom after you shower. Drying the shower doors and the tiles in the shower helps to prevent a buildup of grime or mineral deposits in your grout. You can attach a squeegee to the inside of your shower with a suction cup so it is right there at the end of your shower. Encourage others in your household to squeegee off the shower once they are done to keep the grout dry and clean.
Use a sealing product on the grout. You can also maintain the grout so it looks its best by using a sealing product on it. Seal the grout once or twice a year so it remains water repellent. This will ensure the grout stays clean and grime-free. You can find sealing products for grout at your local hardware store or online.
Replace the grout if it becomes damaged. If you notice the grout in your bathroom or kitchen is shrivelled, full of mildew, or damaged in any way, try to get it replaced as soon as possible. Replacing the grout will ensure it does not get worse or you do not experience other home repair issues as a result of damaged grout. You may try cleaning the grout before you consider replacing it. If it does not respond well to cleaning, it may be time to switch it out for new grout.
This may also lead to a stain on the tile or the grout. Use a wet mop or a wet cloth to rinse off the cleaner. You should then dry the grout and the tiles well once the cleaner has been rinsed. Use a towel or soft cloth to do this. Do not use cloth that will scratch the surface of the tile or the grout.
Try a salty vinegar mix. Combine ¼ cup (21 grams) salt, ¼ cup (21 grams) baking soda, and ¼ cup vinegar (60 milliliters) in a tall cup or small bowl. Let the solution sit for 20 minutes, then use a small spoon to apply the mixture to the grout. Using a toothbrush or scouring pad, scrub the grout until clean. Once you’re finished, mop the grout or use a damp cloth to wipe the grime away.
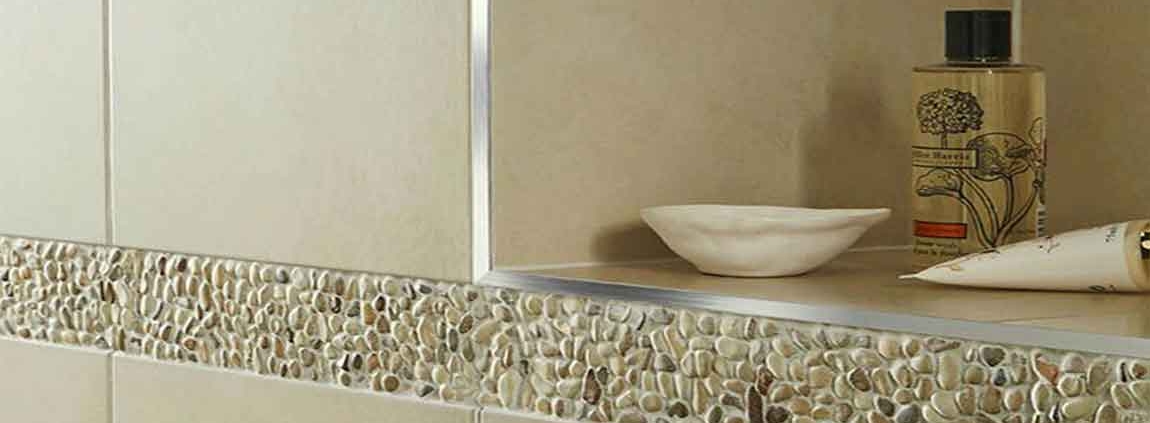
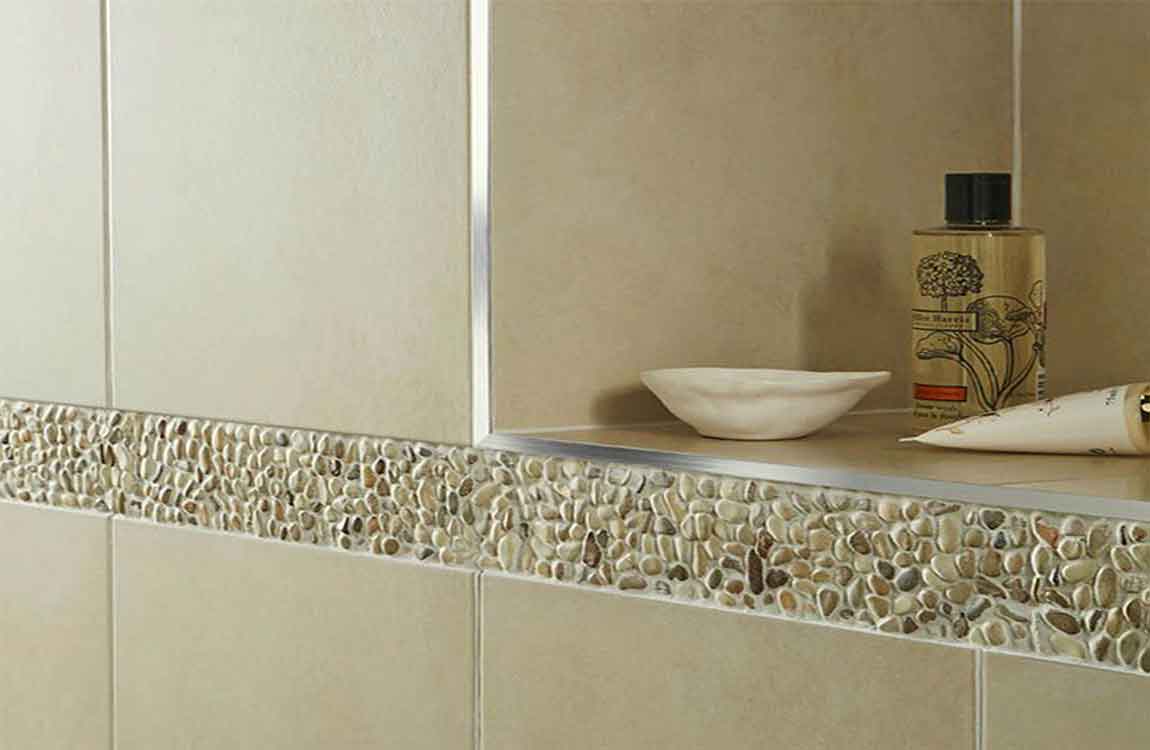
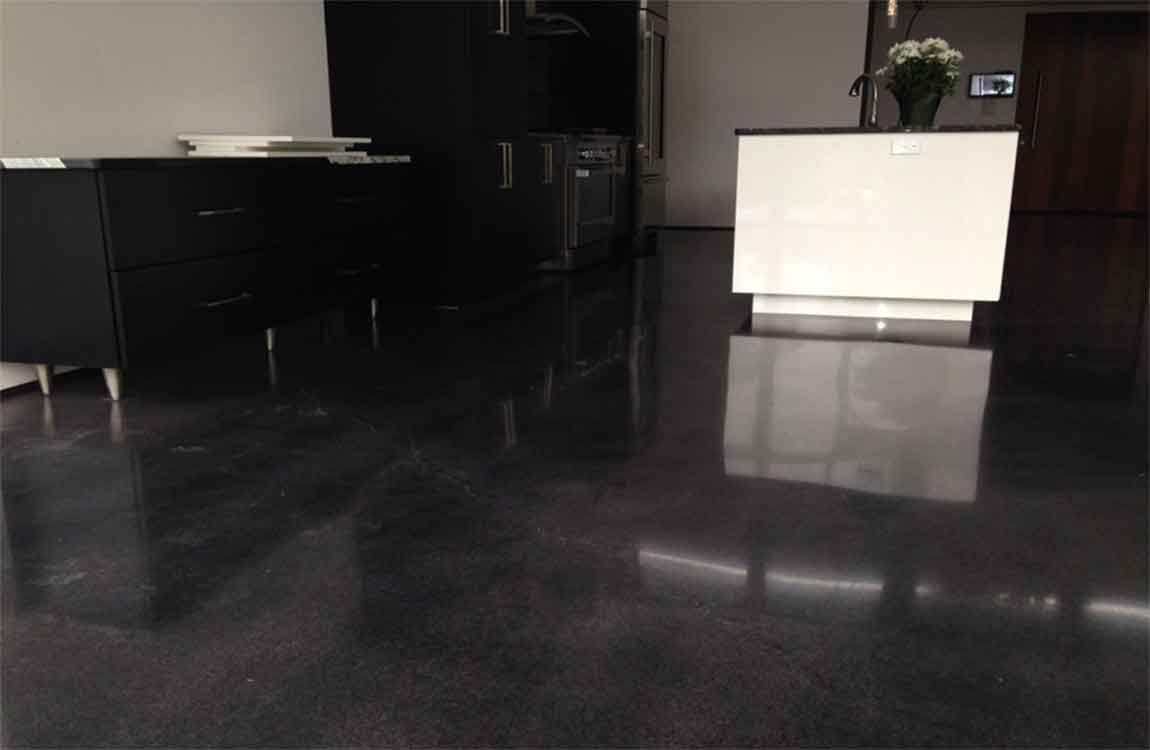
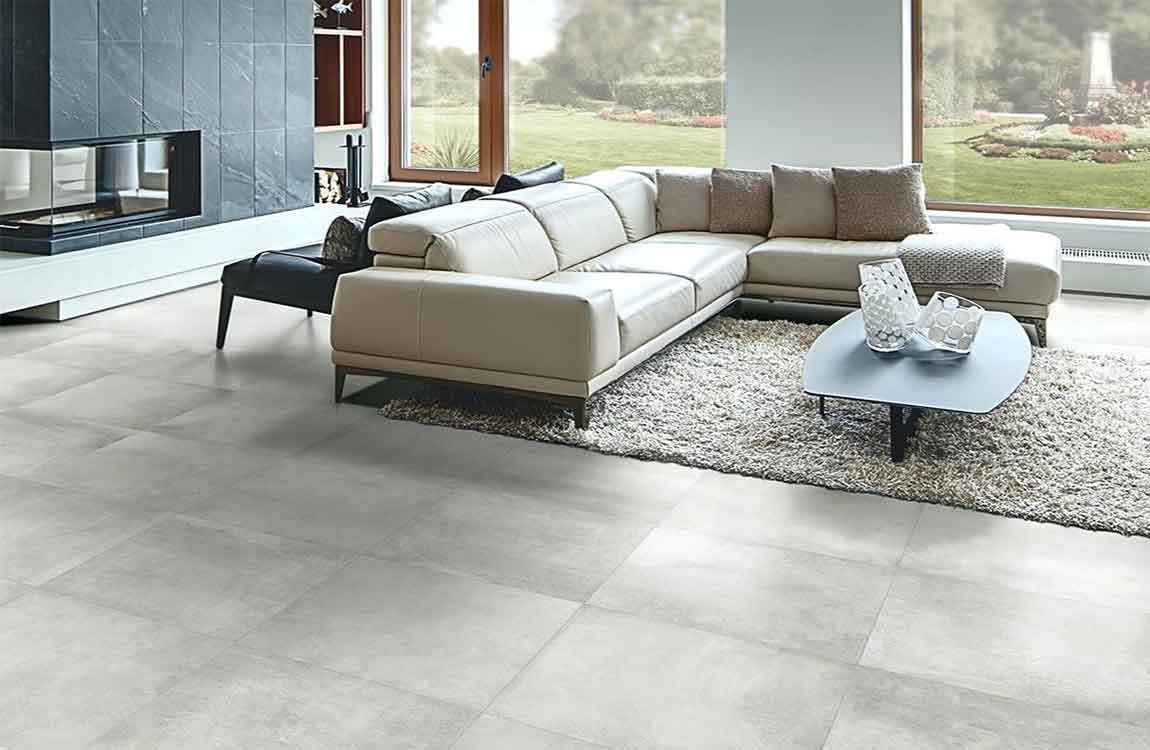
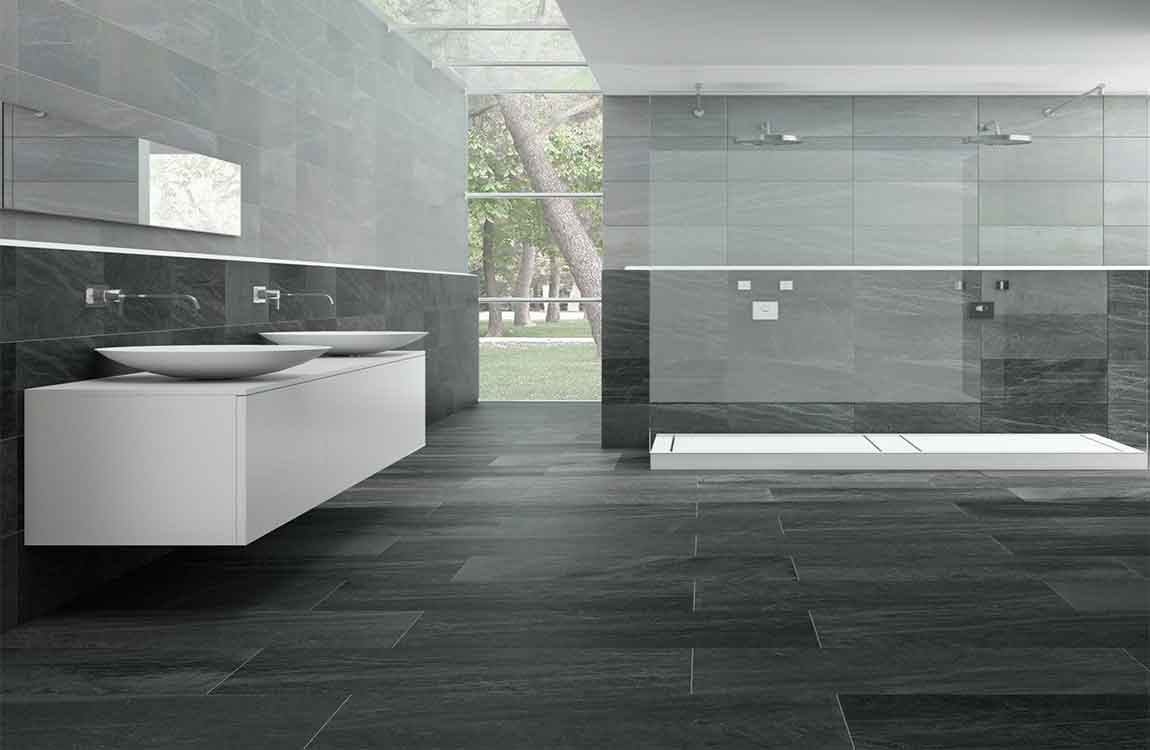
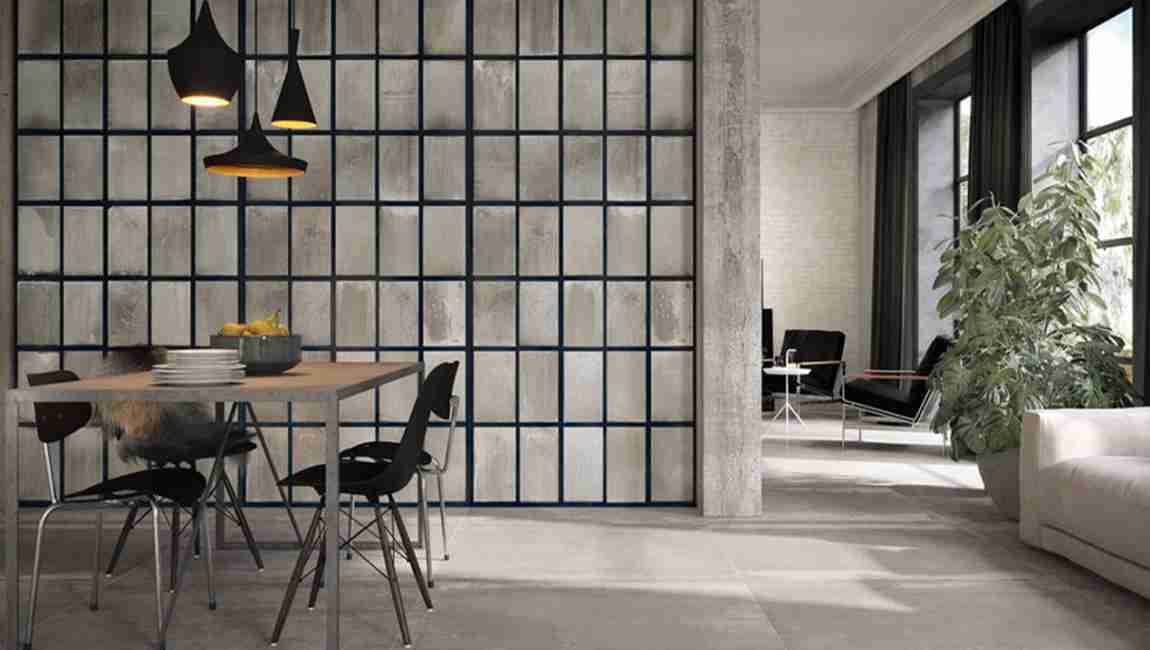
https://baranaceramic.com/wp-content/uploads/2019/10/Maintaining-the-Grout-2.jpg7501150administratorhttps://baranaceramic.com/wp-content/uploads/2025/09/logo.pngadministrator2019-09-25 08:00:462019-10-10 09:30:00How Maintaining the Grout?
Look for tile online for inspiration. Look online for images of pools that you like and find out what kind of tile they’re finished with. Browse through websites for pool tile companies and see what different kind of tile they offer. Read online reviews to find good-quality tile. See what other homeowners are saying about particular kinds of pool tile and different tile businesses.
Take notes as you do your research. Use your notes to narrow down a few types of good-quality tile and some good places to buy them.Look at tile in a store to see what you like. Pay attention to the overall quality and feel of the different tiles. Do you prefer tile that is smooth or abrasive?
Hold up different tiles and see if you like how the light reflects off of them. Hold different tiles side by side to see if you like them together. Shop for slip-resistant tile for kids. Finish any edges or walkways around your pool with slip-resistant tile to prevent kids from falling and hurting themselves.
Trim end tiles to fit around household fixtures. It may also be necessary to cut tiles when they run up against door jambs, cabinet bases, air vents, fireplaces, and similar obstacles. To do this, record the length and width of the object protruding into the tile space, then mark those measurements on the tile using a straight edge.
Use a wooden shim or scrap piece of cardboard to account for the grout lines in your measurements. Make sure the lines you draw on your tiles are plainly visible. They’ll serve as a guide when it comes time to do your cutting.
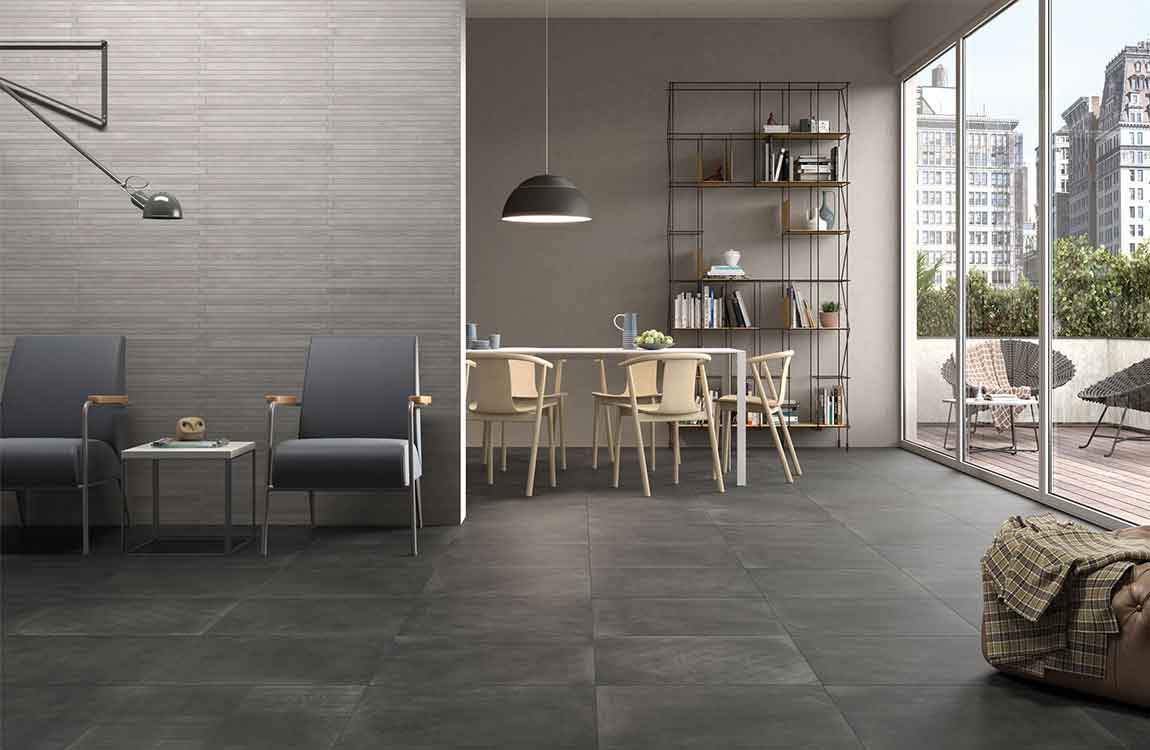
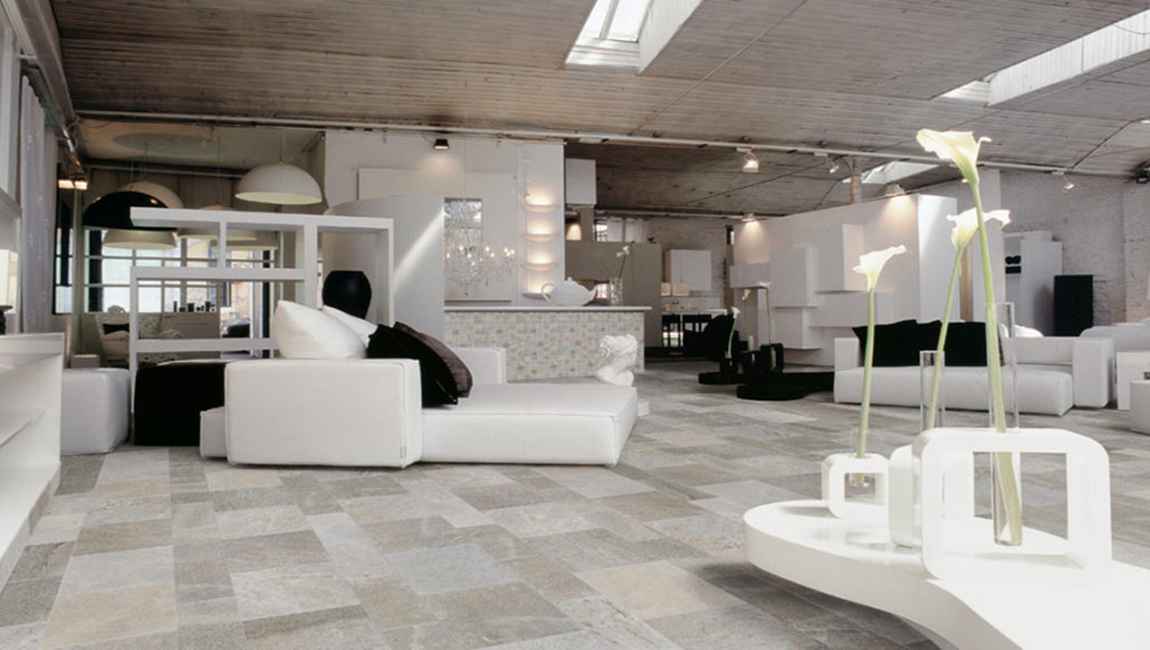
https://baranaceramic.com/wp-content/uploads/2019/08/How-Choosing-Pool-Tile-Online-or-In-Store-1.jpg7501150administratorhttps://baranaceramic.com/wp-content/uploads/2025/09/logo.pngadministrator2019-08-22 08:00:012019-09-03 05:44:47How Choosing Pool Tile Online or In-Store?
Use small shims or other spacers to allow a small amount of space between the bottom of the tile and the lip of the shower pan. Small pieces of cardboard work great as makeshift shims. After the mortar is set, you can simply remove these shims and caulk between the lip of the pan and the bottom of the tile.
Continue laying the tile, making sure to use spacers in between tiles. Spacers will leave you identifiable grout lines between tiles. Small 1/16″ or 1/8″ spacers (or even bigger) can be placed at several places on the x- and y-axis of the tile to leave adequate space for an even grout line.
Repeat the procedure, setting each row of tile on top of the last row of tile. Continue until you reach the top of the shower stall. Measure up from top of the last row. Mark the line with a level as a guide for your next row. Spread thin-set onto your tiles with v-notched trowel and place the tile just below the marked line. Use spacers all around.
Make sure to measure every third or fourth row to ensure that you have an even grout line. Let the tile set for 48 hours. This will make sure that the mortar has adhered properly to both the tile backing and the cement board backer. Do not use tile nippers made from slate. You can use them on ceramic tiles, however. You can also use a wet saw to make basic cuts on most tiles.
Cut the tiles while they are still on the mesh. Using your sketched line as a guide, cut the tiles down to the right size. A wet saw should do the trick for most tiles. If the tiles are smaller than 1 or 2 inches (2.5 or 5.1 cm), a pair of tile nippers may work better. The tiles should fall away from their mesh backing as you cut them. If they don’t. cut them away with your box cutter.
The laying of wood tiles is also an art of line and surface. It can adopt different combination of lines and surfaces to create aesthetic spatial style effect. The tile design is laid on the seam: the conventional laying method is used to tile the marble tiles or to erect them. The tiles are laid on the side: the usual method of laying is good, only for square cement tiles. I-pattern: tiles price are misplaced and become separate I-shaped patterns. Composite tile: multi specification, combination paving. When paving floor tiles is applied, the method of mixed placement can ensure that the tile reaches the natural and smooth texture effect, and the flooring tiles texture and color level are strong.
Before laying the ceramic floor tiles, the 325 cement and sand are mixed into plain mortar in the proportion of 1:3, and the Microstone stone tiles are recommended to join the fine sawdust in the proportion of 8%-10%. Line and water to moisten the ground: pull two vertical lines on the treated ground and use the horizontal ruler to adjust the level; the ground is sprinkled with concrete water to benefit the construction, but it should not be sprinkled in a large area. Mortar floor: put the well mixed mortar on the sprinkled ground, and make it neat and symmetrical. Scraping: use wood ruler to evenly smear the mortar and check with a horizontal ruler.
Pre paving. Before the formal paving cheap floor tiles, according to the form of paving to determine the layout of the floor tiles price, such as the direction of the pattern, the product should be shown in the direction of the air to look for space pre paving, check whether the color tiles have color difference, uneven, edge collapse and other conditions. Pre placement helps to find problems and correct problems. Leveling: the tiles are laid on the plain mortar layer first, and the rubber hammer is flattened and compacted with the four sides. Then the bathroom floor tiles will be removed. The thick and smooth surface layer will be obtained. If it is found that there is an unevenness, the mortar should be filled and the bottom layer is smooth.
Smear pulp: 1:2 cement mortar on the back of the kitchen floor tiles, leveling, leveling, ensuring that the four sides are scraped with mortar and uniform, the thickness is about 10mm, the comb can be combed in need, so that the effect is more uniform. Draw a good line according to the size of the ceramic tiles body, the slit is reserved when the line is crossed, the polished tiles remains 3-5mm, the rustic tiles leaves 5-15mm, and the microcrystalline stone tiles remains 3-5mm, avoiding the difference between the concrete and the ceramic thermal expansion and cold contraction coefficient, and the same 3-5mm is left to the wall with the wall.
In the course of paving stone floor tiles, tiles and paste should be scraped and slit on the porcelain tiles seams and closely knit. In addition, appropriate amount of color additives should be added to the customers’ needs. The paving marble floor tiles are completed after 24 hours to walk and scrub. Clean the tiles surface thoroughly with clean water mixed detergent, and the beautiful floor and wall will appear before your eyes.
Many people want to make seamless paving marble tiles price during construction. In fact, this construction method is not appropriate. Because of the deviation of tiles length, right angle and edge straightness, there is no error in tile tiles. There will be some errors in the construction process. The most important point is that any object has thermal expansion and contraction, and the large marble tiles is no exception. When the gap is too small, the strain ability of the small floor tiles to the environment becomes worse. Because of the change of temperature, the natural stone marble tiles will be squeezed from each other and lead to the crack of the tiles surface, and the normal service life of the all marble tiles will be shortened. The size of the tiles seam should generally be about 3-5mm, and the minimum should be between 2mm. The special effect should widen the gap.
The construction base must be smooth and dry and clean surface, dust free soil, no oil, No skin, powder and other phenomena can not be raised. During construction, the ground use 10mm’s tooth – shaped mantle knife, using a mantle knife to portray the binder with the texture in the polished floor tiles, so that the polished marble tiles and the binder are fully bonded to keep the evenness and strength of the bond. It is recommended to moisten the base surface with water on the base and dry climate. The selection of the seam time, the time used in the general seam is 24 hours after the polished porcelain tiles, that is, after the polished porcelain floor tiles is strong, the seam time is too early, which will affect the white floor tiles, The color of the joint should be close to that of the floor tiles, except for special effects. For example, pure white tiles does not use dark color sealant, because the visual effect of black tiles edges is easy to appear.which will cause the uneven height or loose and loose.
Generally, polishing tiles and glazed tiles paved with light are suitable for sanding tiles and rustic tiles suitable for sand selection without sand. When sewing, use the slitter to squeeze the sealant until it is less than 0.5mm below the polished stone floor tiles surface. Clean the white polished floor tiles noodles in 15 minutes. Paint the waterproof agent 10 hours later. Construction conditions: ambient temperature is 5~40 C, and bad weather should be stopped.
When cleaning the marble stone daily, try to use dry towing, less wet towing, local dirty or stains. Household cleaners such as detergent and washing powder can be used for cleaning. If wet towing, dry hauling after dragging, open windows and doors to ventilate and dry the ground quickly. Cleaning the floor tiles with soap or a mixture of ammonia and turpentine can make the wood marble tiles clean and bright. The gaps between tiles can be cleaned regularly with a decontamination paste, and then brush with a brush to crack a layer of water repellent to prevent mold growth. Slight scratch treatment of wood floor tiles: apply toothpaste to the scratches, wipe it repeatedly with soft dry cloth, then apply a small amount of marble polishing wax, then dry with a dry cloth to shine. Regular waxing for common marble tiles can achieve long-term protection. The best time is 2-3 months.
https://baranaceramic.com/wp-content/uploads/2018/07/Sticking-and-maintenance-techniques-of-floor-tiles-1.jpg600900administratorhttps://baranaceramic.com/wp-content/uploads/2025/09/logo.pngadministrator2018-07-06 06:33:112018-11-28 06:04:33Sticking and maintenance techniques of floor tiles