Posts

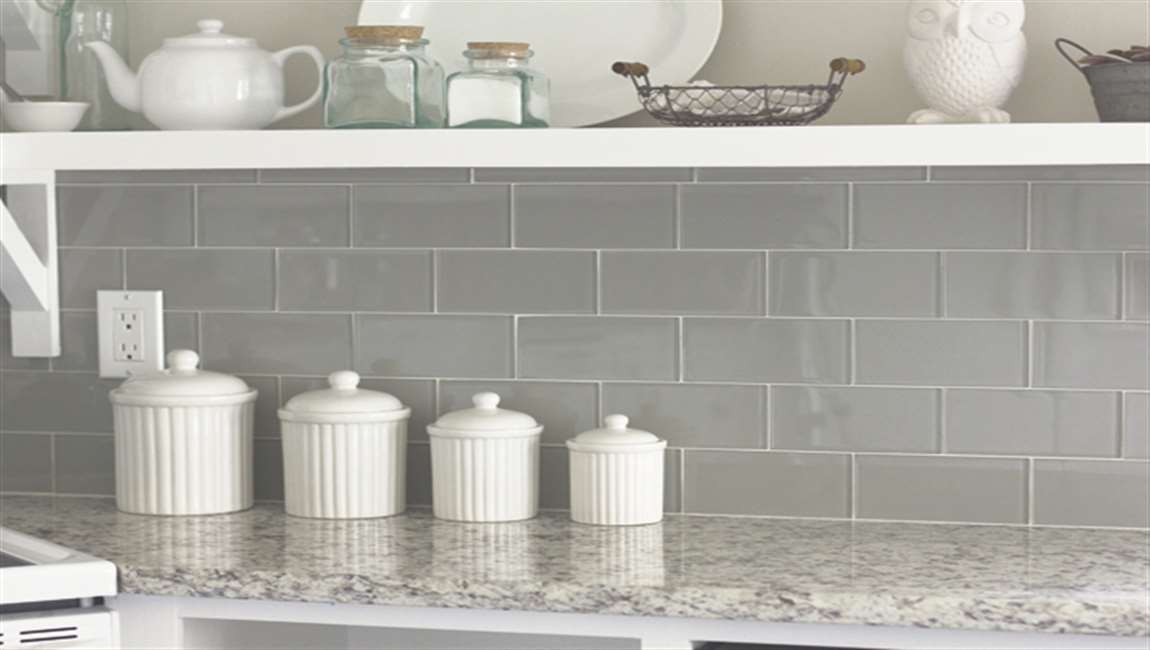
Installing a Traditional Tile Backsplash

Bring everything you have. There are several different items required to install a traditional ceramic back panel in the kitchen. Before you start your project, make sure you are well prepared. Materials to be prepared before starting include tiles, tile adhesives, and grout.


Make sure you have the necessary tools, including a notched trowel, tape measure, sponge, level, utility knife, and a tile cutter. You may need spacers for tiles that are not attached together in sections. You may want to use something to cover your countertops during this process to keep them clean.


Clean your walls. In order for the tile adhesive to stick the walls, they must be free of any dust or grease. Wipe them down with a damp rag, and give enough time for them to completely dry. Measure your space. It is important to make sure you get a good measurement so you know exactly what size you should cut your tiles.


Choose a stopping point, either directly below your cabinets or at an arbitrary point on the wall. Make sure that you have enough tiles to fill the measured space, as well as a few extras for precaution. Use a level and straight edge to mark your stopping point along the wall.


Apply the tile adhesive. Use your trowel to smooth the tile adhesive across the wall, working in small sections. If you apply too much at once, it will begin to dry before you get a chance to attach the tiles. Always start applying your tiles from the bottom center, and working outwards from there. Don’t apply the tile adhesive to the backs of the tiles, as it will be more difficult to attach them to the wall.

How Eliminate mortar voids?

A typical ceramic tile installation involves spreading a thin-set mortar on the surface with a notched trowel, then pressing the ceramic tile into the mortar to collapse the ridges and improve contact between the tile and mortar. Unfortunately, this practice can leave many voids in the mortar behind the tile.


While this would not be a concern with opaque ceramic tile, the randomly distributed air pockets or voids may be visible through clear or translucent glass. The mortar should still be spread with a notched trowel onto the substrate, but it should also be spread (back-buttered) in an even, thin film onto the back of the glass tile.


Now, when the two mortared surfaces are pressed together, the back of the tile is already covered, so any remaining voids from the mortar ridges are hidden and do not show through the glass tile. Keep in mind that standard thin-set mortars can shrink and pull away from the tile, causing voids and air bubbles during the curing process, so make sure that the mortar resists shrinkage too.


Tape the sheets to the tiles, then trace and scribe the cut lines. When all the paper templates are just right, tape each one to a tile and use a pencil to transfer the cut pattern. After that, remove the paper and use a tile scribe to score 0.125 in (0.32 cm) deep lines into the tiles, tracing right over top of the pencil lines.


Tile scribes can look like thick pencils or come in other shapes. Look for them at hardware stores or online. Remove the unneeded tile with tile nippers. Slowly and carefully squeeze the handles to snip away small “bites” of tile from the sections that need to be removed. Turn your small “bites” into tiny “nibbles” as you get to the score lines. If you try to snip off too much, you risk breaking the tile and having to start over.

How to Install Glass Tile?

Glass tile is a beautiful material that can bring light and shine to any room in a house, creating a clean modern-yet-classic look. Sheets of paper-faced glass tile make setting tile easier by mostly eliminating individual tile setting, but you can also get traditional tiles made from glass. With Barana as your guide, you’ll get a professional look without the professional price.

A laser level is handy because it will continue to be available even after you lay down your mortar. You can use a chalk line to line up your tiles but it’s easy to accidentally cover it. Getting a level line is important because walls, ceilings, and other surfaces in your home are often not as straight as they look. A wall, for example, can be taller in one spot than it is in another.

Test your pattern. Dry fit your wood tiles before putting up any mortar to make sure that you like your pattern and that you know how the different tiles or sheets properly fit together. Lay out a couple to get an idea and then get ready for the fun to start!

Mix some thin set mortar. You will use thin set mortar to attach the elegant tiles to the wall or other tiling surface. You’ll need to mix the mortar according to the package instructions, but generally you want to start with the powder and add water very gradually. When the mortar has a consistency like peanut butter, you’ve got the right amount of water. Mix only what you can spread in 20 minutes. Let the mortar sit for 10 minutes, stir it up again and then it’s ready to use.

Spread the mortar. Spread the mortar using a notched trowel in a roughly 3’x3′ space. Spread the mortar out and then use the trowel to create straight, parallel lines in the mortar. These will help the tiles adhere to the wall. You might want to do a test tile first, however, in order to make sure that your mortar is the right consistency. Place a tile down and them pull it back off: when you set the tile on the mortar, if the mortar comes up between the tiles so that it is even with the face of the tile, then your mortar is too thick or maybe wet. If you see lines of mortar on the back of your tile when you pull it up, then your mortar is too dry or the bed of mortar is too thin.

How to Avoid Common Glass Tile Installation Mistakes?

Homeowners and interior design professional who want a fashion-forward, fresh look select glass tile accents more frequently than ever. Glass tile harmonizes with either traditional, transitional or contemporary architecture, adding a splash of style. For years, glass tile was only used for accent and trim pieces, with ceramic tile filling the field; there was not much thought given to the installation materials, which were generally the same as those used for the ceramic tile. Modern design trends continue to push the envelope with glass tile, moving beyond the traditional accent pieces – glass tile is now being used as field tile with sizes 12″ x 12″ or larger, and with these new marble tiles come new challenges.

Ensure color consistency behind glass tile. Since glass can be the sole material in an installation, it is essential to choose a bonding mortar that meets its unique demands. In most cases, the color of the thin-set mortar was not an issue when installing opaque ceramic tile. But with clear and translucent glass, the mortar appears through the tile: if the color varies in the mortar, it will in the glass tile too.

To eliminate variations across a glass tile installation, choose a glass tile mortar with a bright white shade that is controlled to a consistent standard color. The color consistency will ensure a uniform appearance on the face of the glass tile, even in large installations that require multiple batches of mortar. As an added bonus, the bright white shade of the mortar can enhance the color of the clear or translucent glass tile.

Eliminate mortar voids. A typical ceramic tile installation involves spreading a thin-set mortar on the surface with a notched trowel, then pressing the ceramic tile into the mortar to collapse the ridges and improve contact between the tile and mortar. Unfortunately, this practice can leave many voids in the mortar behind the tile. While this would not be a concern with opaque ceramic tile, the randomly distributed air pockets or voids may be visible through clear or translucent glass.

The mortar should still be spread with a notched trowel onto the substrate, but it should also be spread (back-buttered) in an even, thin film onto the back of the glass tile. Now, when the two mortared surfaces are pressed together, the back of the tile is already covered, so any remaining voids from the mortar ridges are hidden and do not show through the glass tile. Keep in mind that standard thin-set mortars can shrink and pull away from the tile, causing voids and air bubbles during the curing process, so make sure that the mortar resists shrinkage too.