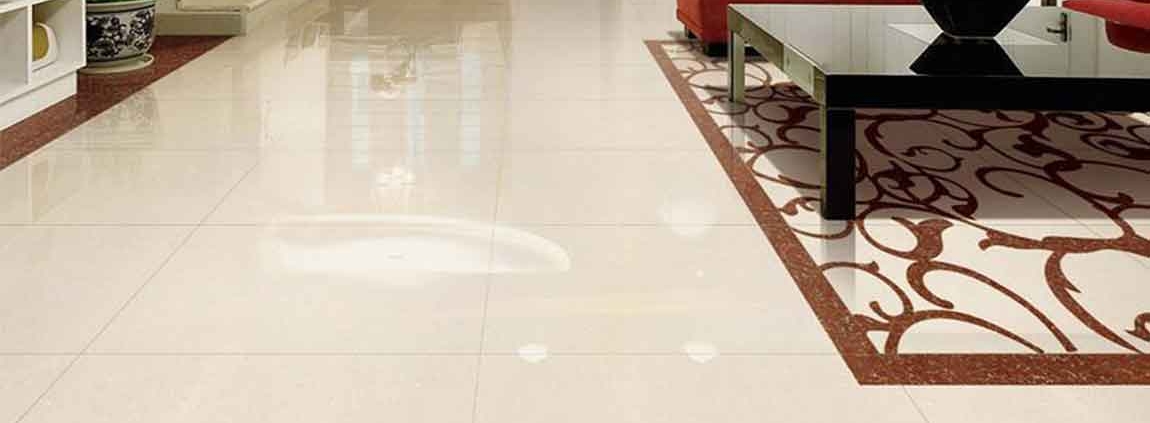
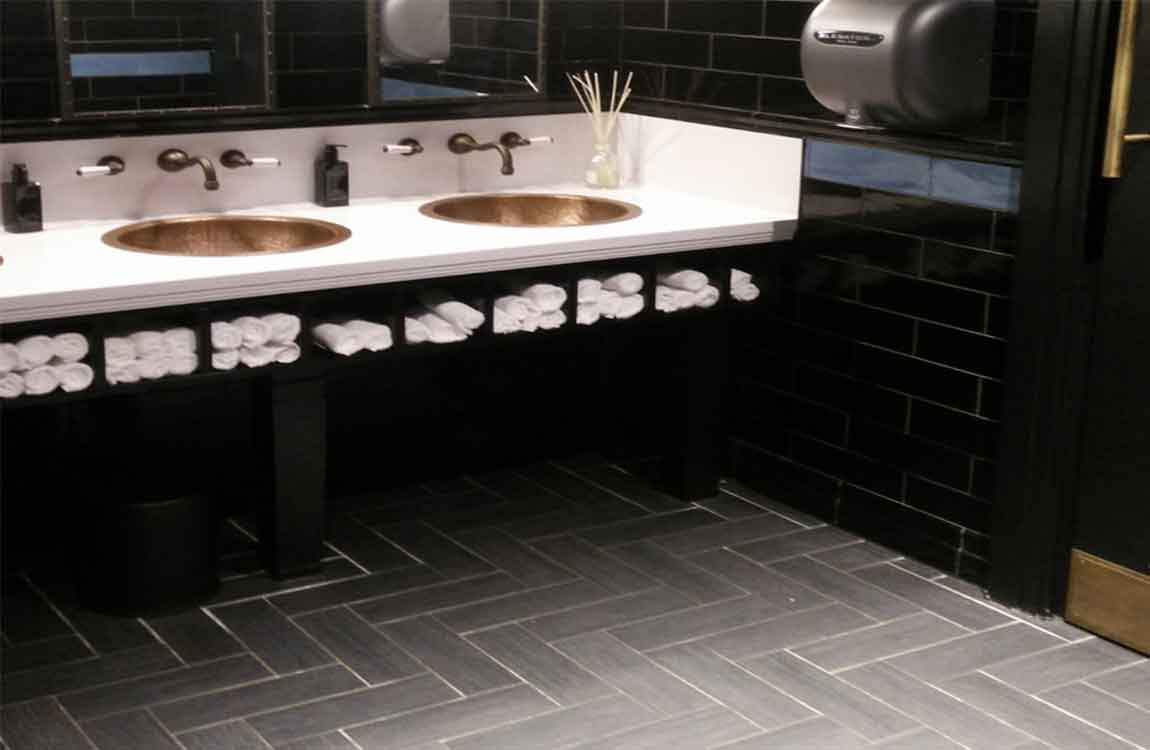
How to Install marble tiles?
If you’re looking for some eye-catching accents and unique pigments to spice up your kitchen, marble tiles are a great choice. Although marble tiles installation is definitely a job best done with a friend given the heaviness of the material, the actual installation is a lot easier than you would think!
Attach a diamond masonry blade to your power saw. Start by attaching vice grips to your old blade to prevent it from moving. Now, use a wrench to loosen the bolt and remove it. Remove the flange—the small rim located under the bolt—and lift the blade out. Finally, swap in your new diamond blade, reattach the flange, and retighten the bolt.
Be sure that your blade is designated for marble tiles. Skip this step if you already have a diamond masonry blade on your power saw. Saw along the marked lines to cut the marble tiles to size. Set the blade depth to half the thickness of your marble tiles. Afterward, place your left hand on marble tiles to keep it steady and your right hand on the handle of the saw to move it forward and backward.
With your marble tiles on a flat surface, start sawing along the top penciled line. Apply gentle pressure downward onto the marble tiles with your left hand and down onto the saw using your right hand. Always check that the teeth of the diamond blade are pointing opposite to the marble tiles. Repeat this process with the other side of the marble tiles to cut it in half.
Remove the blade from the marble tiles every 30 seconds to keep the temperature low. Space each bead apart by 6 to 12 inches (15 to 30 cm) to make sure that the silicone holds the counter as securely as possible. Always start installing the marble tiles around the sink region.


