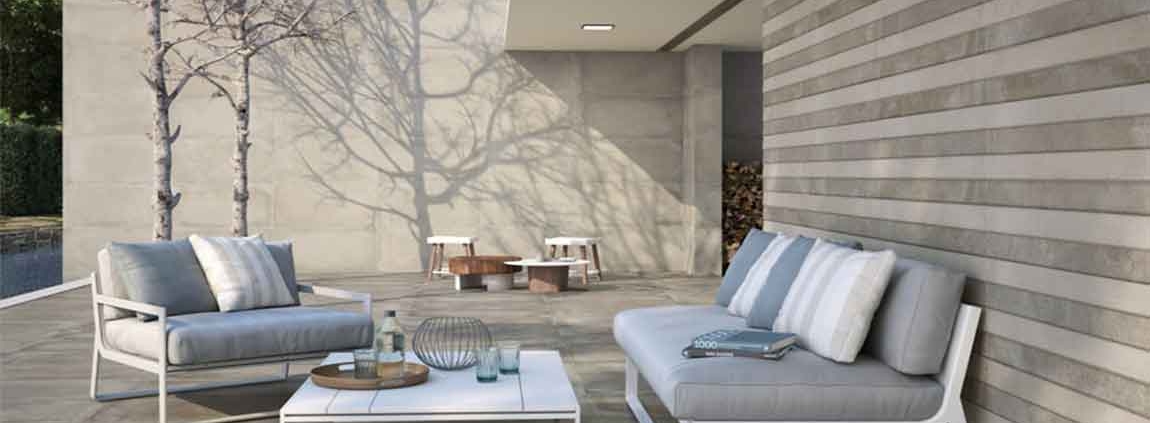
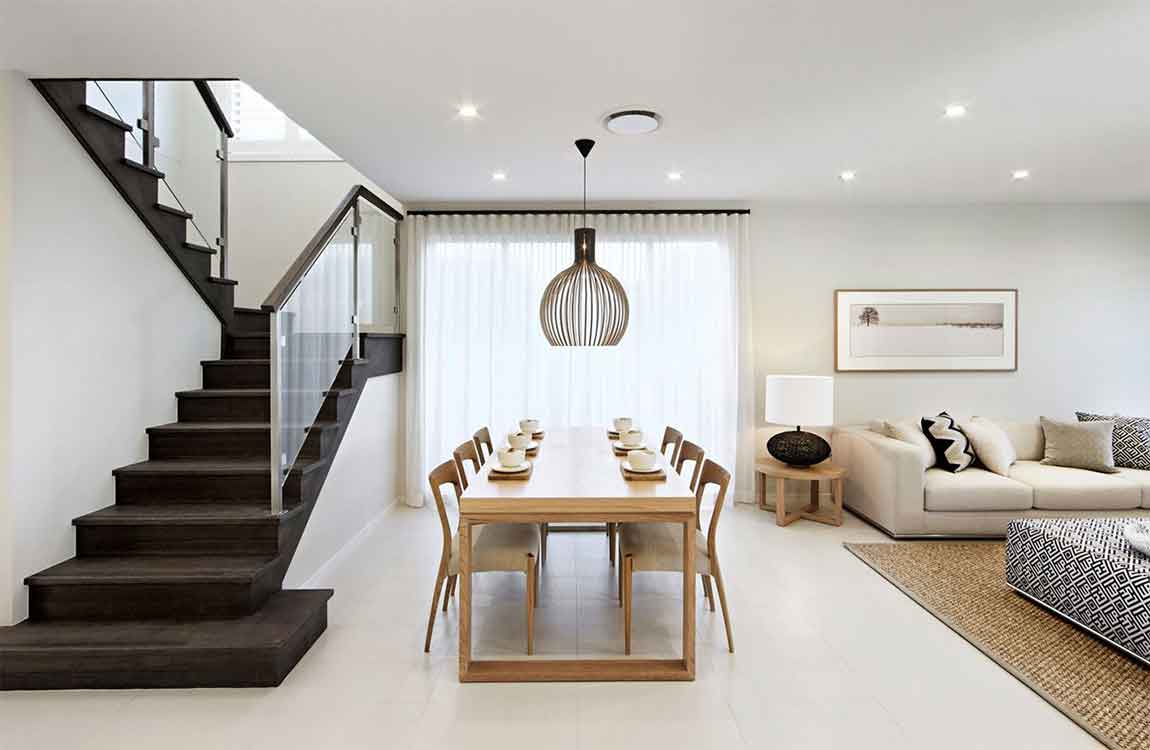
If inhaling bleach and other harsh chemicals in order to clean grout doesn’t appeal to you, you do have an alternative method that is equally effective. Although you still need to put a little muscle into cleaning your grout you won’t be let down by the cleaning power of Mother Nature.
Cleaning the Tiles. Clean the tiled area. Remove any excess debris from the floor or counter area before attacking the grout. Use warm water and mild dish soap when cleaning counters or backsplash areas. Sweep floors and remove excess dirt and debris, concentrating on the grout area.
Cleaning the Grout with Vinegar. Attack the grout using a milder approach. Start with the easiest product first; you may be able to take care of the problem with just a little vinegar and water. Or, consider mixing vinegar with club soda instead of water. Combine half a part of white vinegar with half a part of water (or club soda) in a spray bottle or cup.
Pour or spray directly onto the grout and scrub. Allow the compound to sit before wiping away the vinegar and water. Cleaning the Grout with Baking Soda or Salt Add baking soda or salt to white vinegar/water (or club soda) mixture if stain or grime has not lifted. Add two parts baking soda to the vinegar/water mixture to create a thick paste. Apply the baking soda/white vinegar/water (club soda) compound directly to grout. Allow to sit on the grout for up to 15 minutes.
Scrub well. Wipe away the paste as you work to see if the solution worked. Cleaning the Grout with Oxygen Bleach. This method should work when the other methods aren’t cleaning adequately. Turn to oxygen bleach (Oxy) if all else fails. Create a thick paste using water and/or club soda and apply to grout (the same way you applied it with the banking soda paste). Wait 15 minutes and then scrub. Wipe away with a clean cloth as you work.
https://baranaceramic.com/wp-content/uploads/2019/10/Clean-Grout-Using-Natural-Products-1.jpg7501150administratorhttps://baranaceramic.com/wp-content/uploads/2025/09/logo.pngadministrator2019-09-24 08:00:422019-10-10 09:30:38How to Clean Grout Using Natural Products?
Dry-fit the tile over the flange to make sure it fits. Check your work before you attempt to secure the tile in place permanently. So long as your circular cutout is less than 0.5 in (1.3 cm) larger than the toilet flange all the way around, the base of the toilet should cover the cutout. Once you know the tile fits properly, you can secure it to the floor permanently.
Reach across the tile to the edge that’s farthest away from you and set the wheel of the scoring tool on the end of the guideline. If the glass tile is too large for you to reach over to the edge, stand alongside it instead while placing your scoring wheel.
Pull the scoring wheel toward you using the straightedge as a guide. Press firmly down on the glass with the scoring tool as you pull it towards you. It should make a distinctive crackling sound as the tool scratches the surface of the glass tile if you are applying enough pressure. Look to see a faint but definite line cut into the glass.
Grip the section of glass you want to cut with grozing or running pliers. Grozing and running pliers have a flat, serrated jaws that are perfect for gripping and breaking scored glass. Keep the tile face up on the workstation or table and grip the edge of the glass with the pliers positioned parallel to the cut you made with the scoring tool. If your pliers do not have a rubberized grip on the jaws, apply masking tape to get a better grip on the glass.
Snap downward to break off the tile. Position the scored glass tile so the edge of the tile that you want to snap off is hanging over the edge of the table or workbench. This will give you room to snap the piece off. In one swift motion, snap the glass downwards using the pliers to grip it. The glass should break cleanly along the line you scored. Don’t press down slowly or the edge of the glass may break off unevenly.
https://baranaceramic.com/wp-content/uploads/2019/09/Knowledge-of-Cut-Tiles-1.jpg7501150administratorhttps://baranaceramic.com/wp-content/uploads/2025/09/logo.pngadministrator2019-09-12 08:00:052019-09-12 06:48:01The Knowledge of Cut Tiles
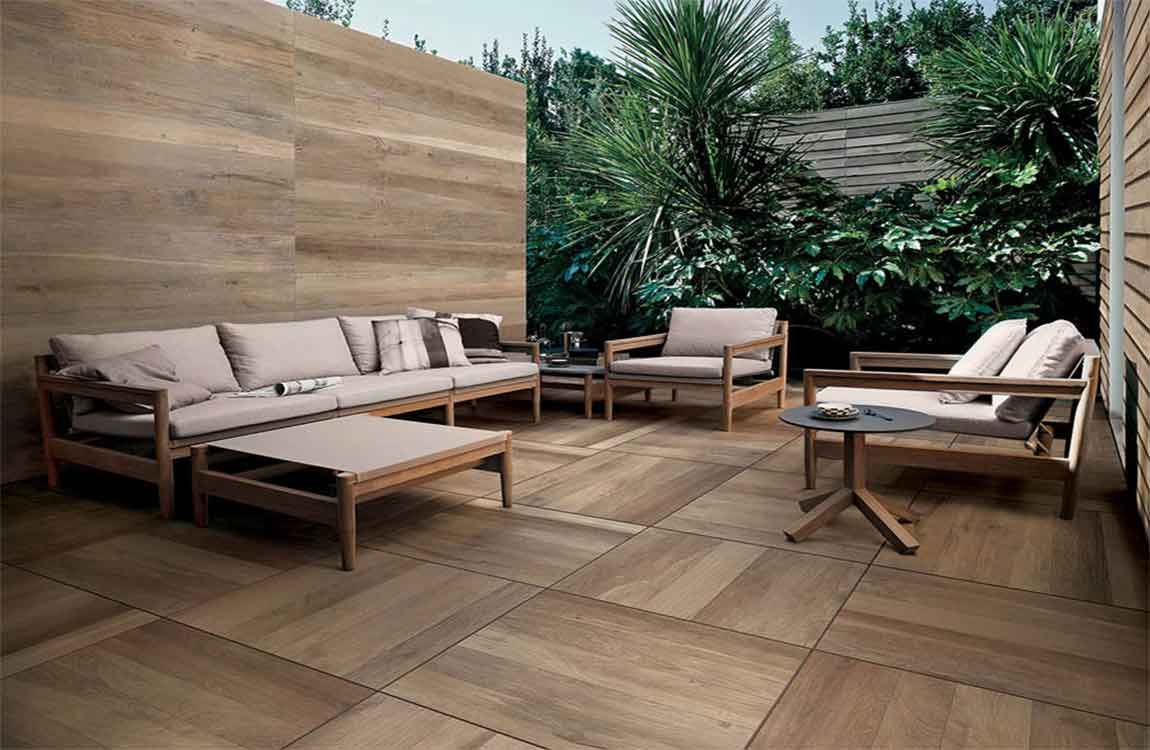
Calculate the square footage of the room. To determine the square footage of a square or rectangular room, simply find the length of 2 adjacent walls in square feet and multiply them together. For irregularly-shaped areas like closets, alcoves, and counters, multiply the length and width of the extra space separately, then add this number to the square footage of the main part of the room.
If you’re measuring a rectangular room that’s 18 square feet (1.7 m2) x 12 square feet (1.1 m2), for example, the total square footage would be 216 square feet (20.1 m2). Figuring out the room’s square footage will tell you exactly how much tile you’ll need for your flooring project, which may influence the size and style you go with.
Note the size of your tiles. Once you’ve picked out a style you like, jot down the tile’s dimensions in a notebook or on a separate sheet of paper. You’ll need to know their exact length and width in order to determine how many will fit within the floor space of the room you’re tiling.
The size of the tiles should be plainly displayed on the product listing, packaging, or order invoice. It may be a good idea to measure the tiles yourself just in case the listed dimensions are off by a centimeter or 2. Be sure to measure the wall using the same unit as your tiles. If the length and width of the tiles is given in inches, for example, you’ll want to measure the room in inches, as well.
Find the length of the room’s longest walls. Run a tape measure along the wall from corner to corner. Record this number in your notebook, being sure to specify which measurements are which. If the room you’re working in is perfectly square, you can start with either set of opposing walls.
https://baranaceramic.com/wp-content/uploads/2019/08/establishing-layout-lines-2.jpg7501150administratorhttps://baranaceramic.com/wp-content/uploads/2025/09/logo.pngadministrator2019-08-13 08:00:462019-08-07 03:28:20How Establishing Your Layout Lines?
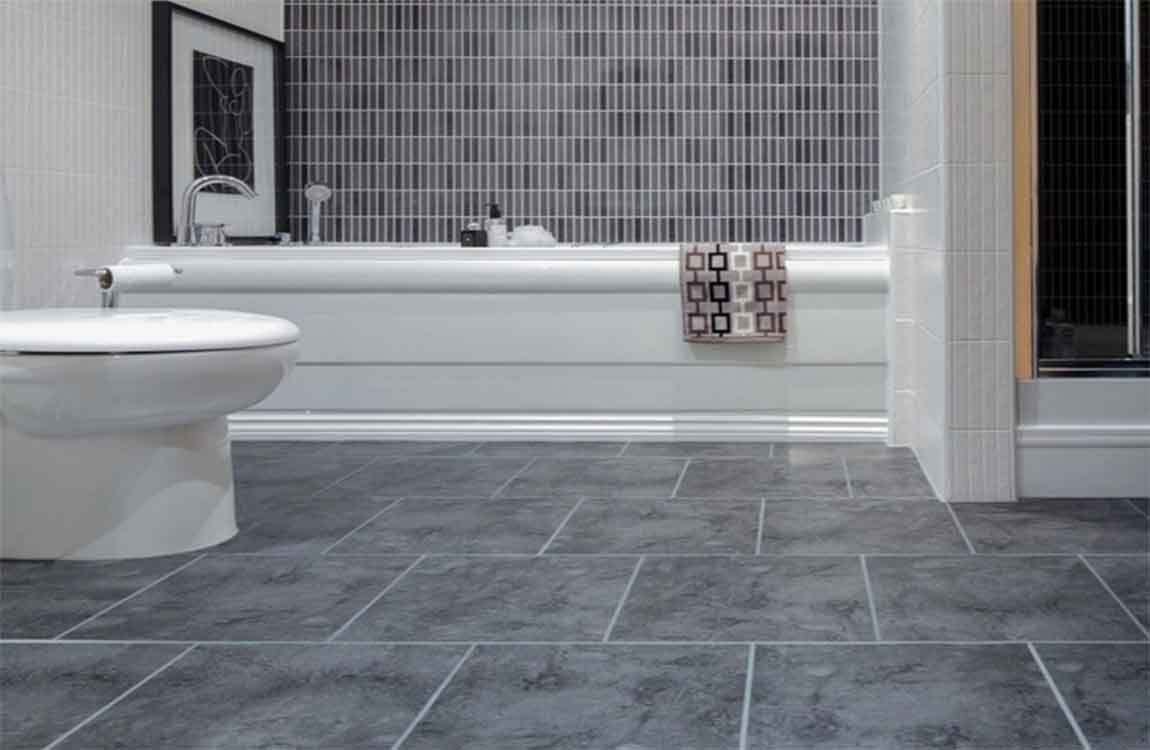
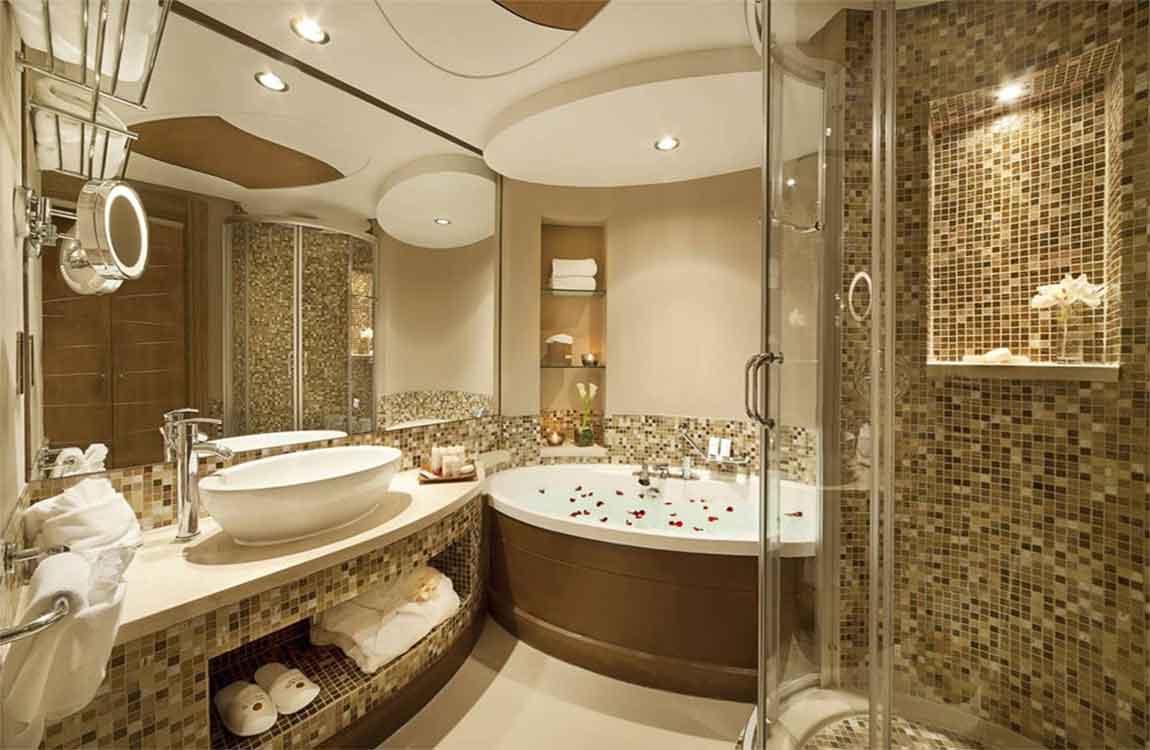
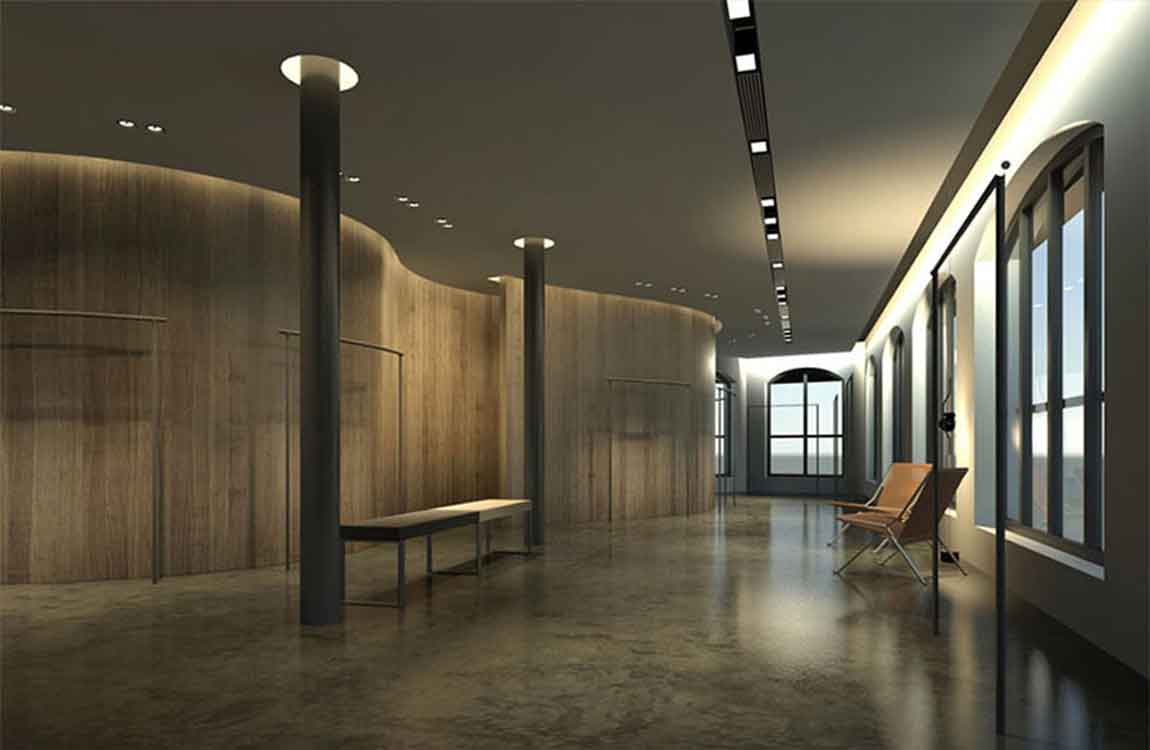
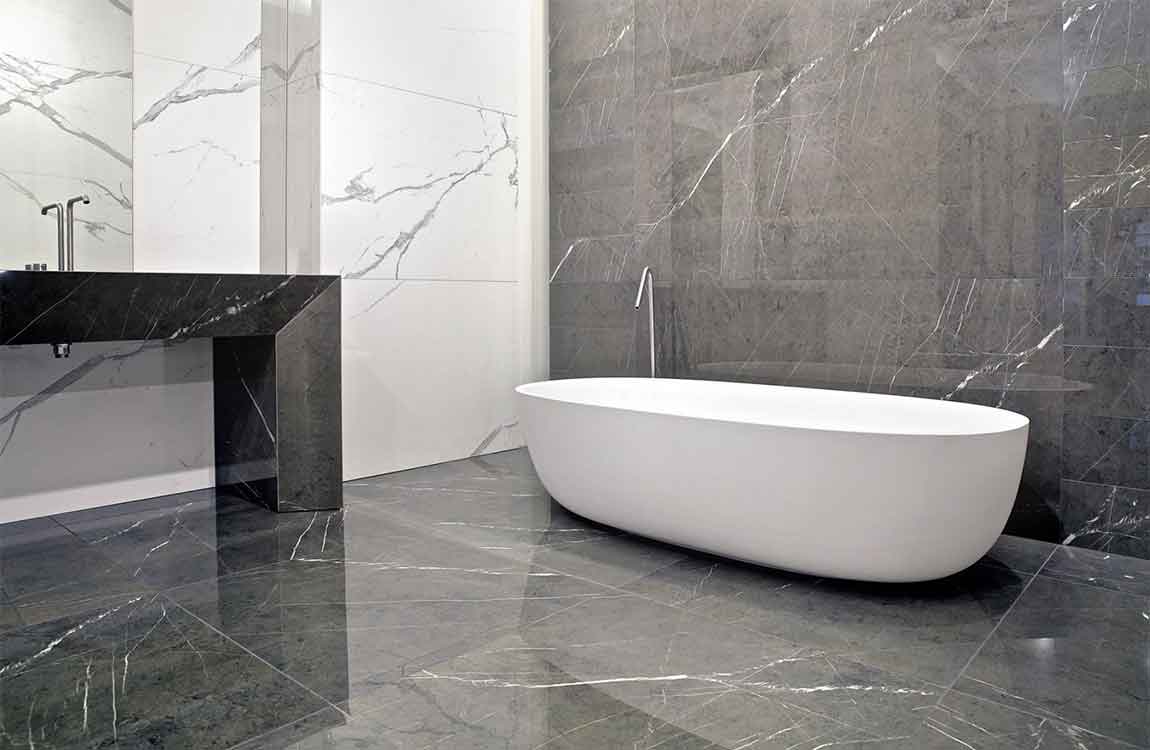
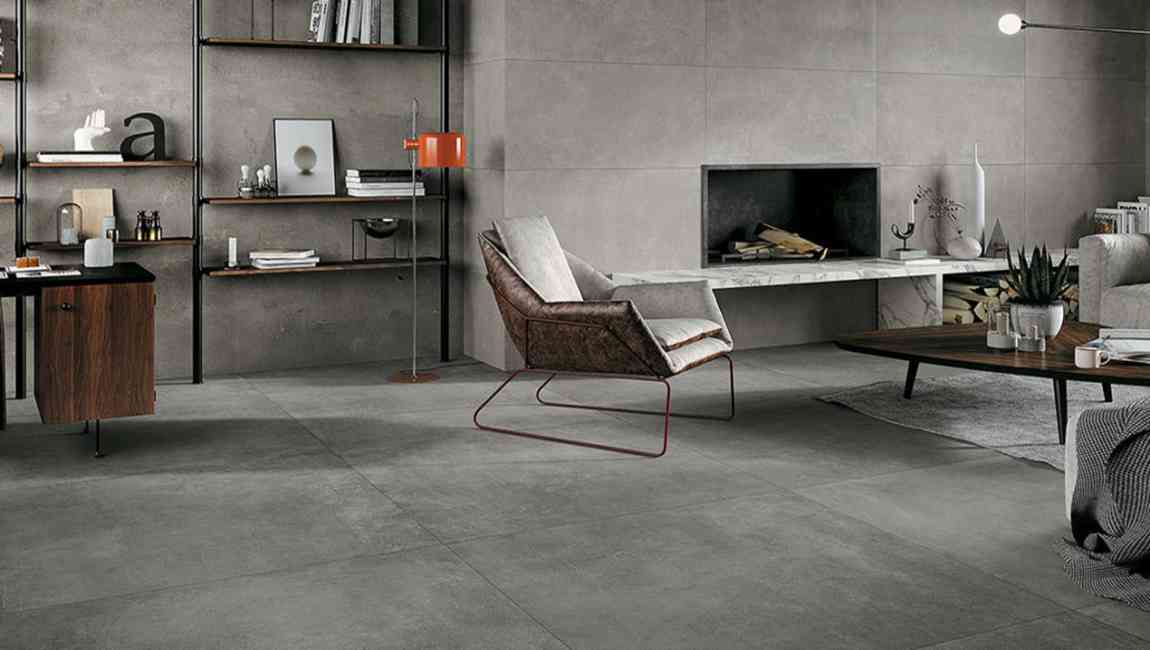
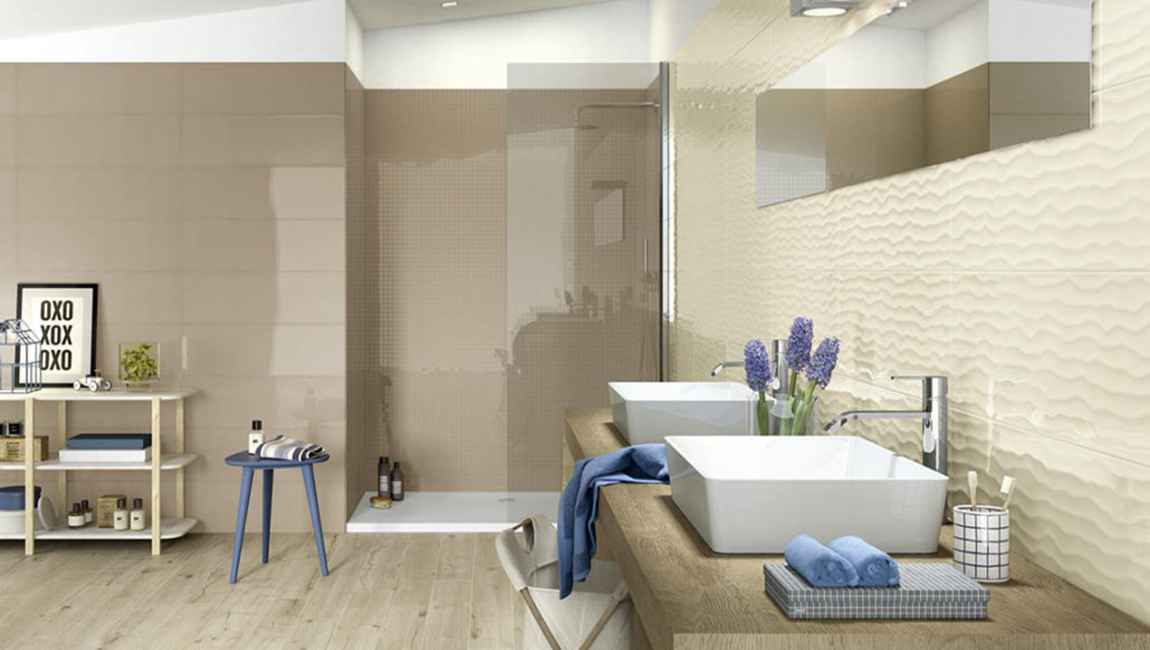
For a small space bathroom with poor lighting, it is not suitable for wall tiles with dark colors and warm colors. Because dark walls make people feel smaller and make the room dark. Besides, the walls of warm colors are visually approaching, which will increase the sense of repression in the room. Therefore, this kind of room usually adopts light and coloured kitchen wall tiles. Conversely, for a large area with good lighting, we should consider how to make people feel warm and comfortable when they bathe. Therefore, we can adopt the warm color system and the deep bathroom wall tiles.
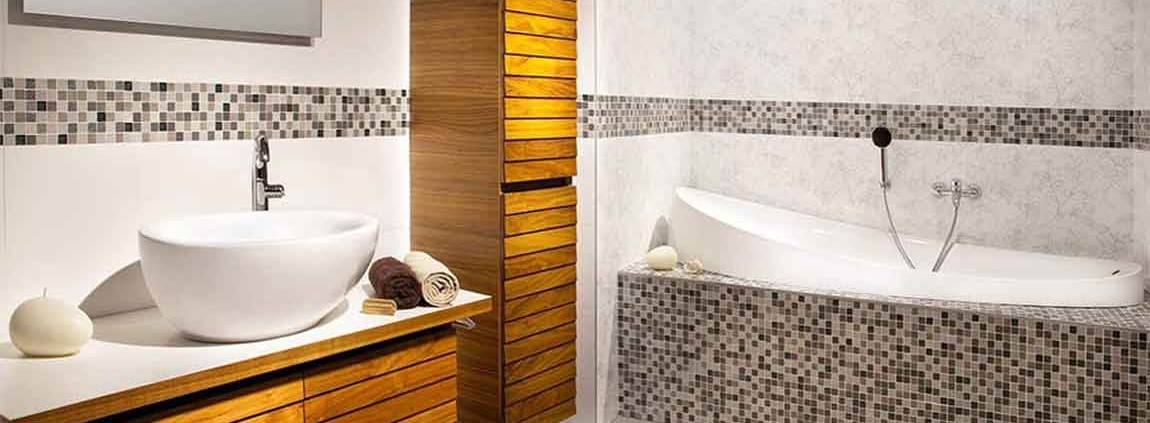
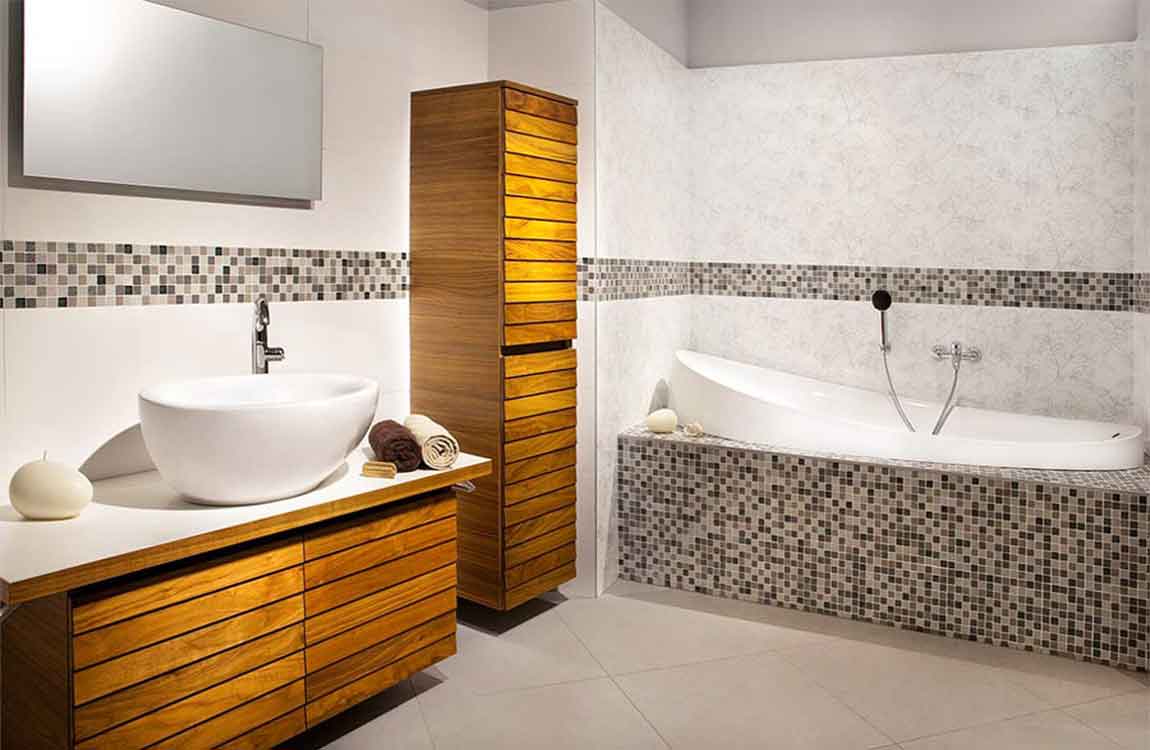
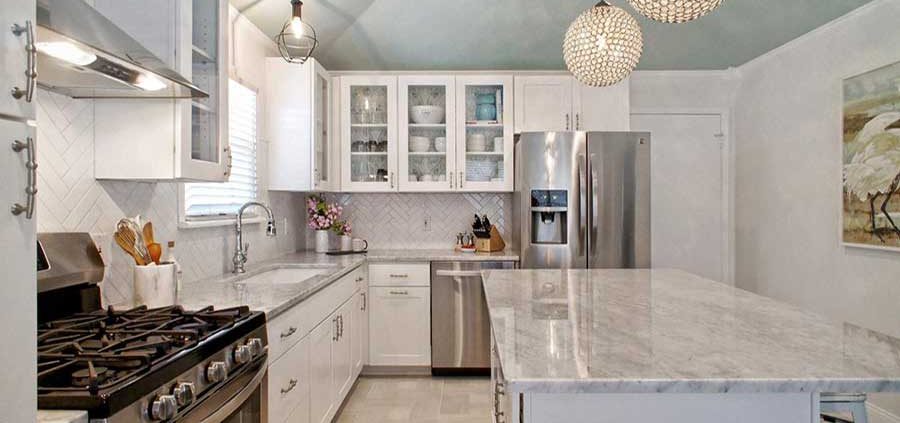
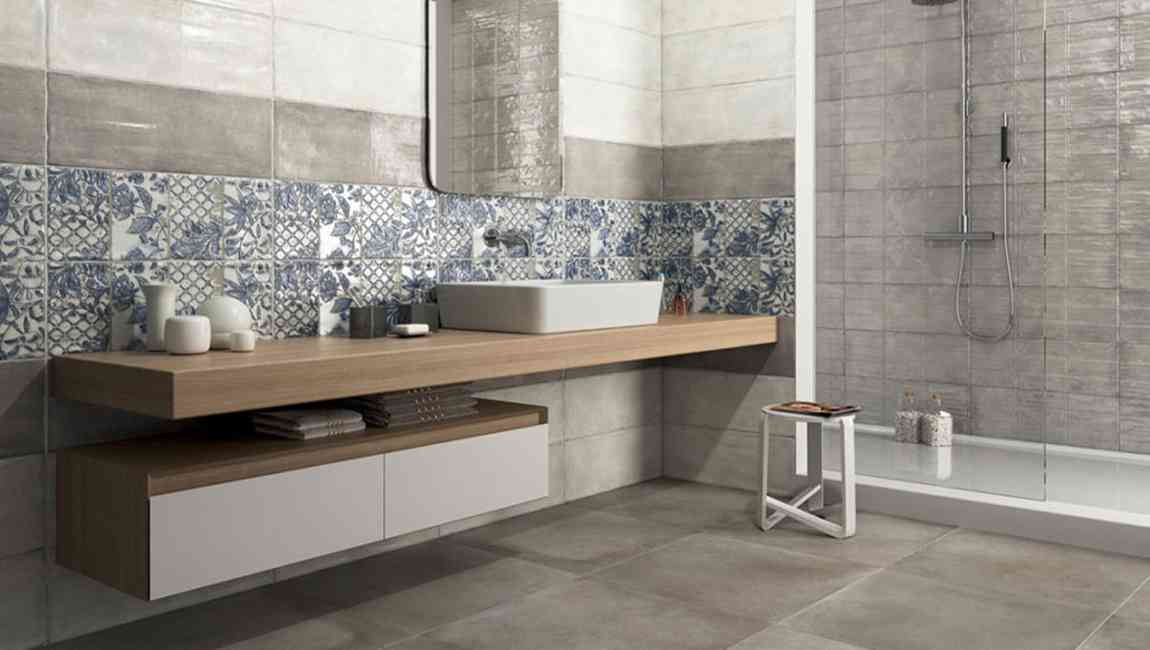
As the background of sanitary ware, wall tiles design play a supporting role. Therefore, the brightness and chroma of the color are much lower than that of the sanitary ware. Proper collocation will make cleaning feel cleaner and more beautiful. At the same time, the ceramic wall tiles should be kept in a shade. The color of the general floor tiles is deeper than that of the wood wall tiles. In addition, different patterns should be chosen in different places. The mosaic wall tiles of the bathroom should be pictorial, subtle and elegant. The style of the kitchen wall tile should be simple and lively. It should be coordinated with the style and color of the cabinet and the table. The pattern should be simple and generous, make people feel clean and bright, decorate a few tiles properly, choose the larger color contrast, and create a relaxed and pleasant atmosphere.
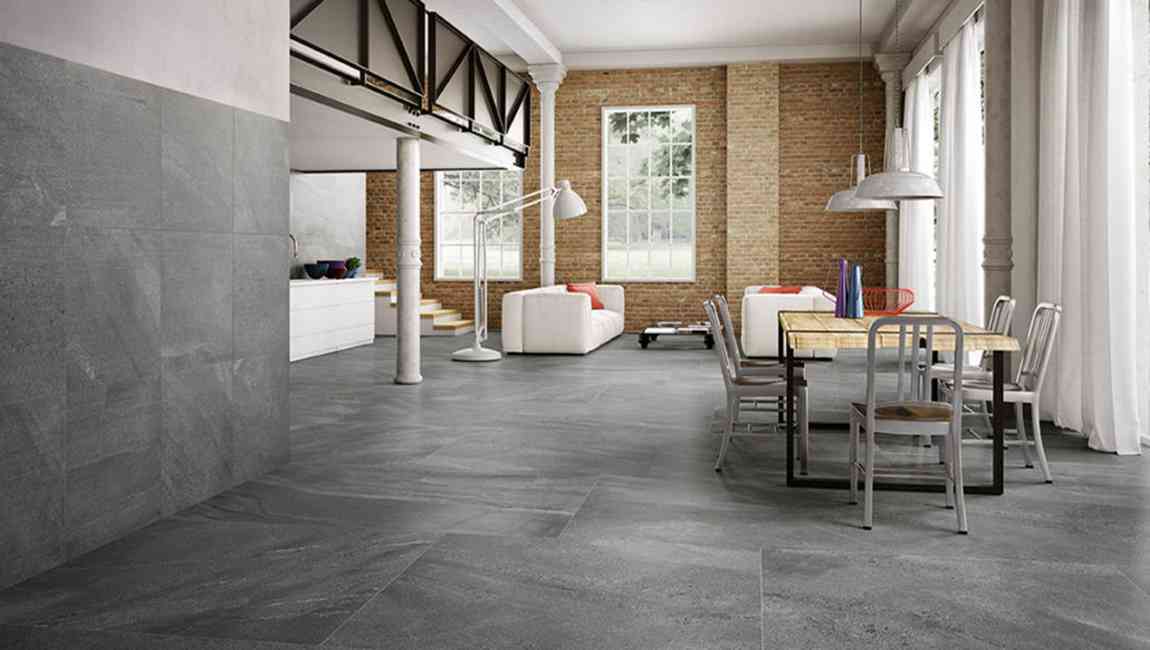
The quality requirements of wall tiles are relatively high, and cracks will appear on inferior tiles wall, such as cracks, and so on. The choice of wall tiles price should be based on the surface roughness, perpendicularity and smoothness of wall tiles. Avoid the use of non brand wall tiles. Different wall tiles give people different visual feelings. According to the different environment, suit the local conditions, this is the final requirement of choosing cheap wall tiles. Before pave the tiles should clean the base, such as the wall has lime paste, latex paint, wallpaper and other ornaments, or the ground has dirt, must clean up, or cement mortar and the base adhesion is not firm; In addition, if the wall itself has cracks, it should be properly treated before laying tiles, so that the cracks in the basic structure will become larger in the future, resulting in cracking or falling off of the wall tiles. There are also cement walls to be scuffed. For the ground or wall with too much roughness or verticality, cement mortar should be used for leveling.
The ground facing tiles should be pasted from inside to outside, for example, if there is a slope or a floor drain on the ground, attention should be paid to finding the slope according to the direction of drainage. Wall tiles should be paved from bottom to top. For the sake of beauty, the bottom tiles should be pasted. When the wall tiles are finished, the flooring tiles should be pressed again. When half tiles are encountered, they should be placed below. In addition, one wall can not be attached to the top at a time, so as to prevent the tiles from being more self weight and cause collapse. The porcelain wall tiles have to be fully soaked in front of the paving, which is mainly to absorb water from the pores of the ceramic tiles, so it is not easy to show the phenomenon of empty drum and shedding at the time of paving. If the wall tiles do not soak directly to the wall, cement tiles are likely to directly absorb water in the cement, to a certain extent, the wall tiles will even crack, which will cause a large amount of waste outside wall tiles, and the quality of the paving is not good.
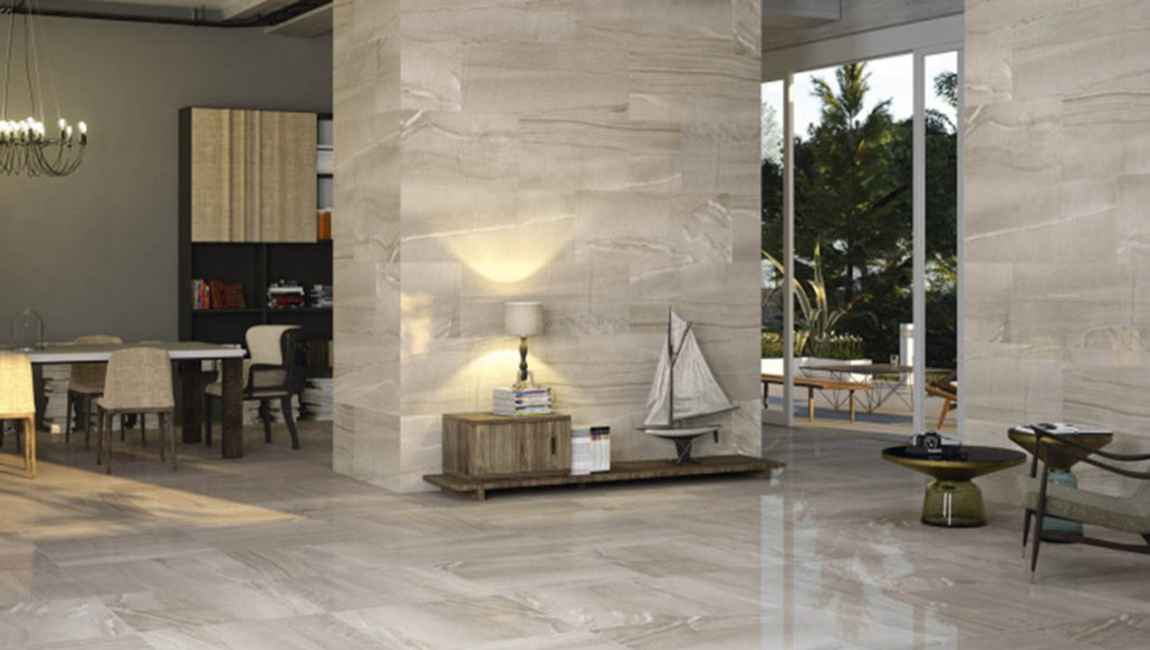
The placement position of the first block of wall tiles for hall is to select the position of the first block of room wall tiles, which determines the placement of the whole stone wall tiles, so the placement of the first block of tiles must be selected. Otherwise, the whole wall will be slanted away. The large wall tiles that cut the wall in the corner of the wall are not very smooth, so it is better to put them in the corner of the wall and seal them with sealant, so it will not affect the decoration effect of the house. On the contrary, if the paving is in a more obvious position, it will affect the beauty of the house.
According to the form of paving, it is necessary to determine the way of laying tiles according to the form of paving. If there is a directional pattern, the product should be paving in the direction of the diagram in order to get the best effect. Special attention, some of the texture is not obvious tiles, micro – powder tiles are in fact also have a direction, the general paving workers will not notice this detail, will make a mess of the wall.
https://baranaceramic.com/wp-content/uploads/2018/06/Cautions-for-tiles-on-the-wall-of-the-kitchen-area-1.jpg600900administratorhttps://baranaceramic.com/wp-content/uploads/2025/09/logo.pngadministrator2018-06-26 06:38:432018-11-28 06:08:59Cautions for tiles on the wall of the kitchen area