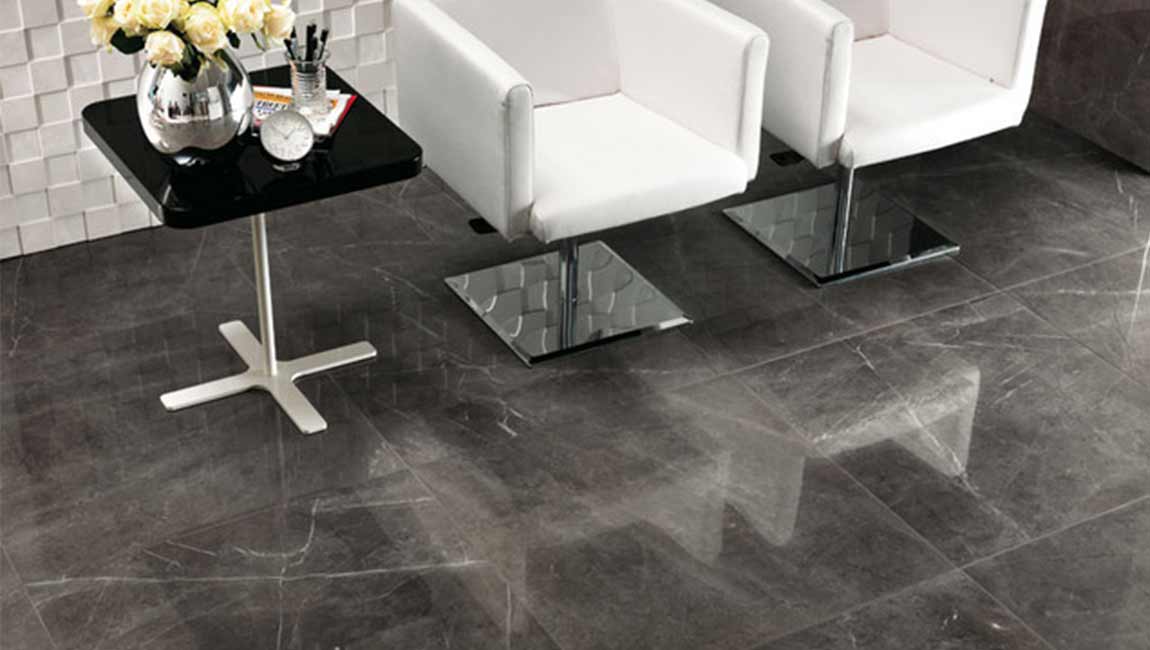
What Should We Do After Apply Tiles to Concrete?
Install the floor tiles. Lay the tiles into the mortar and using the spacers, make sure you are running even with the chalk line. As you move on to the subsequent rows, use the spacers to keep your pattern square. Once a tile is set, try to avoid touching it again.
Clean the area. Wash the wood marble tiles off with a damp rag as you go to prevent clumps of mortar from drying on the surface. As you get to the end of the room, make sure your cut pieces fit properly, and then leave the mortar to dry for the manufacturer’s specified length of time.
Apply grout. Mix the grout as specified on the package and begin liberally spreading it over the tile design using the grout float. Use the float to make sure that there are no low spots, and then use a damp rag to wipe any excess grout from the face of the tile size. Don’t worry at this point if the tile appears a little cloudy. Once the grout has had time to set up, repeat the process, again using the float to squeegee and extra grout off of the face of the tile.
Aside from being available in many different colors, grout comes in two varieties: sanded and un-sanded. The sanded variety is used when the gaps between your cement tiles is bigger than 1/8″. The sand gives the grout additional strength. Anything 1/8″ or smaller will be just fine using un-sanded grout. You will most likely find that you want to use the un-sanded grout in the smaller gaps because it finishes much smoother. Working sanded grout into a small gap can be frustrating.
One word of warning: if you are using marble tile on your floor, never use sanded grout! Make sure you install it with 1/8″ or smaller gap because you must use un-sanded grout with marble. The sanded grout will scratch the surface of the marble tile and it is not repairable.


