Posts

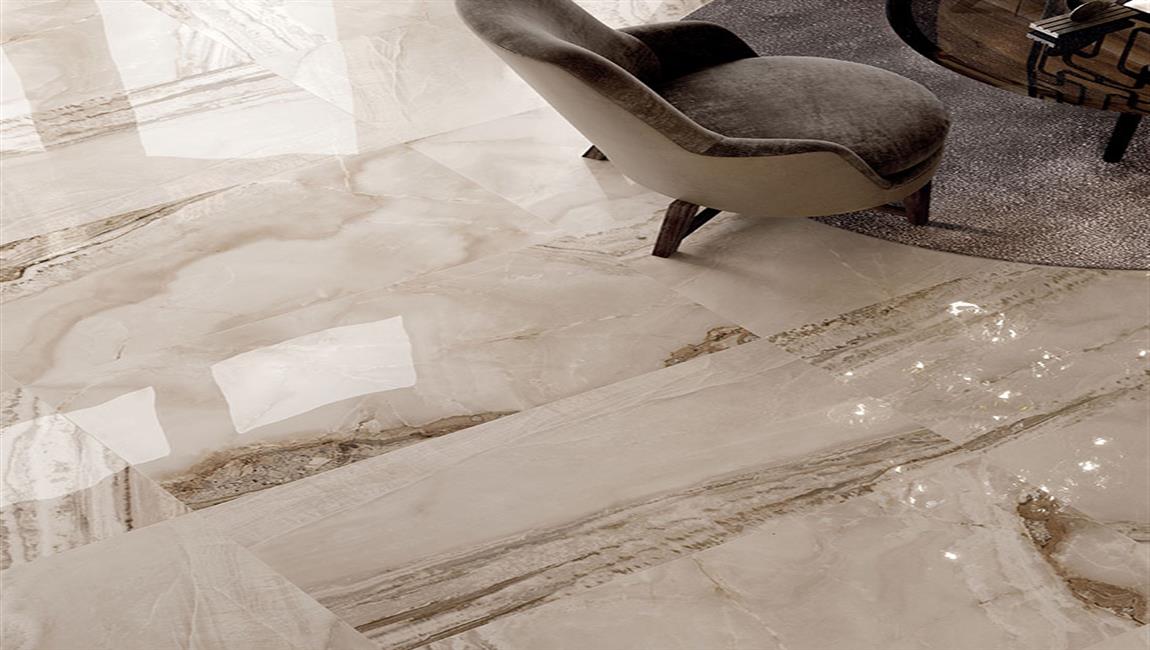
How Avoiding Damage to Your Marble Tiles?


Test poultice and cleaner before using. Pick a hidden or inconspicuous spot on the marble tiles and do a test clean. This is important, as some products may etch or discolor marble tiles. In the end, it’s better to perform a test than to ruin your entire marble tiles floor or tiles.


Wait at least 24 hours after testing. This will give you enough time to see if the product has harmed the marble tiles. Consider testing poultice or other cleaning products underneath the granite where it overhangs a cabinet. Avoid acidic cleaners and strong chemicals.


There are a wide variety of household products that could damage your marble tiles simply by making contact. As a result, you need to avoid these products. They include: Vinegar, Ammonia, Hydrogen peroxide, Lemon, orange, or other citrus cleaners, Cleaners that are acidic.


Hire a professional to seal your marble tiles regularly. While sealing your marble tiles won’t protect it completely from staining, it will decrease the likelihood of some staining. As a result, you should have your Carrara marble tiles sealed when installed and resealed regularly.


You may need to reseal your marble tiles after three to five years. Polished Carrara marble tiles may not need to be sealed. Honed Carrara marble tiles should always be sealed. If it is not sealed, it will absorb any liquids that are spilled on it. Reapplying the poultice will very likely lighten or remove the stain that remained after you first applied it.

How Painting Your Cement Floor?

Clean your cemented area to prepare it for painting. Remove any debris or dirt that has accumulated on your floor surface. Use a broom or a vacuum to remove any dry debris. Apply an acid or commercial wash with a broom and cover the whole surface. Rinse the concrete with water and mop up excess water.


Ventilate the room you are working in. If you’re painting inside it is important to make sure the room has air circulating in it. The fumes from the paint are strong and can stick around your home for a long time if not ventilated properly.


Paint the edges of your concrete with a paintbrush. Painting the edging first is important for precision. Apply a small amount of paint to your brush and work around the edges of the surface area. Use a roller for larger areas. The roller helps to speed up the process. Use the roller up to the point where your edging ends.


Make sure the paint containers are clean. Add another layer of paint with the roller. This will give it a smooth finish. Remove any bumps and air bubbles in the paint. Once the first coat of the paint has dried, use a scraper to remove any uneven surfaces in the paint. Sand the surface gently to remove any excess uneven paint.


Fill any holes in the concrete with a paintbrush. Check the surface for any holes in the concrete. Apply paint to your paintbrush and fill in the small holes. The smoother your surface is, the easier it is to paint the second coat. Apply the final coat of paint to your concrete. Use your paintbrush to complete around the edges first.

How to Prepare Concrete Floor for Ceramic Tile?

A concrete floor is a good base for laying ceramic tiles, provided it is level and free of cracks or abrasions. Self-leveling compound can be purchased at your local home improvement store and applied to the concrete floor prior to tiling. Cleaning and filling any cracks in the floor takes a little time, and the only precautions to take prior to tiling are to make sure that the floor is completely dry, as the thinset used for tile needs a moisture-free environment. The following steps will allow you to prepare a concrete floor before you lay your tiles.

Sweep the floor for dust and debris. Use a broom to sweep any debris from the floor. Remove dust. Use a wet mop to get any remaining dust from the cement floor. Leveling compounds are sensitive to dust so it’s important to remove the dust with water. Allow the floor to dry for at least 1 hour.

Identify and fill any cracks in the concrete. Mix thinset mortar with water in a bucket according to package instructions. Stir the thinset thoroughly with a trowel. Pour the thinset in any cracks, to about 1⁄4 inch (0.6 cm) above the floor surface. Smooth the thinset with a masonry float. Allow to dry according to manufacturer’s instructions.

Apply latex primer. Pour latex primer into a paint tray. Use a paint roller to apply the primer to the floor. Cover the entire floor with 1 coat. Allow the primer to dry according to the manufacturer’s instructions. Most primer will take at least 24 hours to dry thoroughly. Use a level to check the floor. Use a large carpenter’s level to identify low areas of the floor. Move the level across the floor and use a marker to mark low levels of the concrete.

Apply self-leveling compound. Mix the self-leveling compound in a bucket according to package directions. Pour the compound into a bucket. Slowly pour the compound into the areas that you previously marked as low. The compound will expand and rise to reach the correct levels of the rest of the concrete. Use a trowel to spread the compound until it is as flat and smooth as possible. Allow the compound to dry for 24 hours before starting on your tile.