How Cleaning and Maintaining Soapstone Tiles?
Re-oil your Soapstone tiles surface once a week for the first 1-2 months. For subsequent applications, simply dab a little oil onto a folded cloth and use it to lightly buff the surface from corner to corner. Frequent treatments will encourage the stone to deepen in color even further. There’s no need to re-oil the surface at all following its initial treatment, if you don’t want to.
In fact, many homeowners opt to let their Soapstone tiles return to its original light gray color. Tip: Another benefit of periodic oiling is that it remedies the appearance of light scratches caused by cookware and cutlery. Continue oiling the surface as needed when its water-resistance wears off.
After the first couple of months, you can cut back to applying oil on a provisional basis and reduce the amount of attention you give your Soapstone tiles. A good rule of thumb is to polish on a fresh coat whenever you notice that water is no longer beading on the surface, or forms dark stain-like spots where it collects on the stone.
If you want to add oiling your Soapstone tiles surfaces to your cleaning schedule, once every 2-3 months is a good interval to shoot for. Discoloration caused by moisture is temporary, and won’t affect the look of your Soapstone tiles surfaces in the long run. Clean your Soapstone tiles quickly with a mild soap solution.
No expensive products or complicated techniques required—just stir a few drops of liquid dish soap into a container of warm water and wet a clean cloth, microfiber towel, or non-abrasive sponge or scrubbing pad. A light scrubbing will leave the surface spotless and restore its subtle shine. Use a stiff-bristled brush to get down deeper into corners, recesses, grooves, and other hard-to-reach areas.

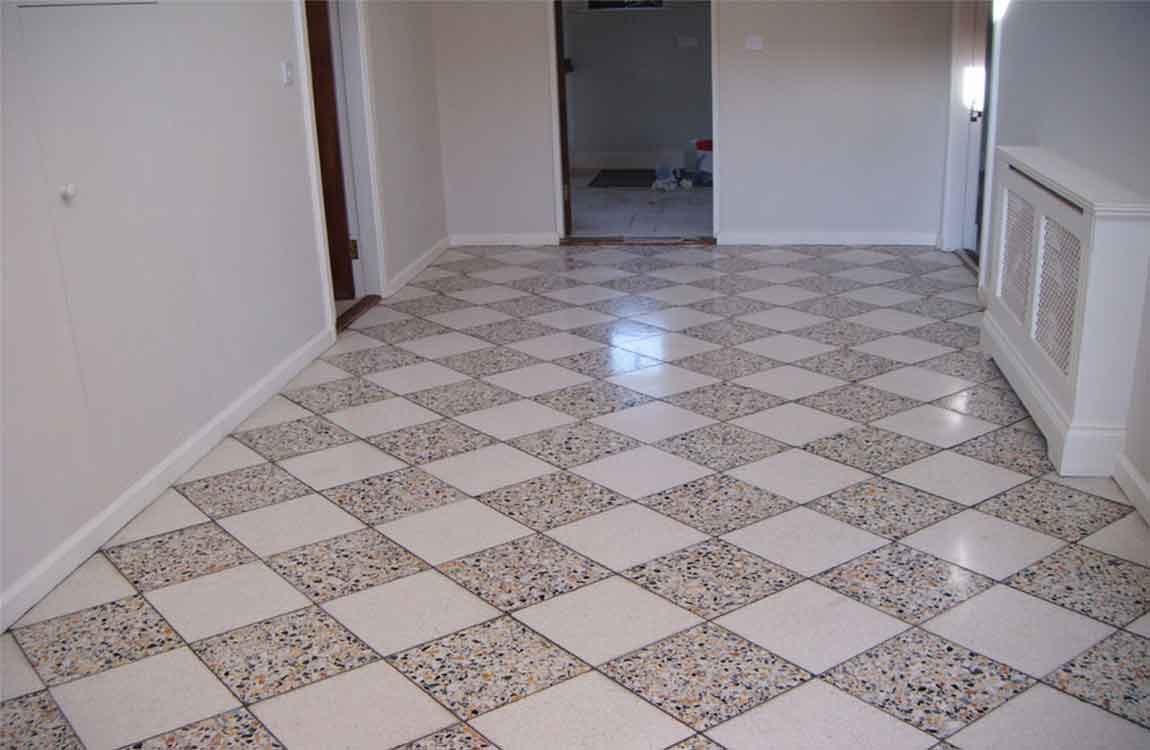

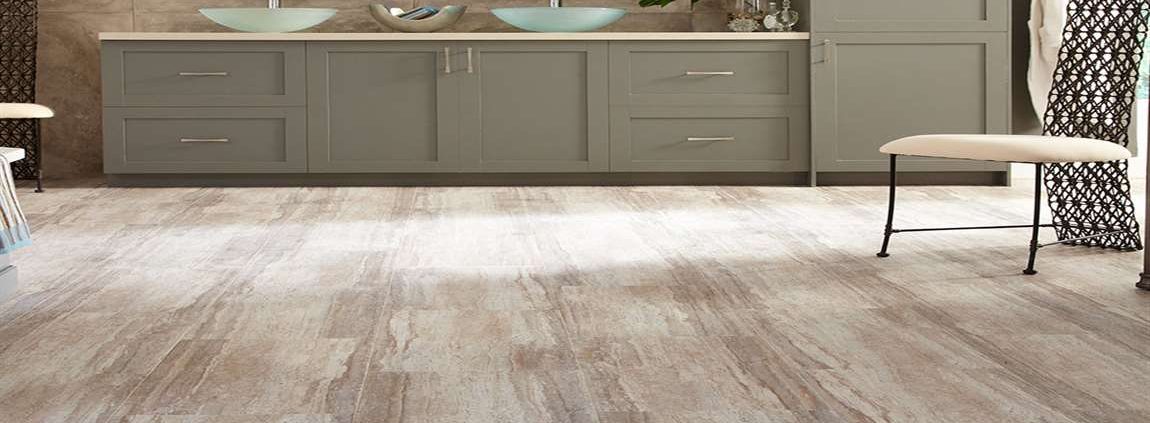
 The proper alkaline or acid grout cleaner. Do not try to get the most aggressive acids or alkaline chemicals. Find an approved cleaner, perhaps at a local janitorial supply house. Mask areas you might be concerned with that could be harmed by chemicals. Stainless steel appliances need to be masked with plastic and taped. Carpet needs to be protected.
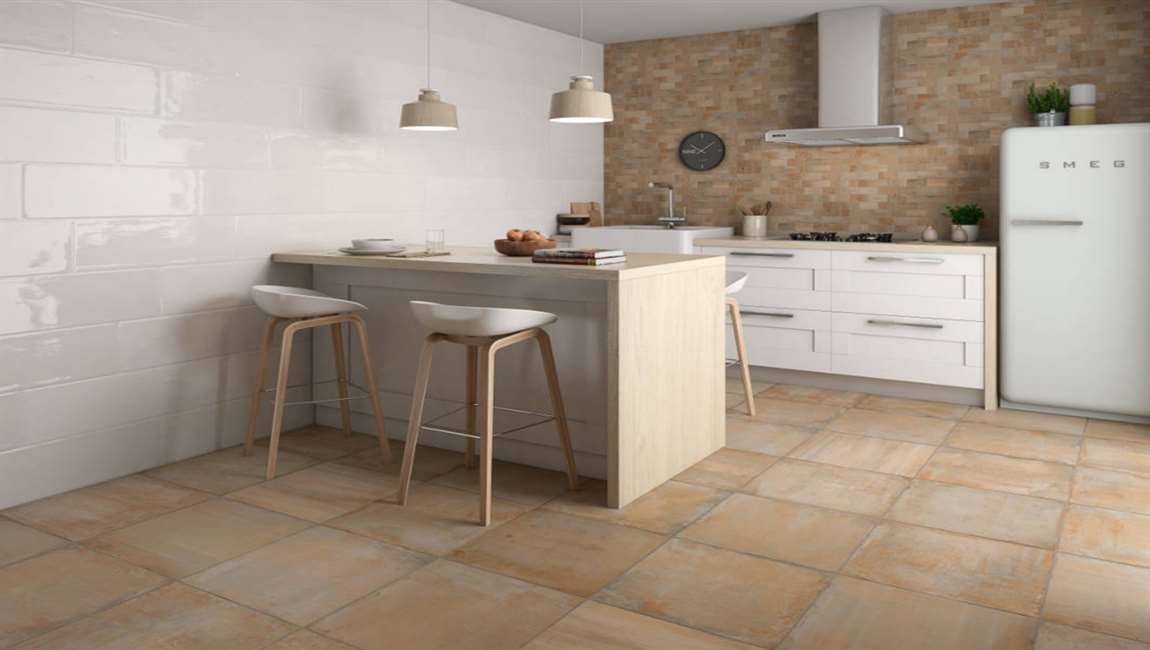 Sweep or vacuum area to be cleaned. Mix cleaning solution according to manufacturers directions. If you want to truly do your best you will use both an acid and an alkaline. If you have heavy grease use the alkaline first, if not use the acid first.
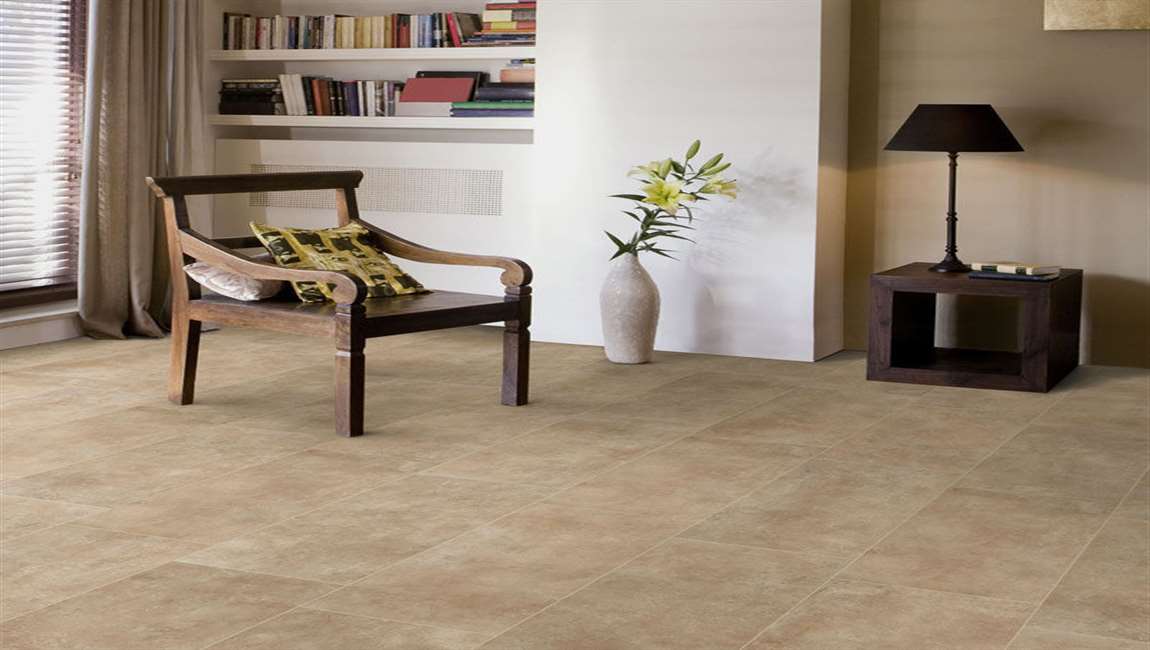 Apply solution to the grout joint and scrub with the grout brush. Use plenty of solution and let it dwell for at least 10 minutes, but do not let the solution dry. Add more if it is drying too fast, but keep it wet for 10 minutes at least. Your biggest advantage – beside using the correct supplies, is to let the chemical dwell. Dwell time is your friend.
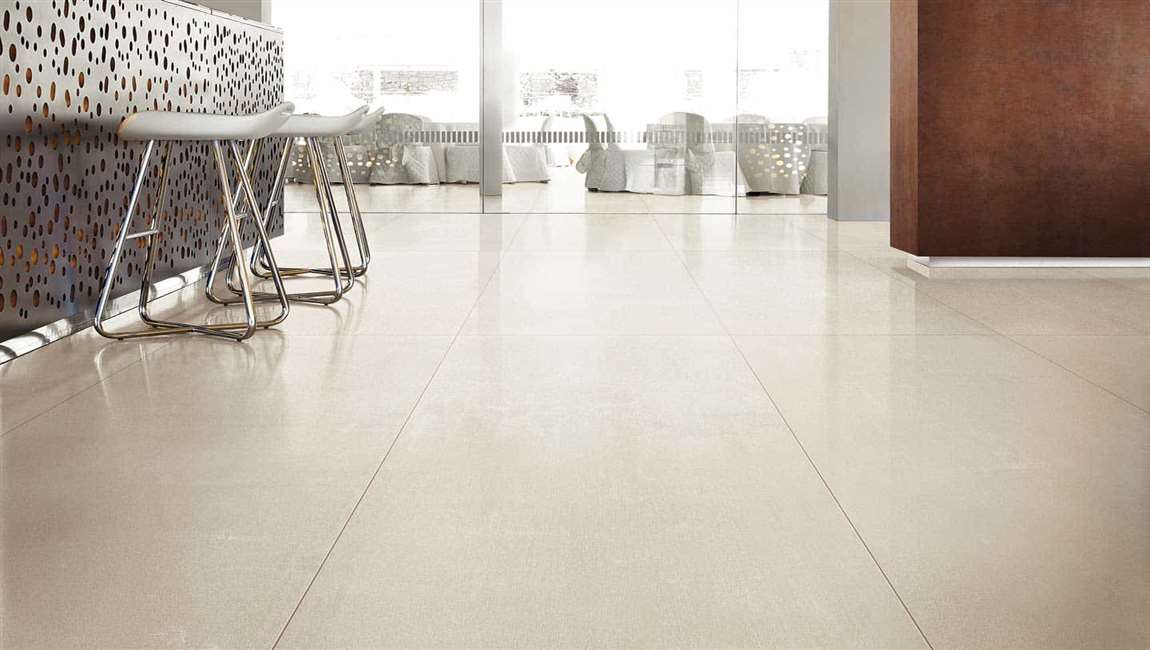 After 10 minutes mop up slurry with clean water. You may also use a wet vac to remove slurry. Additional agitation with grout brush may be necessary. We suggest using microfiber mops. Repeat process if you are using alkaline as well as acid cleaners.
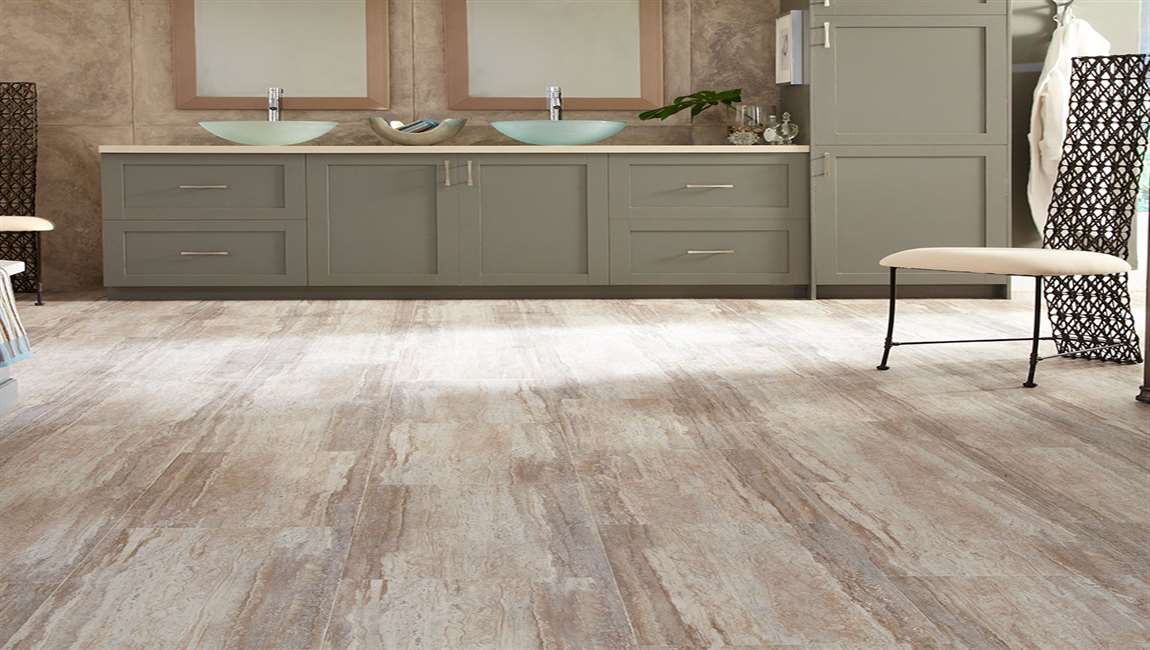 When your grout dries, if it is really clean, you may wish to add a sealer. We recommend a water based sealer as they are easier to work with when applying to a grout joint. Take care not to get sealer on the