Posts

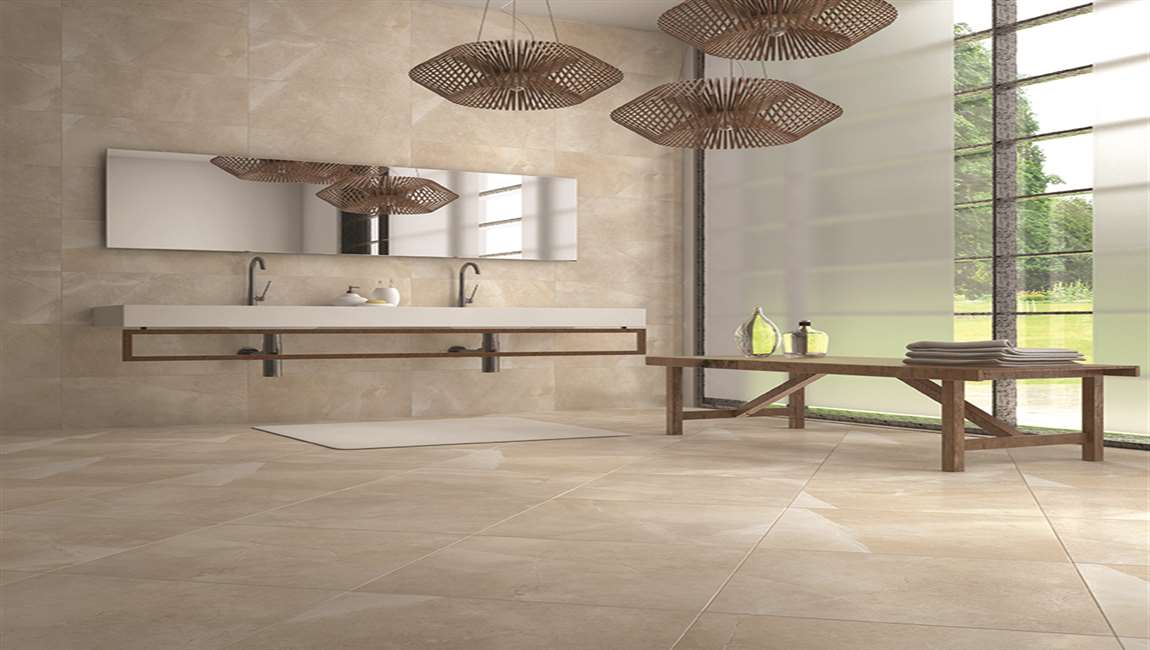
How to Clean Cement Tiles?

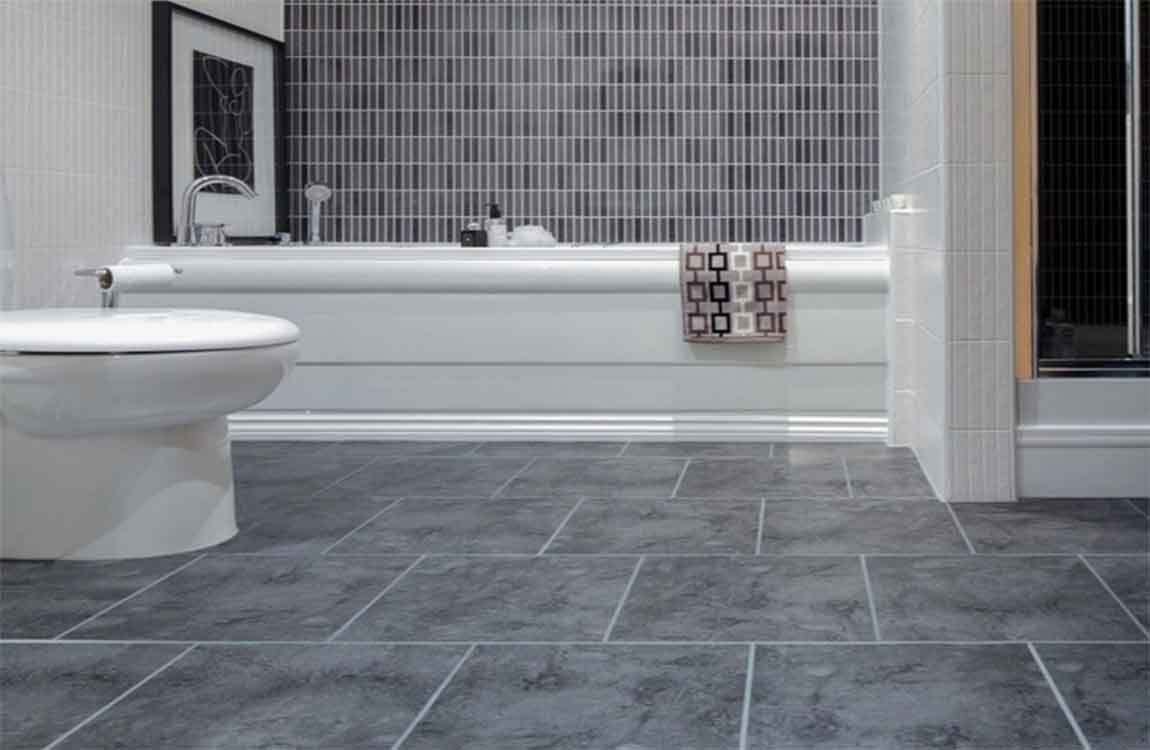
Cement tiles requires routine cleaning. Routine cleaning for mildly dirty cement tiles can be done with a mild degreaser or laundry detergent. Special chemical cleaners are required for very dirty or stained cement tiles. Make sure to wear protective gear when handling harsh cleaners. Try to avoid getting mortar on the stones. If you need to clean the stones, let the mortar dry, then remove it with a dry whisk brush.


Fill in the gaps with grout if you wish to insulate the wall. Mix the grout in a bucket with water according to the manufacturer’s recommendations. Then, use a trowel to pack it into a grout bag. Hold the nozzle close to the joints between the stones and squeeze the bag to apply the grout. Fill each joint until it’s about level with the stones, then carefully smooth the grout out with a trowel as needed to complete your new wall cover.


Grout protects the stone veneer from moisture and anything that might grow inside the joints. Some people prefer the way the veneer looks without grout, but keep in mind that it may not last as long as a wall finished with grout. Mark the backs of molding pieces if there are several for that wall in the order they will be installed.


While you are fitting the molding, look for studs to nail it into and lightly mark them in the area just above where the molding will sit. The molding should sit right on top of the flooring. Nail the molding in place. Use finishing nails about 2”(5.1 cm) in length. Try to get nails into a stud. Place the nails about 18” (45.7 cm) apart or at each wall stud.


Use a pressure washer. If you don’t want to scrub or apply a cleaner, you can use a pressure washer to clean most dirt and debris off of your concrete. Keep in mind that the pressure is very high, so avoid aiming at any plants, which will be destroyed by the force of the water. Choose a pressure washer with a rating of at lease 3,000 psi and a flow rate of at least 4 gallons per minute (gpm).

How to Clean Grout Using Natural Products?

If inhaling bleach and other harsh chemicals in order to clean grout doesn’t appeal to you, you do have an alternative method that is equally effective. Although you still need to put a little muscle into cleaning your grout you won’t be let down by the cleaning power of Mother Nature.

Cleaning the Tiles. Clean the tiled area. Remove any excess debris from the floor or counter area before attacking the grout. Use warm water and mild dish soap when cleaning counters or backsplash areas. Sweep floors and remove excess dirt and debris, concentrating on the grout area.

Cleaning the Grout with Vinegar. Attack the grout using a milder approach. Start with the easiest product first; you may be able to take care of the problem with just a little vinegar and water. Or, consider mixing vinegar with club soda instead of water. Combine half a part of white vinegar with half a part of water (or club soda) in a spray bottle or cup.

Pour or spray directly onto the grout and scrub. Allow the compound to sit before wiping away the vinegar and water. Cleaning the Grout with Baking Soda or Salt Add baking soda or salt to white vinegar/water (or club soda) mixture if stain or grime has not lifted. Add two parts baking soda to the vinegar/water mixture to create a thick paste. Apply the baking soda/white vinegar/water (club soda) compound directly to grout. Allow to sit on the grout for up to 15 minutes.

Scrub well. Wipe away the paste as you work to see if the solution worked. Cleaning the Grout with Oxygen Bleach. This method should work when the other methods aren’t cleaning adequately. Turn to oxygen bleach (Oxy) if all else fails. Create a thick paste using water and/or club soda and apply to grout (the same way you applied it with the banking soda paste). Wait 15 minutes and then scrub. Wipe away with a clean cloth as you work.

How Removing Greasy Marks from Tiles?

Wipe up oil splatters as soon as they happen, if possible. Tile splashbacks look fantastic but can get greasy quickly. Oil marks are easiest to remove when they are fresh. If you notice oil splashing on the tiles while you are cooking, use a paper towel to blot the oil. If you don’t have a paper towel on hand, use a clean dishcloth instead. This method will remove greasy marks from all types of tiles.

Fill a bucket with warm water and 2 drops of dishwashing liquid. If you notice greasy marks on the wood tiles that have likely been there a while, use this method to get rid of them. The warm water and dishwashing liquid help to break down the oil and remove the stains. Add the water and dishwashing liquid into the bucket and then use your hand to gently stir them together. Any dishwashing liquid or detergent works for this method.

Dip a sponge into the soapy water and use it to wipe up the grease. Soak the sponge in the water and then squeeze it to remove any drips. Press the sponge onto the greasy marks for 5 seconds and then wipe in circular motions until all the marks are gone.

If you are cleaning a large area, dunk your sponge in the soapy water regularly to ensure that it has fresh dish soap on it.

If there’s is a lot of excess build-up on your tiles, you may need to clean with a store-bought degreaser or use a vinegar solution.

Wipe the soap suds off the tiles with warm water and a dishcloth. Dunk a clean dishcloth in warm water and wring it out to remove any excess water. Wipe the entire tile surface until all the soap suds are gone. If the dishcloth get soapy, rinse it in warm water and then carry on wiping the tiles.

Dry the area with a tea towel. This avoids the tiles from growing mold or mildew. Use a clean tea towel to dry all the moisture from the tiles and grout. If you don’t have spare tea towel, use paper towels instead.

How Maintaining Your Tile Floor?

Clean tile floors regularly. When it comes to maintaining tile, the best solution is prevention. By sweeping, vacuuming and polishing your flooring on a consistent basis, there will be less chance of stain-causing substances accumulating underfoot. Be on the lookout for places where dirt and debris have a tendency to collect, especially in corners, beneath furniture and around the baseboards.

Aim to sweep or vacuum your tile floors every couple of days, and to mop or give them a more extensive wipedown about once a week. Neglected wall tile will quickly begin to advertise itself. If you allow it to get bad enough, it may even negatively affect the value of your home.

Wipe up spills and messes right away. When left untreated, even the smallest spill can become a stubborn stain. As promptly as possible, blot the affected area with a clean cloth dampened with warm water or a small amount of vinegar solution. Tracked-in dirt and food particles should be swept up so they don’t get ground into grout or rough surfaces.

Gradually apply more vinegar as need until the stain begins to come out. Responding to messes quickly is especially important if you have light-colored tile or grout that make discoloration more noticeable.

Avoid using chemical cleaners. Tile is praised for its durability and ease of cleaning, but it’s not indestructible. Harsh chemicals like bleach can cause natural materials to fade, while astringent cleaners may ruin the smooth finish of porcelain tiles after only a few uses. Whenever possible, opt for mild green alternatives such as vinegar and baking soda instead.

Even commercial tile cleaners can take their toll when used frequently, and are usually no more effective than garden variety vinegar, anyway. Never use anything more abrasive than a stiff-bristled brush or kitchen sponge to scrub your tile floors. Doing so may leave behind small scratches in which dirt and mildew can set up for good.

How to Clean Ceramic Tile Grout?

Grout, the mixture of water, sand, and cement that keeps common marble tiles in place, can be difficult to keep clean. Grout lines easily pick up dirt and stains, and before you know it they turn from white to black. Learn how to clean your grout so it’s sparkling white again and maintain it so you don’t have to clean it as often.

Keep the area ventilated. Mold and mildew often affect grout in bathrooms, which tend to stay wet and steamy for hours at a time. Use an exhaust fan after taking a shower or bath, and wipe up wet wall tiles design to keep your grout from getting moldy.

Apply grout sealer. Once a year, applying a commercial grout sealer can help prevent spills from quickly seeping into the pores in the grout, and it helps with bathroom tile mold and mildew. Choose a grout sealer from your hardware store and apply it according to the manufacturer’s instructions.

Dye it a different color. Sometimes keeping grout white just isn’t practical. If you dye your hair, have kids who like to use paints in the kitchen, or just don’t want to deal with keeping it sparkling white, consider getting a grout stain and using it to dye the grout a different color. You can choose a color that matches your tile or something completely different for a contrasting effect.

Know when to replace your grout. Older grout starts to crack and crumble, and it gets worse as moisture seeps in and degrades the floor tile underneath over time. Replacing your grout when necessary is worth the trouble because it makes it easier to clean and prevents mold and mildew from taking hold as often.

What Should We Do After Apply Tiles to Concrete?

Install the floor tiles. Lay the tiles into the mortar and using the spacers, make sure you are running even with the chalk line. As you move on to the subsequent rows, use the spacers to keep your pattern square. Once a tile is set, try to avoid touching it again.

Clean the area. Wash the wood marble tiles off with a damp rag as you go to prevent clumps of mortar from drying on the surface. As you get to the end of the room, make sure your cut pieces fit properly, and then leave the mortar to dry for the manufacturer’s specified length of time.

Apply grout. Mix the grout as specified on the package and begin liberally spreading it over the tile design using the grout float. Use the float to make sure that there are no low spots, and then use a damp rag to wipe any excess grout from the face of the tile size. Don’t worry at this point if the tile appears a little cloudy. Once the grout has had time to set up, repeat the process, again using the float to squeegee and extra grout off of the face of the tile.

Aside from being available in many different colors, grout comes in two varieties: sanded and un-sanded. The sanded variety is used when the gaps between your cement tiles is bigger than 1/8″. The sand gives the grout additional strength. Anything 1/8″ or smaller will be just fine using un-sanded grout. You will most likely find that you want to use the un-sanded grout in the smaller gaps because it finishes much smoother. Working sanded grout into a small gap can be frustrating.

One word of warning: if you are using marble tile on your floor, never use sanded grout! Make sure you install it with 1/8″ or smaller gap because you must use un-sanded grout with marble. The sanded grout will scratch the surface of the marble tile and it is not repairable.