Deciding on a Pattern Before Tile a Wall
If you’re working on a very large wall, you may need to replace the water after a few passes of the sponge to ensure that the water is clean and the sponge is picking up the dust.
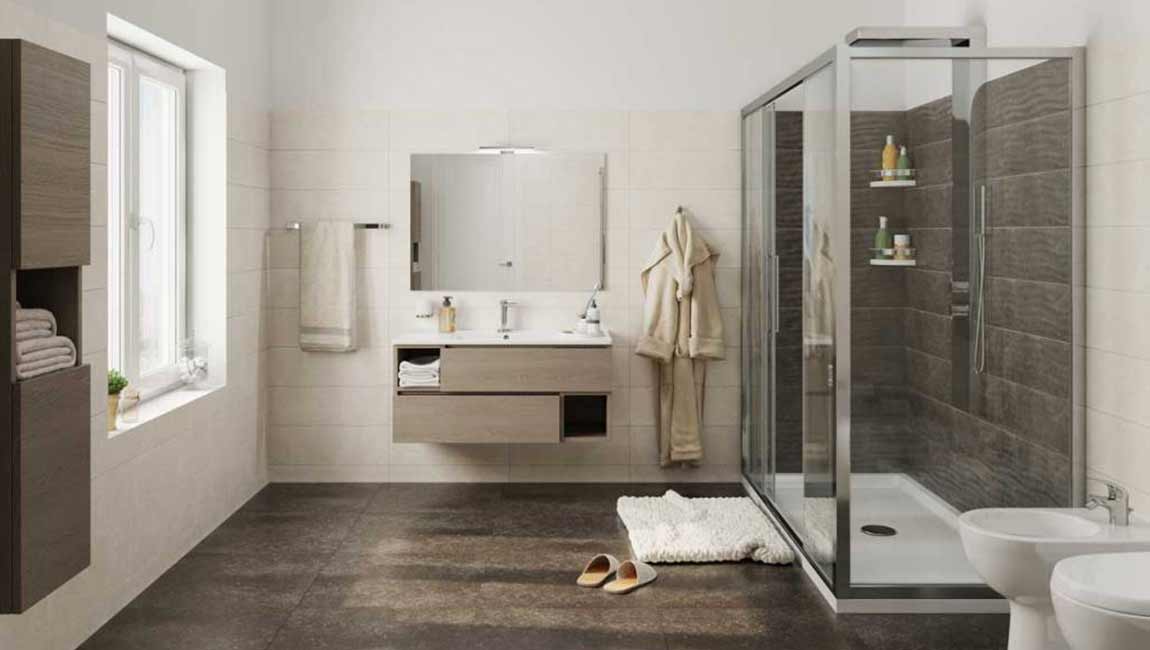
Roll waterproofing sealer over the walls if you’re tiling in a bathroom. Pick out a few rolls of waterproofing sealer to cover the areas where you’ll be hanging wall tiles. Roll it out over the walls, and use waterproof adhesive to attach it to the walls. Make sure all of the area where you’re hanging the tile is covered, and wait 2-3 hours for the adhesive to dry. The sealer prevents the water from seeping into the grout and the wall boards, which can cause rotting.
Pick a checkerboard pattern if you want a classic look. This pattern involves rows of black and white tiles lined up like a checkerboard. Every-other floor tile is the same color, but the rows and columns are aligned in straight lines. You can pick any two colors to achieve this pattern, so don’t be afraid to get creative. This is one of the easiest patterns to create, but it can look busy if the room is already full of designs and colors.
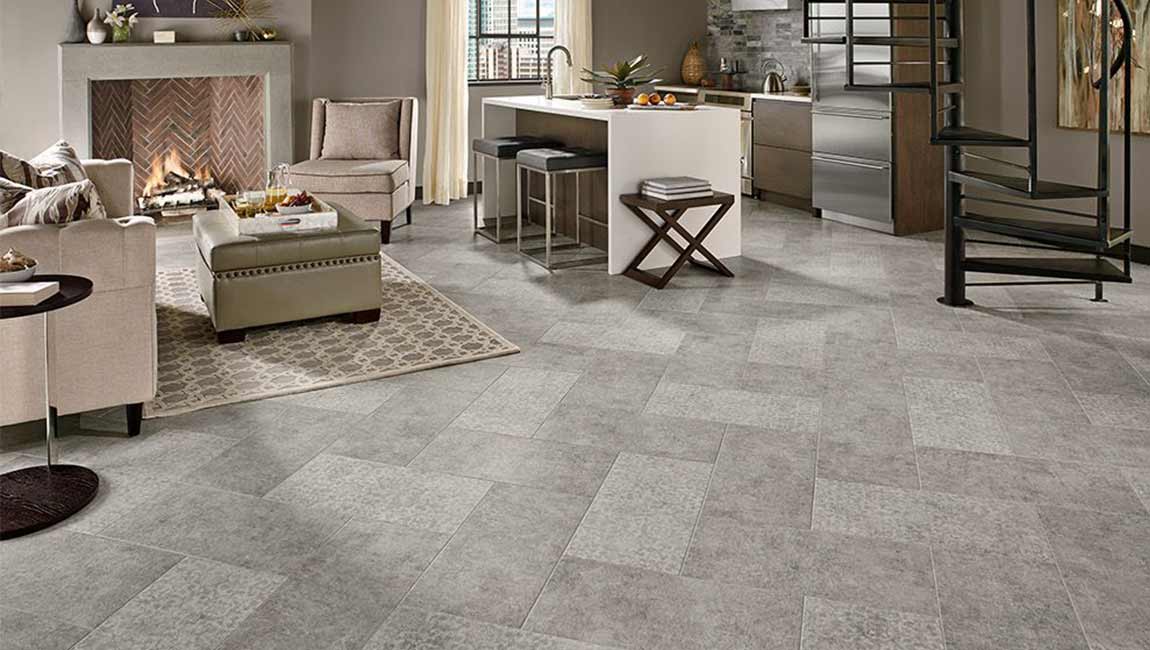
Use a running board pattern for a less traditional look. Create an imaginary vertical line in the center of the pattern and organize the other floor tiles on this line. Place tiles of the same color along the line in each row so that the vertical line is going between two tiles, or it goes through the center of one tile. Overall, the appearance is that each tile is offset slightly but creates a staggered line. This is the pattern used for laying bricks and the popular “subway tile” pattern.
Use a stacked pattern to protect the walls from moisture. This is an extremely simple design that makes hanging the tile and applying grout extremely simple. Just align rectangular tiles so that they form straight lines vertically and horizontally in the space. This pattern can have a stunning effect when done in large scales because it looks so natural and clean. If you’re using small tiles with one color, this is a great choice for making a bold statement.
Do a dry-lay of your pattern to see which tiles will need trimmed. Lay out the tiles on the ground in your desired pattern with grout spacers in between them, and then measure the width of the wall. Compare the width to the width of the marble mosaics tiles,and then mark which ones will need to be trimmed with a wax crayon. Consider shifting your pattern slightly if you need to trim any of the pieces to be smaller than 2 inches (5.1 cm) wide. It will likely be too difficult to cut these accurately with a wet saw or nippers.


