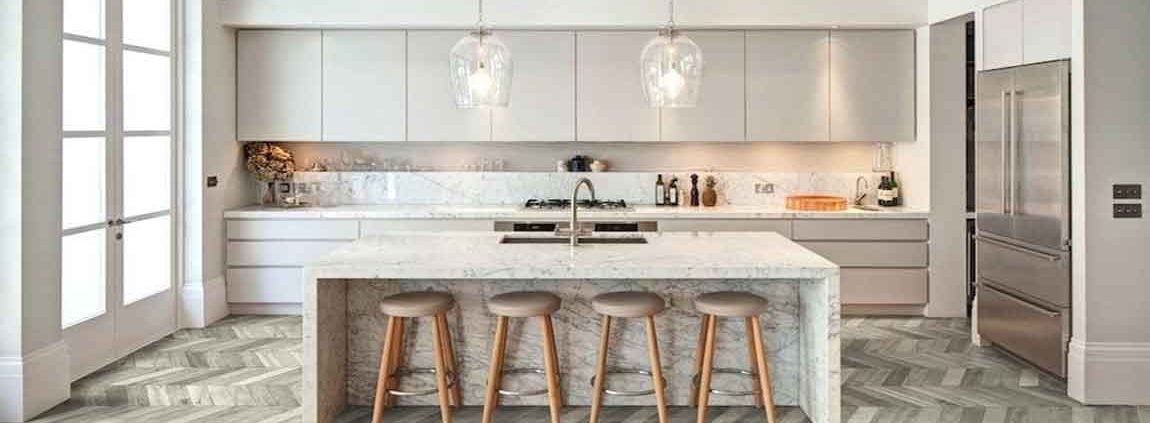
Designing a new pool can be an overwhelming process, given all of the options available to homeowners these days. Choosing a tile for your pool might not sound like an important decision, but the tile you choose can have a big impact on your pool’s durability and overall appearance.
Fortunately, there are a variety of ways you can go about choosing a pool tile that’s right for you, like looking at different styles, finding a good material, and visiting your local tile store. Install the tile. Once you’re satisfied with your layout, all that’s left to do is call a tiling contractor and have your tile put in professionally.
You might also consider tackling the job yourself if you’re handy with home improvement projects. When you’re done, you’ll have a handsome, custom-designed tiled floor to show for your efforts. Take care of any necessary last-minute adjustments before you break out the mortar and grout.
By the time you’ve begun setting the tiles, it will be too late to make changes. Keep in mind that the tiles will have to come up prior to installation. This isn’t an issue—when the time comes, simply lay them out again in the same formation you used during the dry-fitting phase.
If one or more do not, get more paper and repeat the process. You want the finished tiles to rest right up against the base of the toilet, so take your time to make sure the paper templates fit precisely.
https://baranaceramic.com/wp-content/uploads/2019/08/Choose-Tile-for-Pools-3.jpg7501150administratorhttps://baranaceramic.com/wp-content/uploads/2025/09/logo.pngadministrator2019-08-26 08:00:292019-09-03 05:43:11How to Choose Tile for Pools?
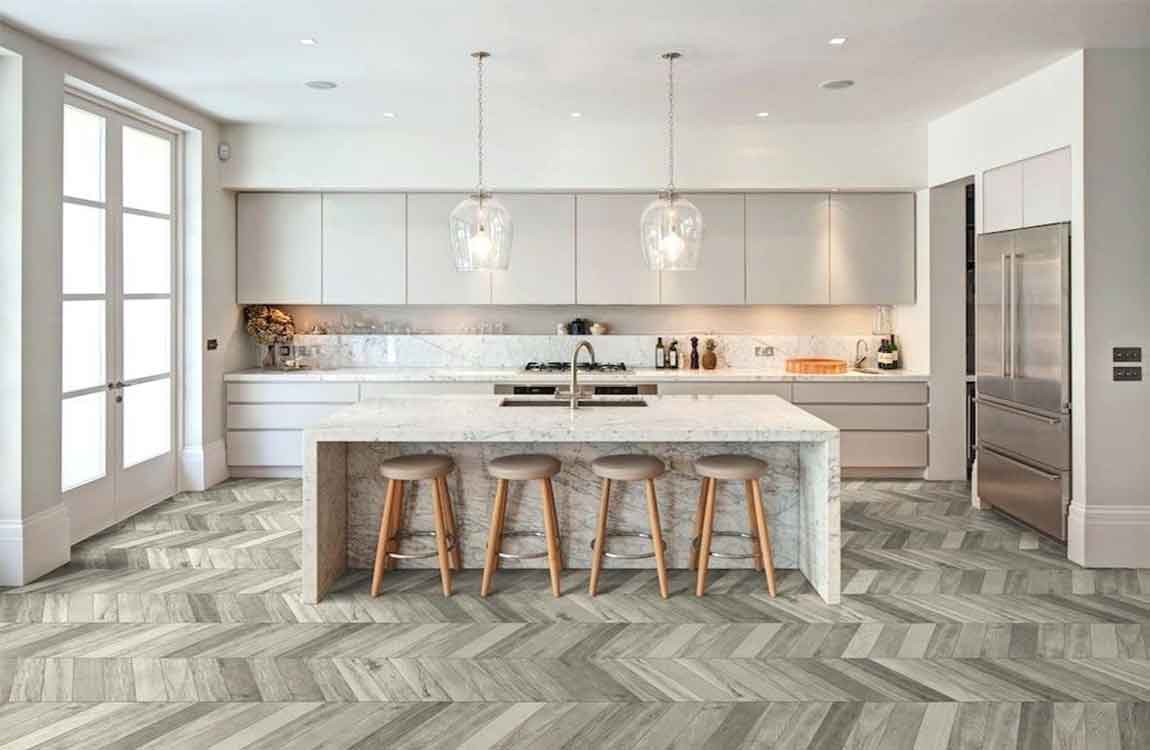
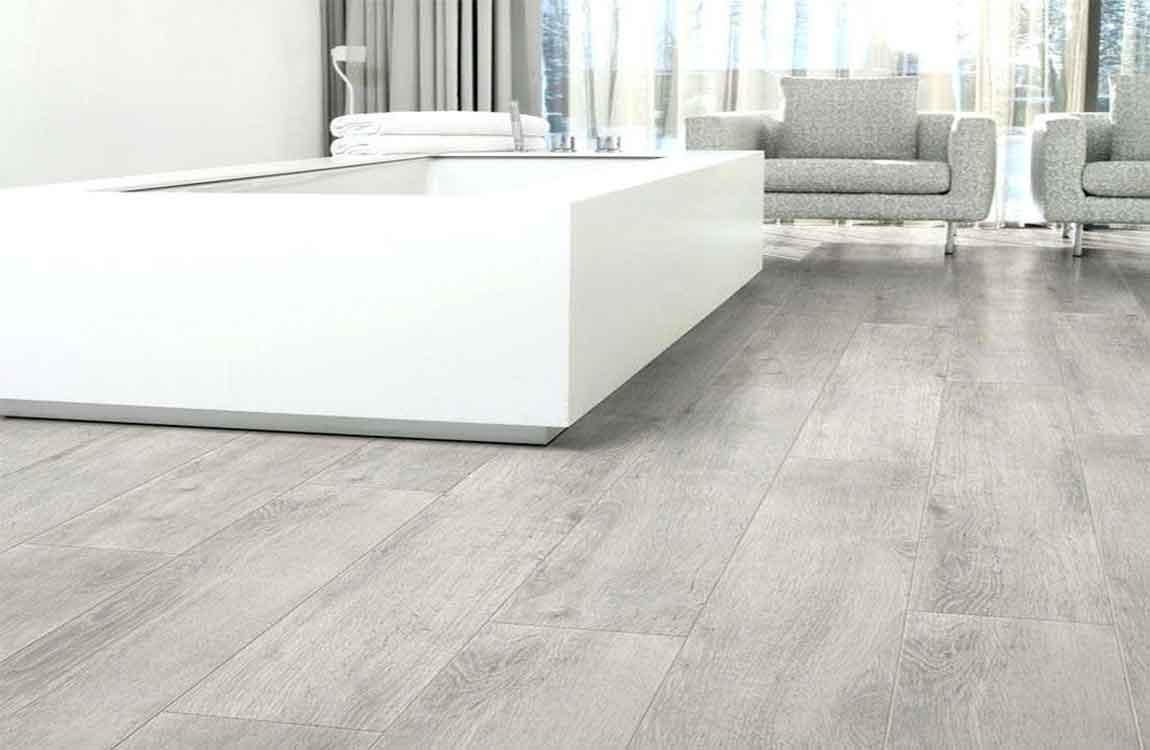
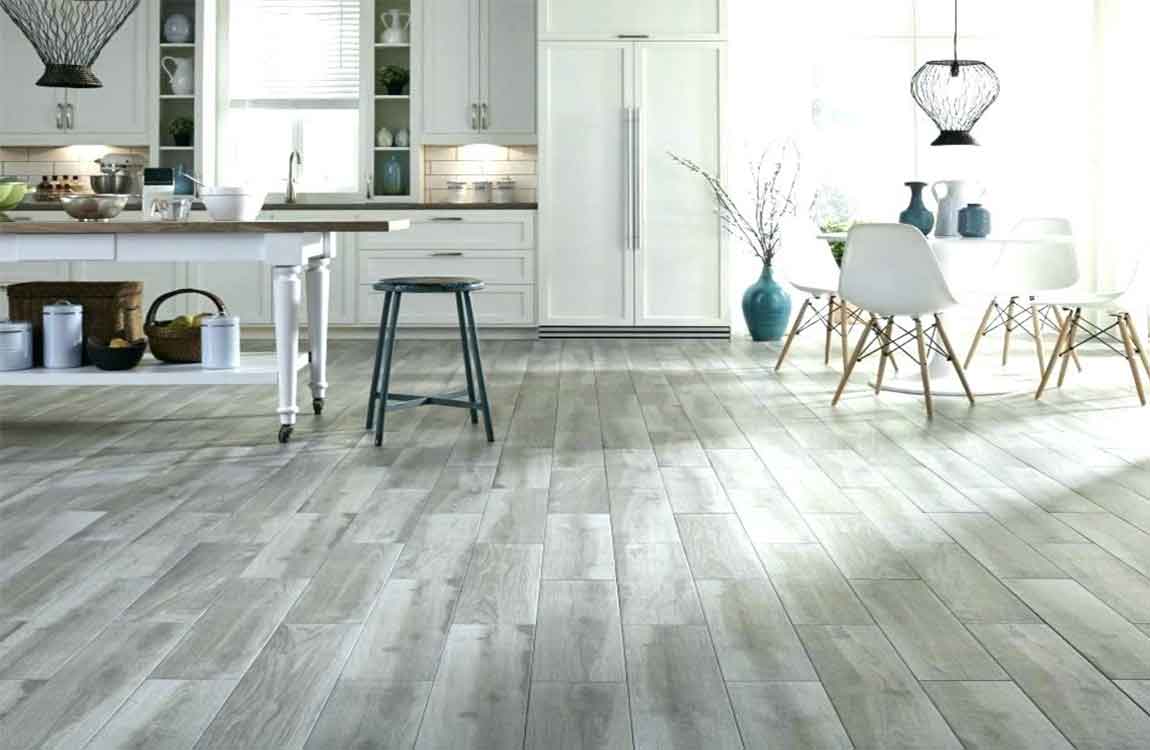
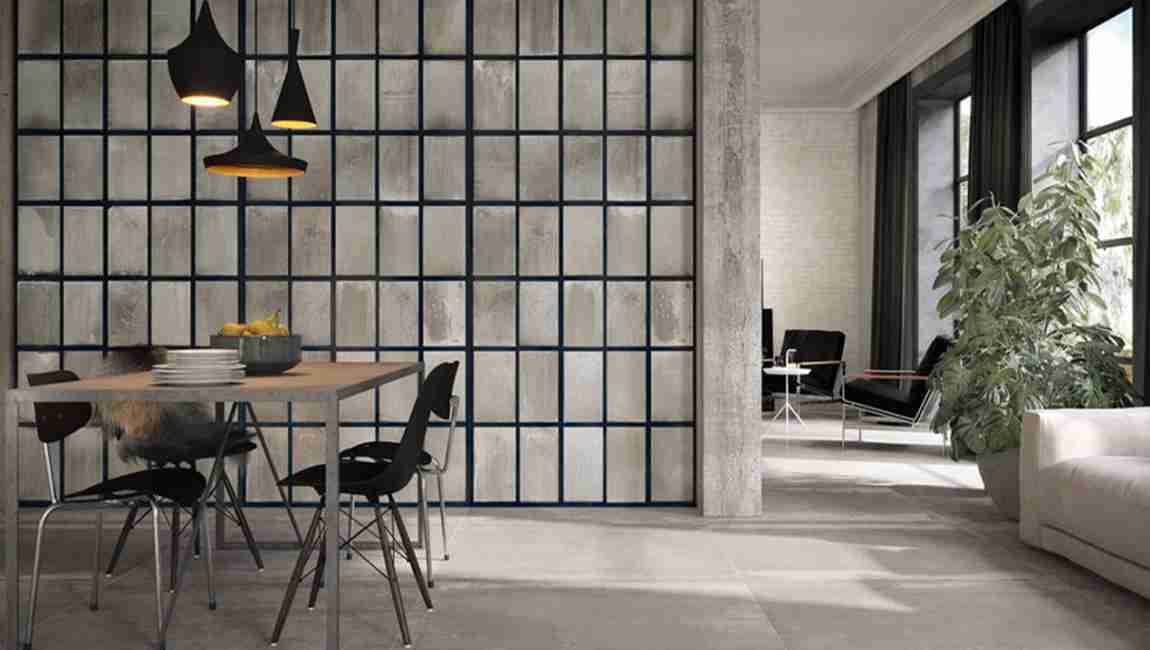
The laying of wood tiles is also an art of line and surface. It can adopt different combination of lines and surfaces to create aesthetic spatial style effect. The tile design is laid on the seam: the conventional laying method is used to tile the marble tiles or to erect them. The tiles are laid on the side: the usual method of laying is good, only for square cement tiles. I-pattern: tiles price are misplaced and become separate I-shaped patterns. Composite tile: multi specification, combination paving. When paving floor tiles is applied, the method of mixed placement can ensure that the tile reaches the natural and smooth texture effect, and the flooring tiles texture and color level are strong.
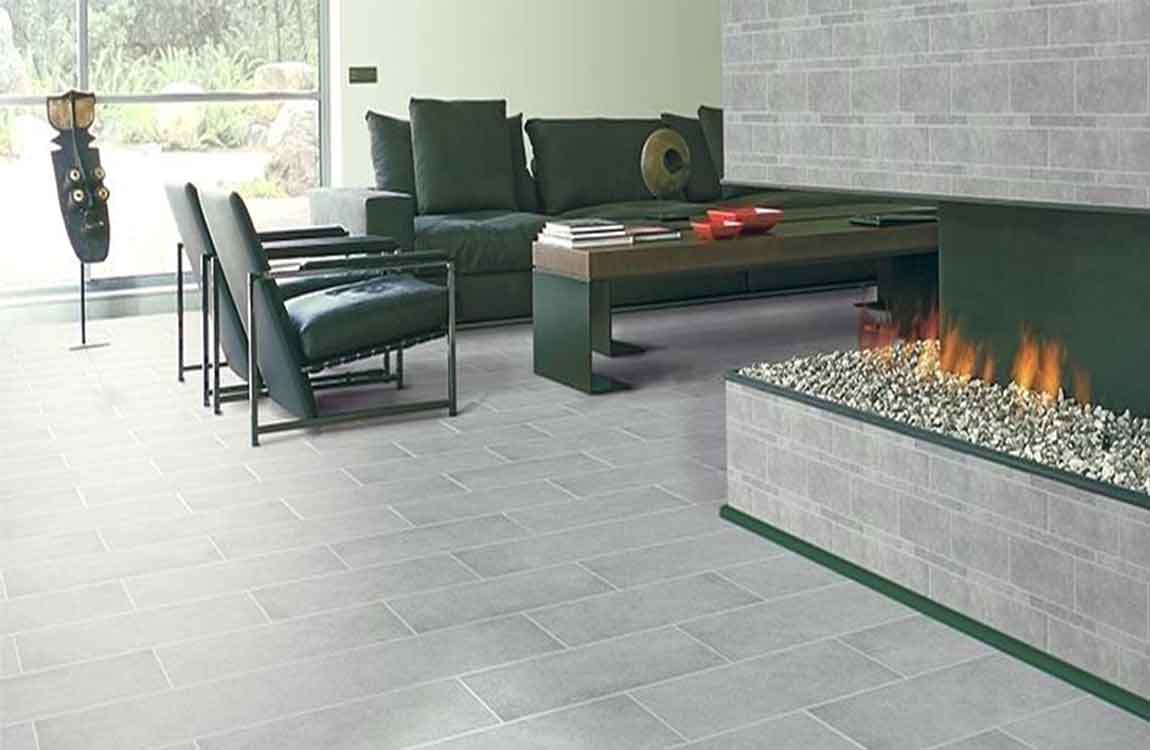
Before laying the ceramic floor tiles, the 325 cement and sand are mixed into plain mortar in the proportion of 1:3, and the Microstone stone tiles are recommended to join the fine sawdust in the proportion of 8%-10%. Line and water to moisten the ground: pull two vertical lines on the treated ground and use the horizontal ruler to adjust the level; the ground is sprinkled with concrete water to benefit the construction, but it should not be sprinkled in a large area. Mortar floor: put the well mixed mortar on the sprinkled ground, and make it neat and symmetrical. Scraping: use wood ruler to evenly smear the mortar and check with a horizontal ruler.
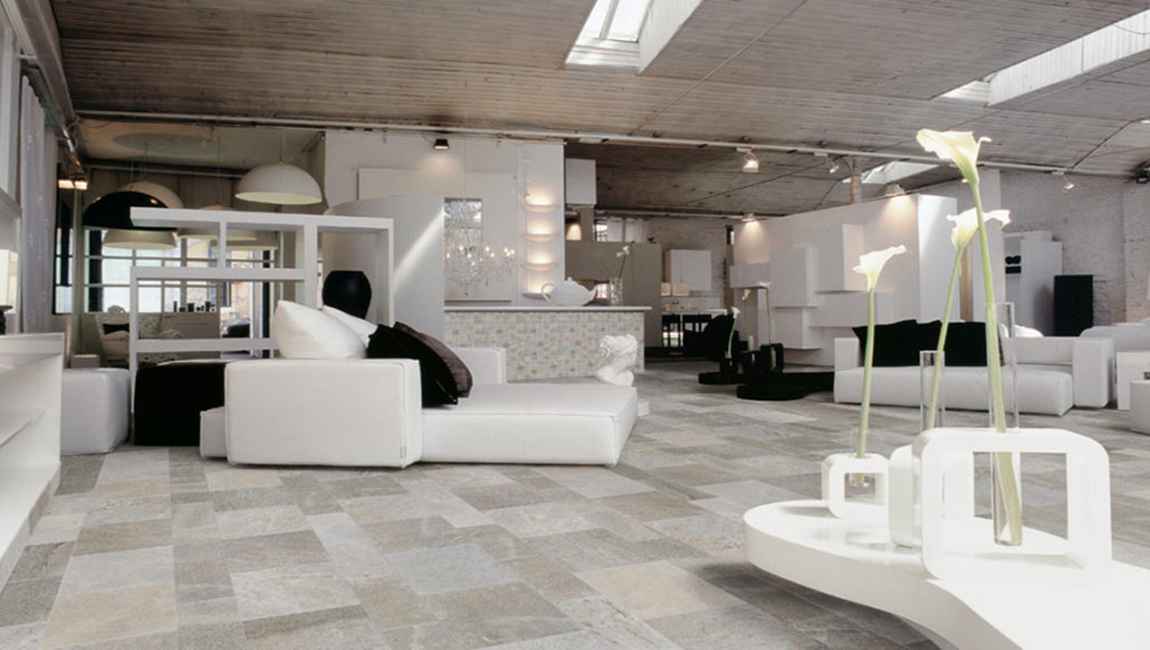
Pre paving. Before the formal paving cheap floor tiles, according to the form of paving to determine the layout of the floor tiles price, such as the direction of the pattern, the product should be shown in the direction of the air to look for space pre paving, check whether the color tiles have color difference, uneven, edge collapse and other conditions. Pre placement helps to find problems and correct problems. Leveling: the tiles are laid on the plain mortar layer first, and the rubber hammer is flattened and compacted with the four sides. Then the bathroom floor tiles will be removed. The thick and smooth surface layer will be obtained. If it is found that there is an unevenness, the mortar should be filled and the bottom layer is smooth.
Smear pulp: 1:2 cement mortar on the back of the kitchen floor tiles, leveling, leveling, ensuring that the four sides are scraped with mortar and uniform, the thickness is about 10mm, the comb can be combed in need, so that the effect is more uniform. Draw a good line according to the size of the ceramic tiles body, the slit is reserved when the line is crossed, the polished tiles remains 3-5mm, the rustic tiles leaves 5-15mm, and the microcrystalline stone tiles remains 3-5mm, avoiding the difference between the concrete and the ceramic thermal expansion and cold contraction coefficient, and the same 3-5mm is left to the wall with the wall.
In the course of paving stone floor tiles, tiles and paste should be scraped and slit on the porcelain tiles seams and closely knit. In addition, appropriate amount of color additives should be added to the customers’ needs. The paving marble floor tiles are completed after 24 hours to walk and scrub. Clean the tiles surface thoroughly with clean water mixed detergent, and the beautiful floor and wall will appear before your eyes.
Many people want to make seamless paving marble tiles price during construction. In fact, this construction method is not appropriate. Because of the deviation of tiles length, right angle and edge straightness, there is no error in tile tiles. There will be some errors in the construction process. The most important point is that any object has thermal expansion and contraction, and the large marble tiles is no exception. When the gap is too small, the strain ability of the small floor tiles to the environment becomes worse. Because of the change of temperature, the natural stone marble tiles will be squeezed from each other and lead to the crack of the tiles surface, and the normal service life of the all marble tiles will be shortened. The size of the tiles seam should generally be about 3-5mm, and the minimum should be between 2mm. The special effect should widen the gap.
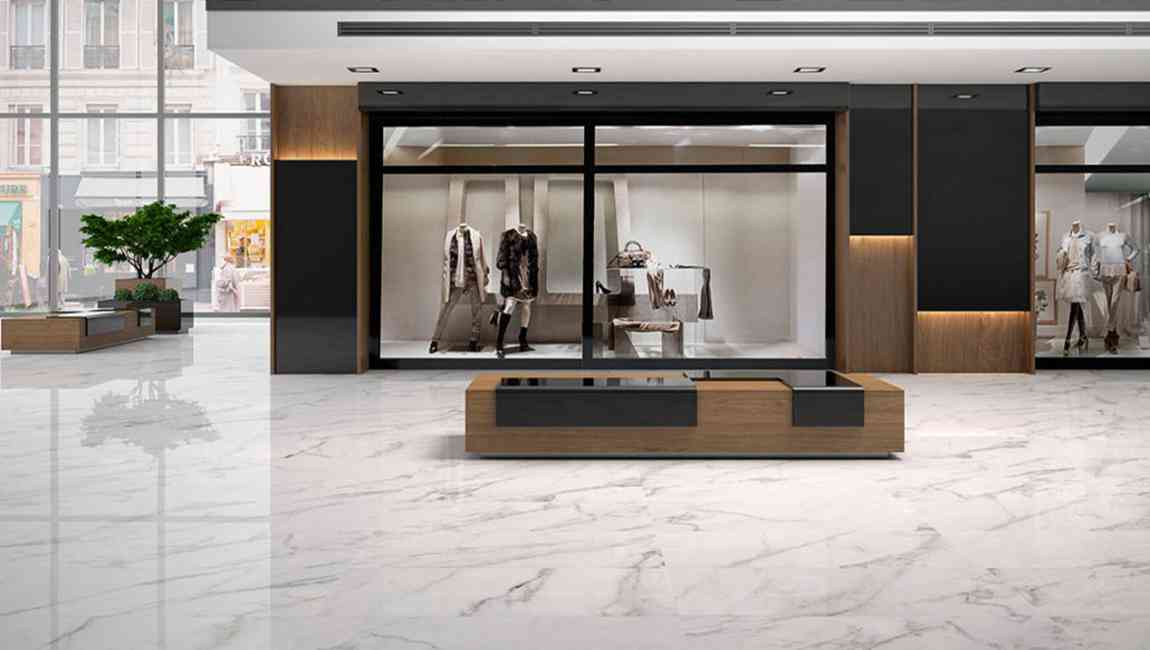
The construction base must be smooth and dry and clean surface, dust free soil, no oil, No skin, powder and other phenomena can not be raised. During construction, the ground use 10mm’s tooth – shaped mantle knife, using a mantle knife to portray the binder with the texture in the polished floor tiles, so that the polished marble tiles and the binder are fully bonded to keep the evenness and strength of the bond. It is recommended to moisten the base surface with water on the base and dry climate. The selection of the seam time, the time used in the general seam is 24 hours after the polished porcelain tiles, that is, after the polished porcelain floor tiles is strong, the seam time is too early, which will affect the white floor tiles, The color of the joint should be close to that of the floor tiles, except for special effects. For example, pure white tiles does not use dark color sealant, because the visual effect of black tiles edges is easy to appear.which will cause the uneven height or loose and loose.
Generally, polishing tiles and glazed tiles paved with light are suitable for sanding tiles and rustic tiles suitable for sand selection without sand. When sewing, use the slitter to squeeze the sealant until it is less than 0.5mm below the polished stone floor tiles surface. Clean the white polished floor tiles noodles in 15 minutes. Paint the waterproof agent 10 hours later. Construction conditions: ambient temperature is 5~40 C, and bad weather should be stopped.
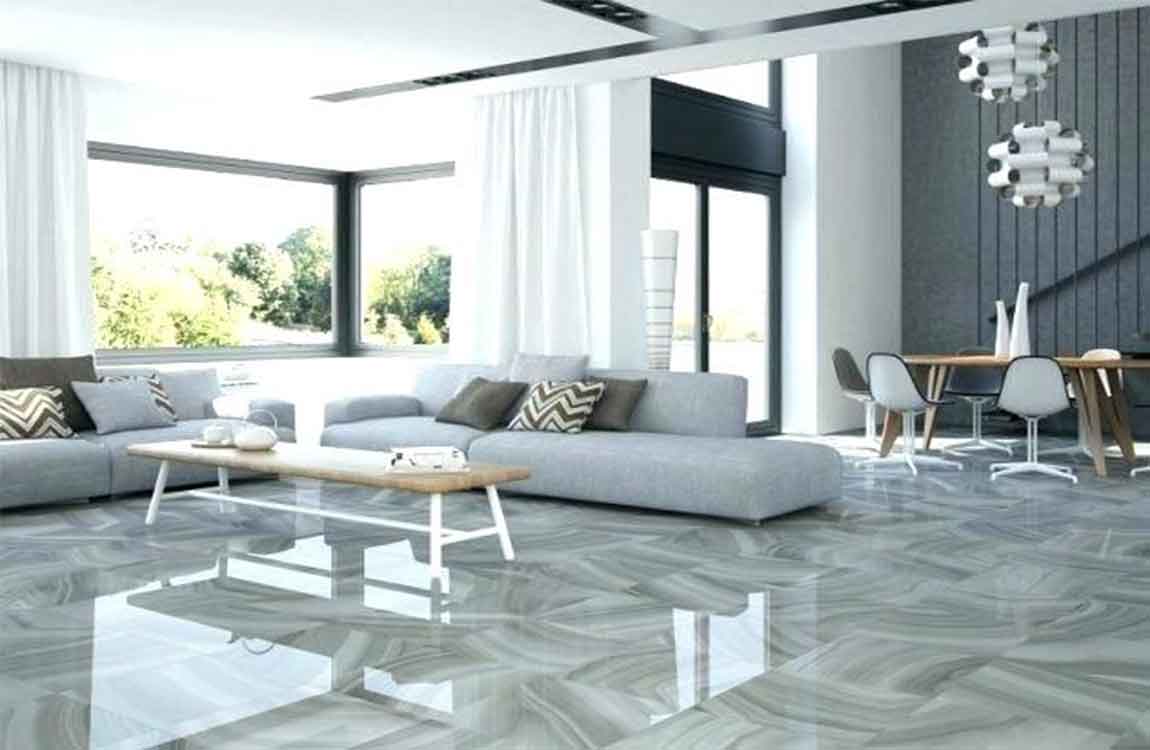
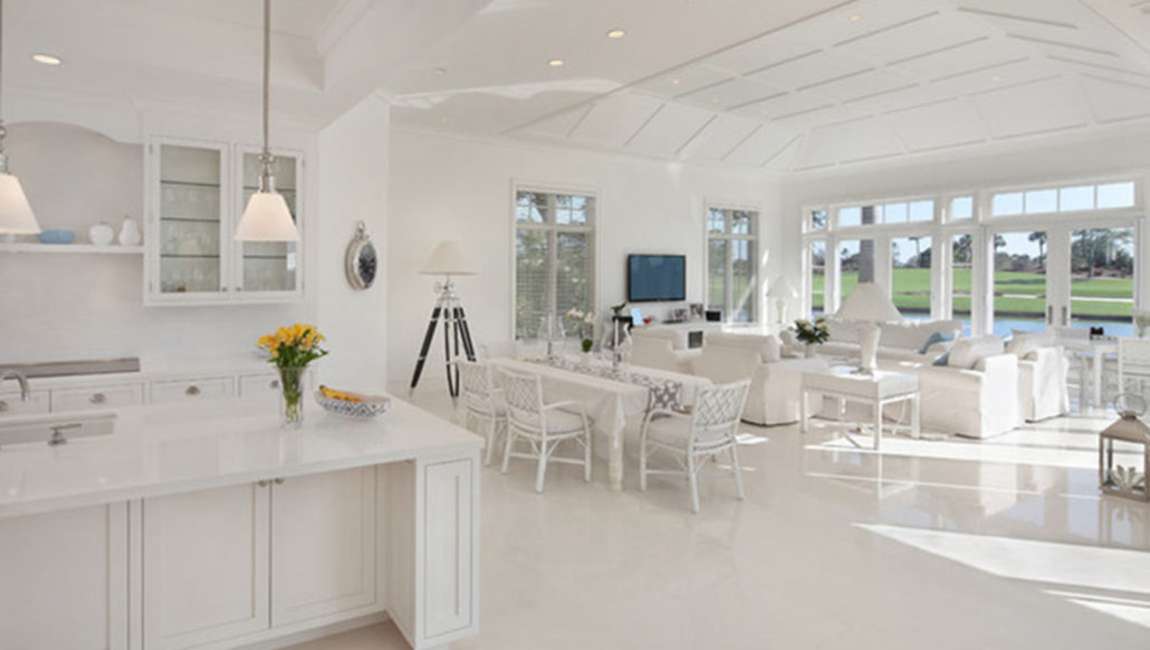
When cleaning the marble stone daily, try to use dry towing, less wet towing, local dirty or stains. Household cleaners such as detergent and washing powder can be used for cleaning. If wet towing, dry hauling after dragging, open windows and doors to ventilate and dry the ground quickly. Cleaning the floor tiles with soap or a mixture of ammonia and turpentine can make the wood marble tiles clean and bright. The gaps between tiles can be cleaned regularly with a decontamination paste, and then brush with a brush to crack a layer of water repellent to prevent mold growth. Slight scratch treatment of wood floor tiles: apply toothpaste to the scratches, wipe it repeatedly with soft dry cloth, then apply a small amount of marble polishing wax, then dry with a dry cloth to shine. Regular waxing for common marble tiles can achieve long-term protection. The best time is 2-3 months.
https://baranaceramic.com/wp-content/uploads/2018/07/Sticking-and-maintenance-techniques-of-floor-tiles-1.jpg600900administratorhttps://baranaceramic.com/wp-content/uploads/2025/09/logo.pngadministrator2018-07-06 06:33:112018-11-28 06:04:33Sticking and maintenance techniques of floor tiles