Posts

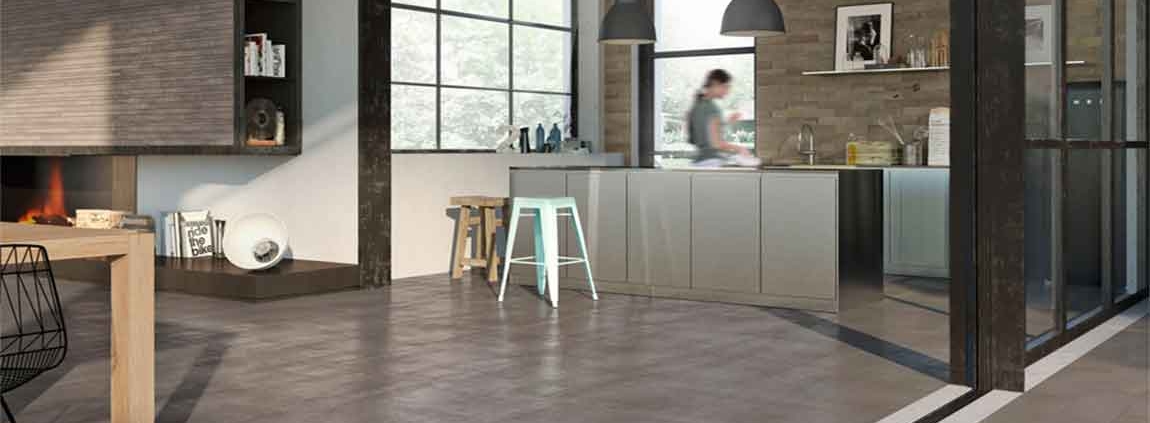
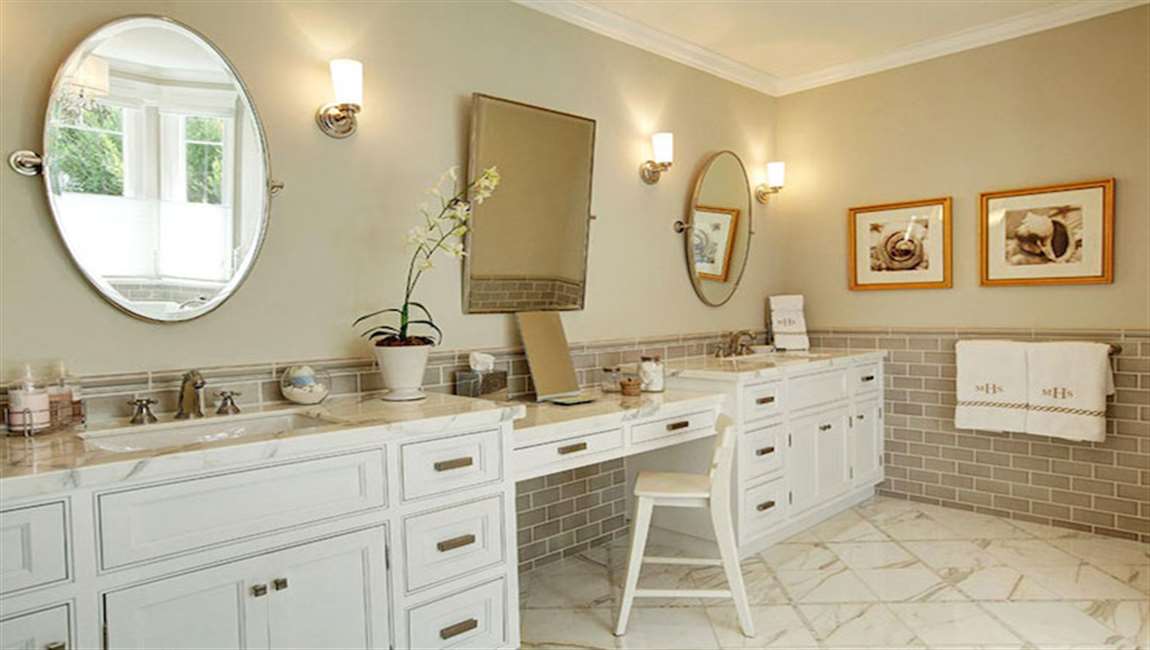
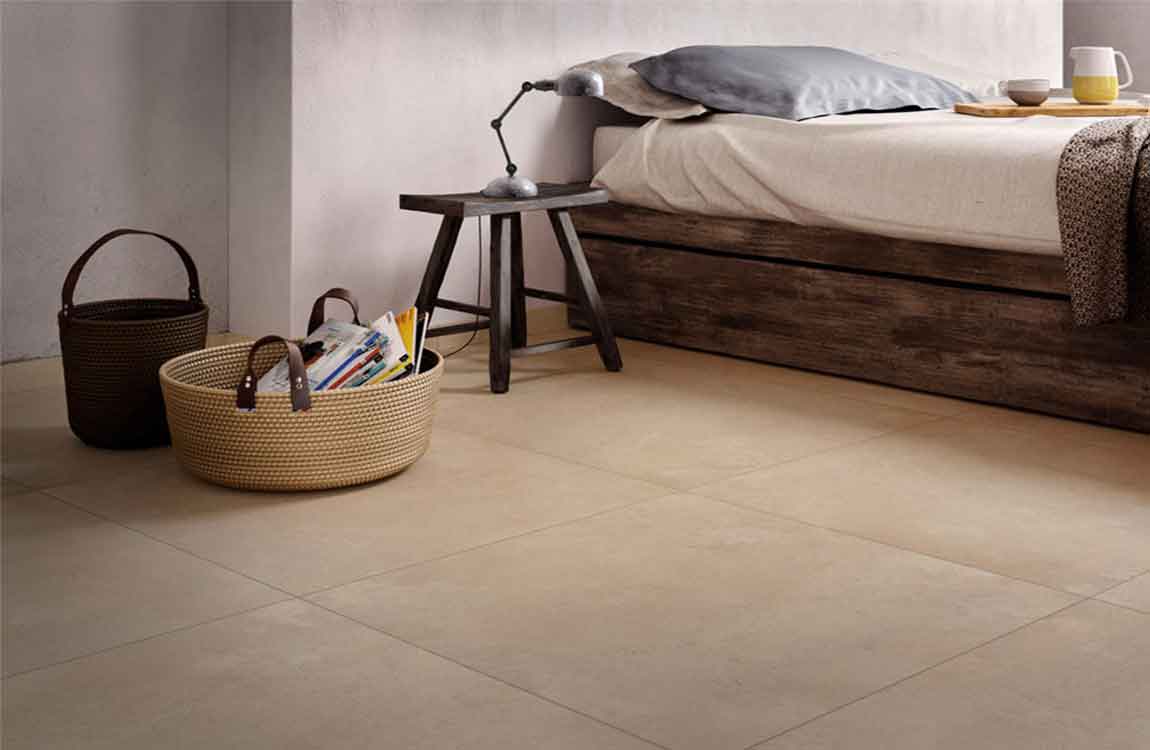
How to Clean Carrara Marble Tiles?

Carrara marble tiles is a white marble tiles quarried in the Carrara region of Italy. It is prized for its white appearance and high quality. Like other marble tiless, Carrara marble tiles needs to be taken care of and cleaned in a special way. This is because a wide variety of products can damage the marble tiles or transform its appearance.


Ultimately, though, by performing routine cleaning, removing stains, and taking steps to safeguard the marble tiles, you’ll be better prepared to care for Carrara marble tiles. Apply a diluted bleach solution to specific spots if discoloring remains. You can use a solution of 1 part bleach to 3 parts water on sandstone tiles surfaces but it should be used sparingly.


Simply make the solution and them use a rag to blot it onto the sandstone tiles in areas that are severely discolored. Let it sit for up to 30 minutes and then scrub the area with a soft brush and rinse it with clean water. Using cleaners on your sandstone tiles can take off the protective layer that the material naturally builds up on the surface. This will lead to faster decay over time.


Rinse the sandstone tiles with water after scrubbing it. Use your hose to remove any dirt and debris that you dislodged while you were cleaning. This will also remove any soap or bleach, if you used them. Once your sandstone tiles it sprayed down, it should look much better than when you started. In some cases, you will have to do several rinses to identify areas that you need to continue scrubbing.


Simply go back over areas with your scrub brush that don’t look clean enough. When the surface is completely free of poultice remnants, dry it with another clean nonabrasive cloth. Wring out the excess. Rub the stain in a gentle counterclockwise motion until it vanishes. This will work for spills and circular marks from glasses and goblets. Use a clean nonabrasive cloth to dry the area.

How to Clean Concrete Patio


With everything that happens on your concrete patio – weather, barbeques, kids playing, oil spills – it’s no wonder that it needs a good cleaning once in a while. By mixing up the appropriate cleaner, carefully cleaning the concrete, and addressing special stains, you can get your patio cleaned up in no time.


These products will break down the stains. Apply the degreaser to the stain, then scrub it into the concrete. Allow it to sit for a few hours or as prescribed by the product instructions. Pat the spot with a utility rag to pull up the stain, then remove the excess with clean water. Reapply the degreaser as necessary.


You can dilute the degreaser if the stain is fresh. Some stains may require multiple applications. You can purchase a concentrated degreaser online or from most home improvement stores. Alkaline products can also neutralize acids that have soaked into the concrete. Use bleach and laundry detergent to remove mildew.


If you have plants on or near your concrete patio, the moisture they trap under their leaves can leave mildew stains. Mix 1 quart (slightly less than 1 L) of bleach with 3 quarts (slightly less than 3 L) of water. Add 1/3 cup (237 mL) of laundry detergent and mix the solution well. Apply the solution with a stiff-bristled brush and let it soak until the stain turns white. Be sure not to let it dry.


You can also try moving your plants to another area of the patio, and letting the sun and air clear the mildew away naturally. Use vinegar to remove algae. If you have algae on your concrete, you can use undiluted distilled vinegar and a stiff-bristled brush to clear the stain. If you have a larger area affected by algae, you can also try filling a liquid fertilizer applicator with pool chlorine and spray it through a garden house.

The Knowledge of Tile a Bathroom Floor

Tiling your own bathroom floor can be a satisfying and cost-effective home repair project if you get the correct materials and plan your project in advance. With a little planning, anyone can do it. Keep reading to learn to prepare the foundation, lay the tile, and grout your New Slate Tiles so it will last for many years to come. Get tiling!

Prepare the floor. Make sure the surface you’re going to wood marble tile is swept and clean of any debris, especially if you’re in the middle of more major renovations or construction. Make certain the existing wood floor is flat, solid, and well bonded to the sub-floor. The rustic floor and subfloor together should be at least 1-1/8″ thick.

Mix a batch of thin-set mortar. Follow the manufacturer directions, mixing the appropriate amount of water with the mortar in a bucket. The mortar should be thick, a similar consistency to mud, but not so thick that is doesn’t fall off a trowel. Don’t mix more thin-set than you can use within an hour, or it will begin to dry out. Spread a layer of thin-set on the sub-floor with the notched trowel. Spread the mortar quickly, but also evenly. Use firm sweeping motions with the trowel.

Cut the cement board to fit the space. If you want to reinforce the floor with cement board, score it with a utility knife before laying it over the thin-set mortar. Pound in roofing nails along the edge to secure the backer board to the floor. Continue until the floor is covered and apply a thin layer of thin-set mortar over the joints. Wait until the next day to begin laying cloud tile. In the meantime, you can prepare the reference lines to make sure the tile will be laid evenly.

Establish a straight vertical and horizontal reference line from the center of the room. If you simply start laying tile along a crooked wall, it will look really crooked by the time you reach the opposite wall, so you need to use a mason’s chalk line (a piece of string covered with chalk dust that you can snap into place) to establish easily-removable reference lines.

Identify the most visible wall when you walk into the room. This is the wall with the longest area of continuous spots tile. Determine a 90-degree angle from that wall, using a square, and snap a chalk line across the room. Use the square again to mark a perfect 90-degree angle from that chalk line and snap another chalk line that’s perpendicular to the first one. Now you have two intersecting chalk lines as a reference to lay the first tile.

How to Install Ceramic Tile on Sub Floor?

Once you’ve determined the thickness of the underlayment you will use, the steps of installation are the same. Dry fit your sheets of cement board to the area you are tiling. To cut the board you can either use the side grinder with diamond blade, or you can score and break the material.

The cement tile department personnel can show you the available scoring knives. Your joints between sheets should not exceed 1/8 inch. It is also advisable to install the sheets perpendicular to the direction of the floor tile. This adds additional strength and stability.

Install the sheets one at a time. Mix your thinset according to the instructions on the bag. Lift one sheet (leave the rest in place) and spread thinset directly onto the bathroom floor filling the area left by the sheet (use a 1/4″ x 1/4″ notch trowel). Once you have filled the space place the sheet down onto the thinset. Secure the cement board with the screws using the pattern directed by the board manufacturer. Repeat with the remaining sheets of cement board until finished.

Apply the crack suppression membrane over the joints of the boards. You will use the flat trowel to apply a thin layer according to the manufacturers specifications. (e.g. 6-18″ width across the joint). This will distributed the stress caused by movement of the subfloor tile and prevent cracking in your wood marble tile. If greater protection is desired you can cover the entire floor with the membrane. Let dry for 24 hours.

Complete the installation. The remaining steps are identical to installing tiles price on a concrete slab, less one tip: Use a damp sponge to wipe the cement board prior to applying thinset. This will keep the cement board from drying the thinset too fast and allow proper adhesion to the wall tiles design.