What should you do before install ceramic wall tiles?
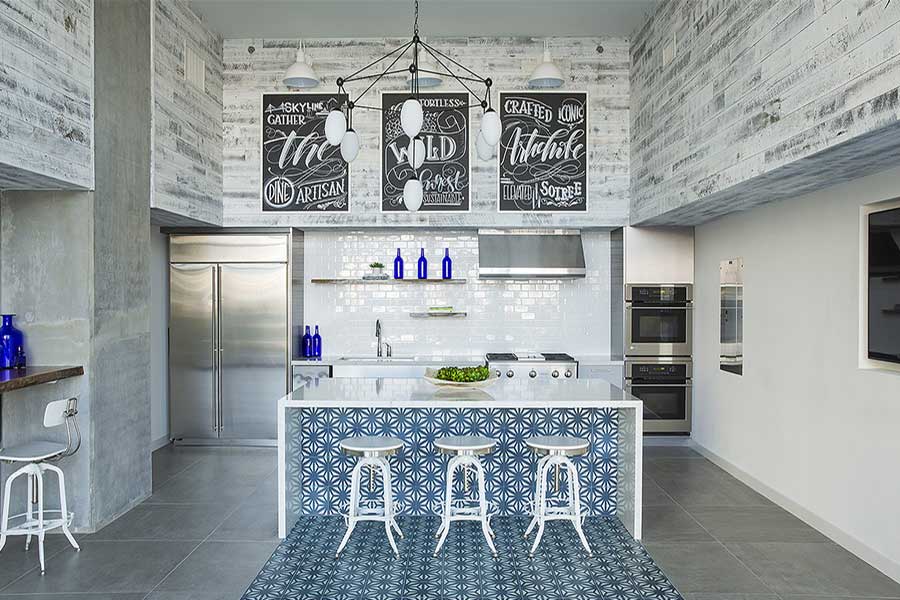
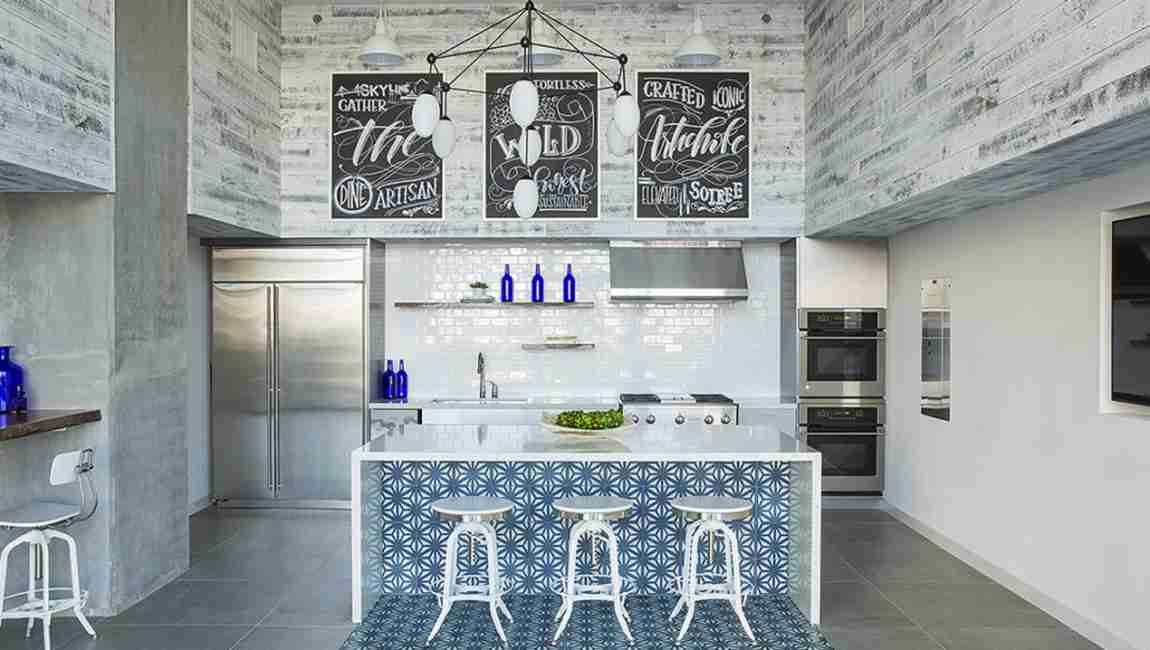
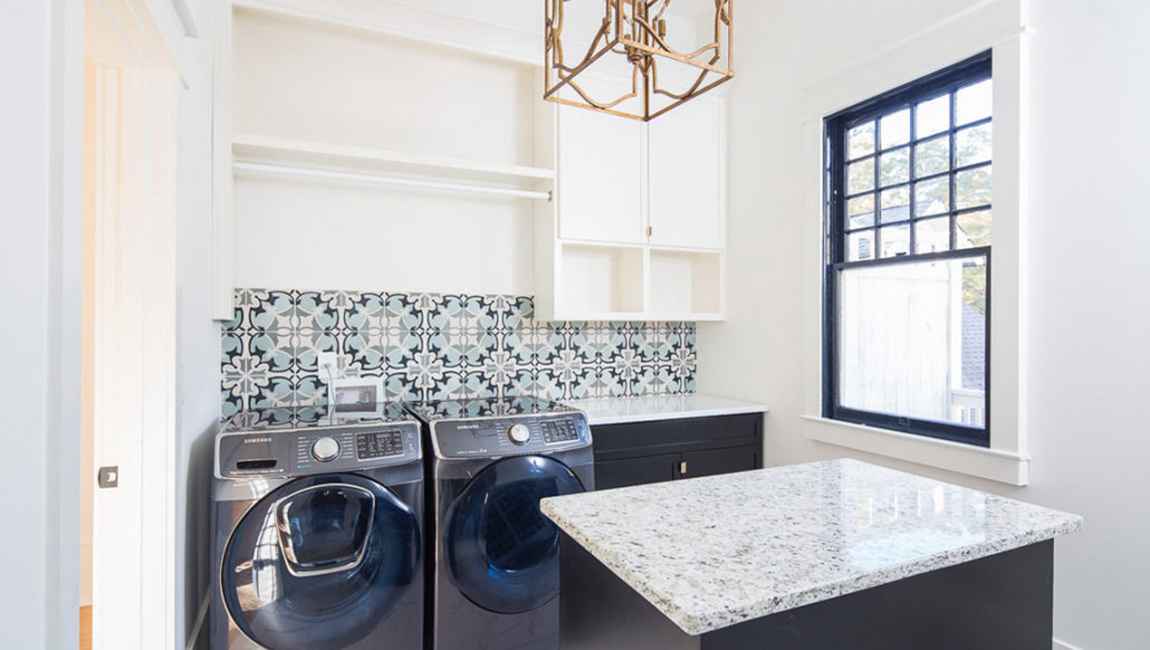
Ceramic tile is a versatile and durable finishing material. Tiles can be installed as a floor or wall covering nearly anywhere, but they are especially useful in bathrooms and kitchens. Tiles design wall can resist moisture and handle scrubbing much more readily than drywall or other materials, and so they are the ideal choice for humid bathrooms and kitchens where they will be exposed to cooking splatters. Learning how to install ceramic wall tile is a task well within the reach of an average homeowner. The process requires only a few tools and materials.
Make sure your wall is ready to go. Once you’ve removed the current wall dressings and wall items, like light switch covers, you’ll want to check the base layer that you will be building on to make sure that it is structurally sound. This is important, since a rotting or weak wall tiles can cause your tiling job to warp, crack, or even break and fall down. Look for signs of mold or damage to the tiling surface.
Cracks are often a sign that a wall may be weak and need to be replaced. Try pressing on the wall, especially at the studs. If it gives way or feels soft, it may require work. If you are going to be tiling a large area, remember to use tiling board as a backer and not just put the wood tiles directly onto drywall. Tiling board is installed just like drywall (nailed to the studs) but is made of more water resistant materials which will keep it from warping and cracking your tile work.
Use a level and tape to measure for your tile locations. Now, using a level and measuring tape, measure and mark for the middle lines in the area you will be tiling. You want to find both the vertical and horizontal middle, since you will use these to keep your Ceramic straight and divide the area into sections for tiling. Never assume a fixture in the room like the tub or vanity (or even the ceiling) is perfectly level. They rarely are. It is very important to rely on the level.
Mark the locations on the wall using a chalk line. Using a chalk snap line, mark the mid-line and vertical lines which you just measured. If you’ve never used a chalk snap line before, don’t worry: it’s easy. Simply place a nail at one end of the space you marked, attach the string, pull it taut and snap it down. This will leave a straight line on your wall. You’ll still want to check it for level but it’s much more accurate than drawing a line. You can use just regular string and manually chalk it to make a chalk line but using a chalk box, which are easily bought for about $5, will generally be a lot less work.
Dry fit and then cut cement tiles to size using a diamond wet saw. Dry fit your rustic tiles to be sure that they will look the way you want them to look. Once you’re comfortable with how it looks, figure out how the tiles price will meet up with the corners and edges of your wall. You will probably need only a part of a tile when it comes to some of these areas, so it will be necessary to cut the tiles to size. Measure how much space you need for each row with the spaces and cut tiles to size using a diamond tipped wet saw.
So, for example, let’s say your wall to tile is five feet long. You’re putting up subway tile and the tiles are 6″, with spaces of 1/4″ between each of them. You’ll need 9.6 tiles for each row to cover that space, meaning nine full tiles and one cut to 3.6″. If you don’t own a diamond tipped wet saw, you can usually rent one from your local major hardware store. You can also use a tile cutter, but this is more likely to end in broken tiles so only take this option if using cheaper tiles.
Dry fitting is especially important if your tiles make up a pattern, since you will need to be very comfortable creating that pattern. You don’t want to make a mistake or have to spend a lot of time thinking about it once the mortar is up on your wall. You can test your dry fit pattern by making a layout stick, which can be made from any straight and level piece of spare wood. Lay the tiles on a floor and mark the layout stick with a pencil at the joints between tiles. Use the layout stick to see how the tiles fit on the wall.
")


")

")
")
