Posts

How Ensuring a Safe Cleaning?


Avoid harsh cleaners and anything abrasive. Some cleaners may strip your marble tiles of its finish. Check the label of all cleaners to ensure they are suitable for marble tiles. Abrasives in cleaners and abrasive cleaning tools, like scouring pads, steel wool, or scrubbers, can also cause damage to the marble tiles. The surfaces cleaners are intended for should be clearly marked on the label. Abrasives, too, are generally marked on the label.


Test cleaning products on an out of view part of the marble tiles. Even if the label says a cleaning product is suited for marble tiles, it’s always a good idea to test the cleaner first. Choose an out of sight location on the marble tiles, like under a stationary appliance, and use a small amount of cleaner on the marble tiles. If the finish or color is affected by the cleaner after it dries, refrain from using the cleaner.


Soak stubborn stains in bleach. Although bleach is a generally accepted cleaning agent for marble tiles, it’s relatively harsh. Only use bleach sparingly to clean your marble tiles. Same as when using vinegar or hydrogen peroxide, dampen a clean, soft rag with bleach, wring out excess, and drape the rag over stains. Only use this technique for marble tiles that is light in color. Bleach may cause discoloration in dark colored pieces.


Identify engrained stains in your marble tiles. If you’ve cleaned a spot time and again with various cleaners, it’s likely the stain you are attempting to clean is engrained in the marble tiles. To remove spots like this, the marble tiles will have to be buffed and refinished. For the best results, this should only be attempted by a professional.


Apply the cleaning solution with a clean, soft rag. Douse your rag in the heavy-duty cleaning solution. Wring out excess solution over the sink, then lay the saturated rag on the stains. Wait roughly 10 minutes for the stain fighting action of the solution to go to work, then wipe away remaining liquid with a clean, dry, soft rag.

How Removing Debris from the Floor?


Sweep the floor with a soft broom. Take a soft dust mop or a broom with soft bristles and sweep the floor. Make sure to sweep up as much debris as you can. Pay special attention to areas along walls or doors.


Be careful using a vacuum. If you choose to use a vacuum, you need to be careful not to damage your marble floor. The plastic on the nozzle or wheels of a vacuum can etch or scratch marble. As a result, use caution if you decide to use a vacuum. If you have a central vacuum system in your home, you may be able to use a soft floor attachment on the nozzle. However, you should test the attachment in an inconspicuous area (such as behind a door) before using it.


Use rugs and mats throughout your home. Rugs and mats will help accumulate debris. As a result, sweeping or vacuuming your floor will be easy. In addition, rugs or mats will protect high traffic areas from scratches.


Put down rugs to protect your floors. Area rugs and floor runners can help protect your marble floors, especially in high-traffic areas. Use area rugs in places like the living room and rug runners in hallways to prevent scuffing and scratching. Adding a no-slip pad under your rugs will help further protect your floors and keep your rugs in place.

Apply additional layers the same way. After the previous layer is completely dry, wax the floor again. Remember to do it in sections and plan your route to the door. Your specific floor wax product should include a recommended number of coats. If it doesn’t, apply three or four thin coats. Stop if the wax starts turning yellow.

How to Wash Marble Floors?

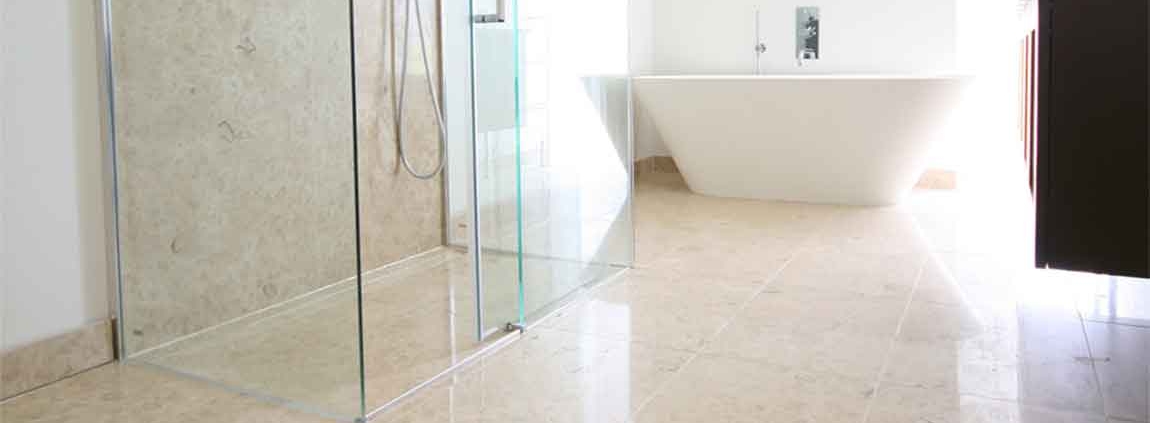
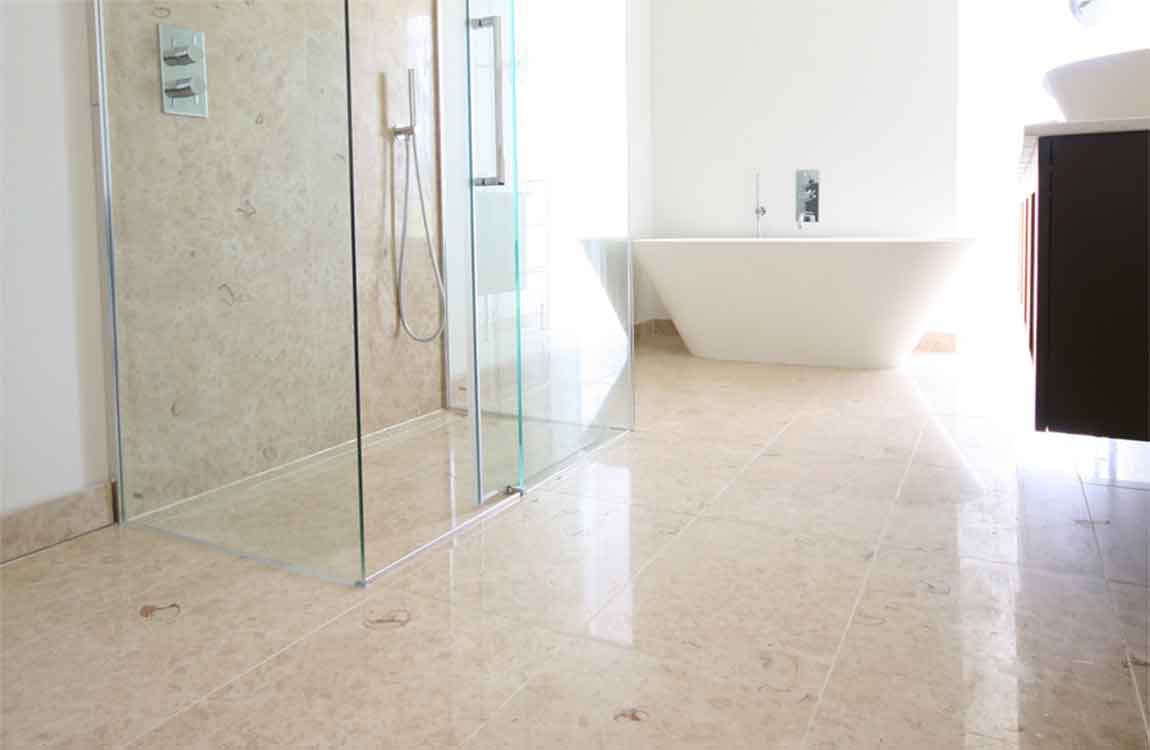
Marble is a somewhat soft and porous stone that needs to be cleaned with care. Due to the traffic they get, marble floors, especially, need extra care. There are, thankfully, several ways to safely clean marble floors. By using appropriate cleaning products and avoiding things that could damage your floor, you’ll be better prepared to wash marble floors.


Mop the floor again with clean water. After you’ve mopped your floor with a detergent solution, you should mop it again with cool clean water. By mopping it again, you’ll help pick up any dirt or debris that remains on the floor. In addition, you’ll remove any suds that remain on the floor.


Change your water frequently. When mopping your floors, you need to make sure you change the cleaning solution or water often. If you don’t, your floor might become streaky or could be scratched by debris in the mopping water. If your water appears brown or you see it full of dirt, dump it. Refill it with new water (and soap, if you want).


Use a soft towel to dry the floor. Since marble is relatively porous, it’s important to sop up as much of your cleaning solution or water as you possibly can. If you don’t, the solution could leech into the marble and discolor it. Switch out wet and dirty towels as needed.


Sweep and mop your floors regularly. Regularly removing dirt and debris from your marble floors will help prevent future scratching and scuffing. How often you clean your floors will depend on how frequently they get dirty. Aim to remove debris as you notice it. For example, you have children or pets that easily track in dirt, you may need to sweep your floor a few times a week as opposed to once a week.

How Cleaning the Buff Floor?

Use a broom or dust mop to remove any debris. Start in the corner of the room and slowly sweep the entire room. Make sure you get the floor as clean as possible. Otherwise, you risk buffing dirt into the finish. Over time, buffing a dirty floor can permanently alter the color of your floor finish, turning it a dingy yellow color.


You can also use a vacuum to suck up the dirt you swept. Use a vacuum attachment meant for your type of flooring. Wash the floor with a wet mop to ensure it’s completely clean. For best results, dip the mop into a bucket of soapy warm water. Then, start in the corner of the room and slowly work your way back toward the entrance. As you mop, make short, even strokes to clean the floor.


Rinse your mop when it starts to look dirty. Use a floor cleaner that’s formulated for the type of flooring in your home. Allow the floor to dry for 2 hours or use a fan to dry it faster. Touch the floor to make sure it’s dry before you move on to buffing. Don’t try to buff a wet floor because you will be applying a buffing solution, which is also a liquid.


If the floor is already wet, there will be too much liquid, which will make you need to change your buffing pad more often. Turning on a fan will help you dry the floor more quickly. A ceiling fan or box fan will work best.


The microfiber cloth shouldn’t damage your floor, no matter what material it is. Keep in mind that buffing a floor typically requires a lot of pressure, so you may not see much difference if you don’t press down very hard.

How Waxing Your Floor?


You can use an auto scrubber or floor machine for this step as well, as long as you change the pad beforehand. Don’t use the same pad you used to apply or wipe up the stripping solution. Wash all tools used. Thoroughly clean any tools used, including the interior of machinery hoses and tanks. If left uncleaned, the stripping solution will dry into a hardened mess and ruin your tools.


Let your floor dry completely. Don’t move on to waxing your floor until it is completely dry, or the wax may not attach properly. You can put a fan in the room to hasten the drying process. Apply wax to your mop. Immerse a sponge mop into the wax, or pour some wax onto the upper side of a flat wax applicator mop.


If your mop is dripping, you should press it into the wringer portion of the mop bucket or press it against the sides of the bucket. Don’t actually wring your mop; the goal is to make it damp with wax, not dry or dripping. Apply the wax to one small section of floor at a time. Start at the opposite end of the room from the door so you don’t have to cross the waxed portion to leave the room.


If you try to wax too large an area at once, you are more likely to miss spots or apply the wax unevenly. If your first layer is too thick, the whole process could fail to set properly. Be careful not to drip excess wax onto the floor, and only use a damp,not soaked mop. Once the floor in one section is evenly covered, mop over it with broad strokes in the same direction to create an even appearance. Now you can move on to the next section.


Wait for it to dry completely. This should take about half an hour, but could be longer in areas with high humidity. After ten minutes of natural drying, you can point a fan into the room to make it dry faster, but do not point it directly at the waxed floor. This could interfere with the adhesive. Read the label of your floor wax for more accurate estimate of drying time.

How Using a Spray Buffer?


Spray the buffing solution onto your floor, if you’re using it. For best results, use a professional sprayer or a product that comes with a spray nozzle. Start in the far corner of the room and work your way toward the other side. Aim the spray 2–4 ft (61–122 cm) in front of the buffer in an area that’s about 6–8 in (15–20 cm) wide.


Use a buffing solution formulated for the type of floor material you have, such as wood, tile, or vinyl. If you don’t have a sprayer, you can use a mop to apply the solution. However, it won’t be as effective at distributing it. You can buy or rent a sprayer from most home improvement stores. Additionally, some buffing solutions come in a spray bottle.


Attach a red buffing pad if you’re spray buffing your floor. This pad is intended for use on a wet floor, so it will soak up some of the buffing solution. Follow the instructions for your buffer to attach it correctly. Be sure to read all of the instructions that come with your buffer.


It’s best to have an extra pad handy if you’re going to be buffing a large surface area. Although you’ll be able to use both sides of the pad, it can get clogged up or dirty as you work. If you’re spray buffing your floor, you’ll need both a red pad and a gray or beige pad, for best results. Your floor will look better if you do a dry buffing after your spray buffing.

Work in 3 ft (0.91 m) by 3 ft (0.91 m) sections. Start in the far corner of the room and work your way back toward the entrance. As you buff the floor, mentally separate it into small sections to make it easier to buff the entire surface area of the floor. Overlap your passes to ensure every bit of flooring gets buffed.

How Mopping Your Floor?

Use hot water. Whether you are creating a solution to wash your floor, or just using water, you should use hot water. Hot water will help cut through grime. Ultimately, by using hot water, you’ll decrease the chance that you’ll need tougher solvents that could damage the marble.


Focus on distilled water. Distilled water is water that has gone through a process to remove minerals and other impurities. By using distilled water, you’ll reduce the chance of discoloring or staining your marble. You can buy distilled water at just about any grocery store or box store. It is usually cheap.


Add a mild detergent to your water. Add a mild detergent such as 2-3 drops of dish soap into a bucket with your hot, distilled water. Follow the directions of the soap and dilute it with an appropriate amount of water. Mix your solution thoroughly. Make sure to only add pH neutral soap to your water.


Harsh chemical solutions like bleach, hydrogen peroxide, ammonia, and vinegar can be damaging to your floors. Avoid using these on marble. If you prefer, you may be able to use a commercially prepared marble cleaner. Simply follow the directions on the bottle and then clean as you would with a water and detergent solution. Some products include Stone Tech, Resolve, or Simple Green.


Use a soft mop on your floor. Take a mop with a soft mop head (preferably microfiber) and dip it into your solution of detergent and water. Wring out the mop head to relieve it of excess water and systematically mop your floor. Do short strokes that overlap. Rinse and wring out the mop head after you’ve covered 10 to 20 square feet (1 to 2 square meters). This might vary depending on how dirty the floor is.

How to Clean Grout with Vinegar?


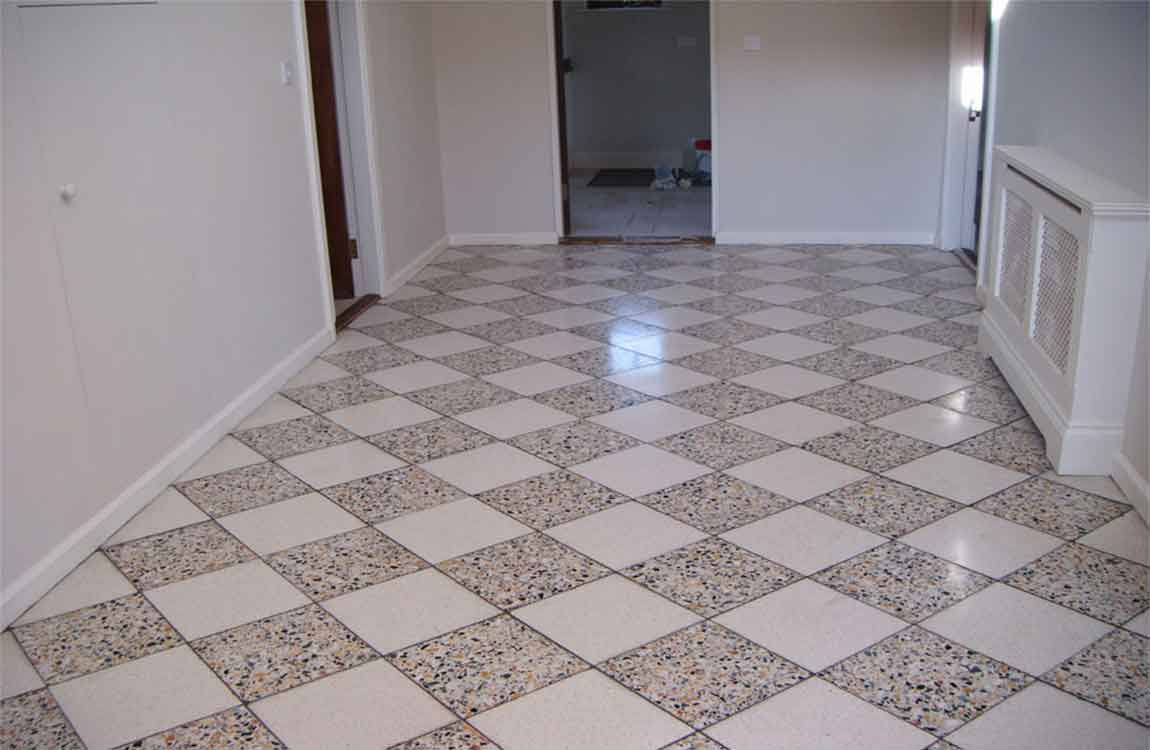
If the grout between your tiles has turned from white to brown, it’s ready to be cleaned. Fortunately, there are several homemade grout-cleaning solutions you can make with vinegar. Most of them involve baking soda, a compound which – when mixed with vinegar – creates a bubbly, fizzing reaction that’s perfect for cleaning grout. After applying your vinegar solution, use a scouring pad, a toothbrush, or some other cleaning implement to scrub your grout.


Apply vinegar to the grout. Use a vinegar-soaked cloth or a spray bottle filled with vinegar to coat the grout you wish to get clean. If you are trying to clean grout on a vertical surface, a spray bottle is probably your best bet. nAfter applying the vinegar, wait ten minutes before moving on to the next step. Always use distilled white vinegar or specialized cleaning vinegar to clean grout.


Scrub the grout. Ten minutes after applying the grout, use a toothbrush to scrub the grout. Use firm up-and-down motions to scrub the grout clean. Wipe the grout. Use a dry or damp rag to remove the loosened grout grime. Allow the area to dry, then evaluate it. If the grout still needs cleaning, try a different method.


Wipe the grout. Once you’ve loosened the grime and grit along your grout, it should wipe away with ease. Take a damp rag or paper towel and wipe it along the grout you’ve cleaned. Wipe the area along the edges of the grout, too, to soak up any of the lingering water/vinegar. If you want to give your floor an additional level of shine, mop the whole thing after you’re done


Make a citrus vinegar spray. Mix 3.5 cups (828 milliliters) hot water, ½ cup (170 grams) baking soda, 1/6 cup (40 milliliters) vinegar, and 1/3 cup (80 milliliters) lemon juice in a spray bottle. Aim the nozzle of the spray bottle at the grout you wish to clean. Spray the bottle so that the grout is evenly covered. After one hour, scrub the grout with the scouring side of a sponge to remove the dirt crusted into the grout.

How Using a Wet Saw Cut Tiles?

Choose a wet saw if you need to cut larger or thicker pieces of tile. Large tiles can be difficult to score deep enough to be snapped or nipped, but a wet saw can effectively cut through the thickest glass tile. Wet saws release a steady stream of water as the blade cuts to decrease friction and are more time-effective and have less of a chance of damaging glass tiles.


Wet saws allow you to cut squares out of larger pieces of tile quickly and evenly, but isn’t great for cutting curved or irregular shapes. You can rent wet saws from home improvement stores like Home Depot and Lowe’s for about $50 a day.


Use a glass tile blade on the wet saw to cut your tile. A glass diamond blade will create a smoother cut in the tile and ensure an even edge. Glass tile blades have a finer and softer blade, which means it will take longer to pass through the saw, but will result in a better edge on the glass tile pieces you cut.


Use a straightedge and washable marker to draw cutting guidelines. Washable markers are easy to clean up later, but will still draw clear lines for you to follow with your wet saw. Use a straight edge as a guide and form straight lines with your marker where you want to cut the glass tile. Make sure the lines are straight and even. You can always just wipe the marker away and form the lines again.


Put on rubber gloves for extra grip. Because the wet saw uses water to reduce friction and cool the blade, the glass tile could become slippery to hold with your hands. Use a pair of rubber gloves to increase your grip on the glass. Don’t use leather or fabric gloves because they’ll become soaked in water. Latex gloves work fine, too.

How Cutting Tile Sheets?

Measure the area of your backsplash. Use a measuring tape to measure the dimensions of your backsplash area. Write these measurements down. Don’t worry about cabinet corners that cut into the backsplash area just yet. Masks are graded based on the size of particle they filter. Purchase one that will filter dust particles.

Transfer the measurements to your tile sheet. The easiest way to do this is with long strips of painter’s tape of masking tape. You can also draw on the back of the tile sheet with a marker. Be sure to mark any outlet and light switch holes. Place the sheet against the wall and mark them, if needed.

Put on some eye and respiratory protection, if needed. A pair of safety goggles is highly recommended because it will protect your eyes against flying pieces of tile. A good respiratory mask is only needed if you will be cutting the tiles with a wet saw or grinder. If you will be using tile nippers, you won’t need a mask.

Cut the tile sheet down to size with a box cutter. Flip the tile sheet over so that you can see the back, then cut through the mesh with a box cutter or utility knife. If the tape runs across a row of tiles, cut through the mesh along the inside edge of the tape. This will make your tile sheet a little smaller than necessary, but that’s okay.

If your tiles are staggered like bricks or a honeycomb, you will need to cut around the tiles. Don’t cut straight through them. Be sure to cut through the outlet and light switch holes. If your tiles are staggered like bricks, the gaps won’t be consistent. You will need to cut some tiles larger, and other tiles smaller.