Make a baking soda and bleach paste. If you want to remove stains that have developed over a season or so (for example, after leaves have been collecting on your concrete throughout the fall), mix up a standard concrete cleaner using three parts baking soda and two parts bleach. The consistency of the paste should be like pea soup – thin enough to pour on your concrete but thick enough that it won’t just run off.
Make a vinegar and baking soda paste. If you’re looking for a more environmentally-safe cleaner, try mixing up vinegar and baking soda. The exact amounts of vinegar to baking soda don’t matter as much as the consistency. It should have a paste-like consistency. Start by pouring some white distilled vinegar into a bucket or bowl and then slowly add baking soda.
The mixture will foam up, so add the baking soda slowly so you it doesn’t overflow. Give the bubbles some time to deflate so you can see what your consistency looks like before adding more baking soda. Make a vinegar and water solution. For smaller stained areas, you might want to try a vinegar, water, and salt solution that you can mix together in a spray bottle.
This allows you to be more targeted in the application of the cleaner and prevents it from seeping to places you don’t want it to go – like flower beds or the lawn. Use equal parts white distilled vinegar and warm water, then add a pinch or two of salt. Let this solution soak into your concrete for about twenty minutes.
There isn’t much extra work needed to fit the panels together. The manufacturer cuts them into shapes meant to fit together. The only exception is when you need to trim the stone to fit along the edges of your wall, which you can do with a diamond blade. Spread a 1⁄2 in (1.3 cm) mortar layer on the stone veneer.
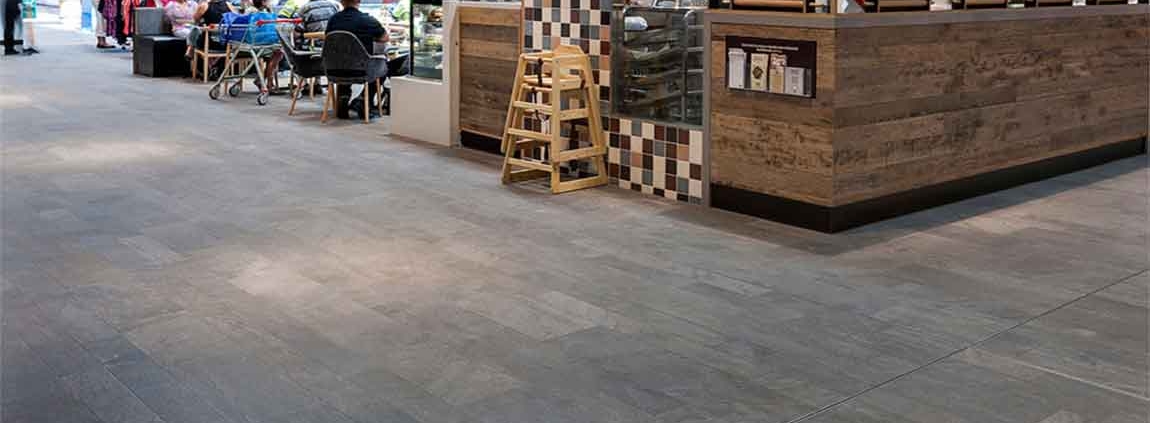
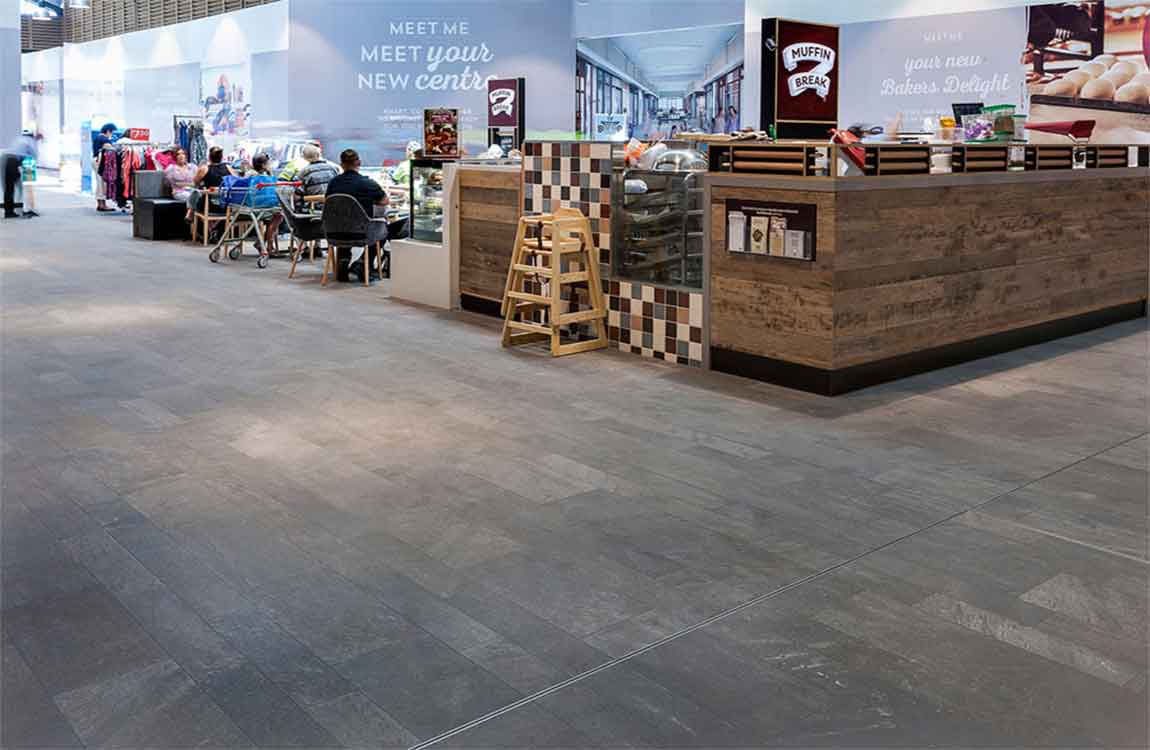
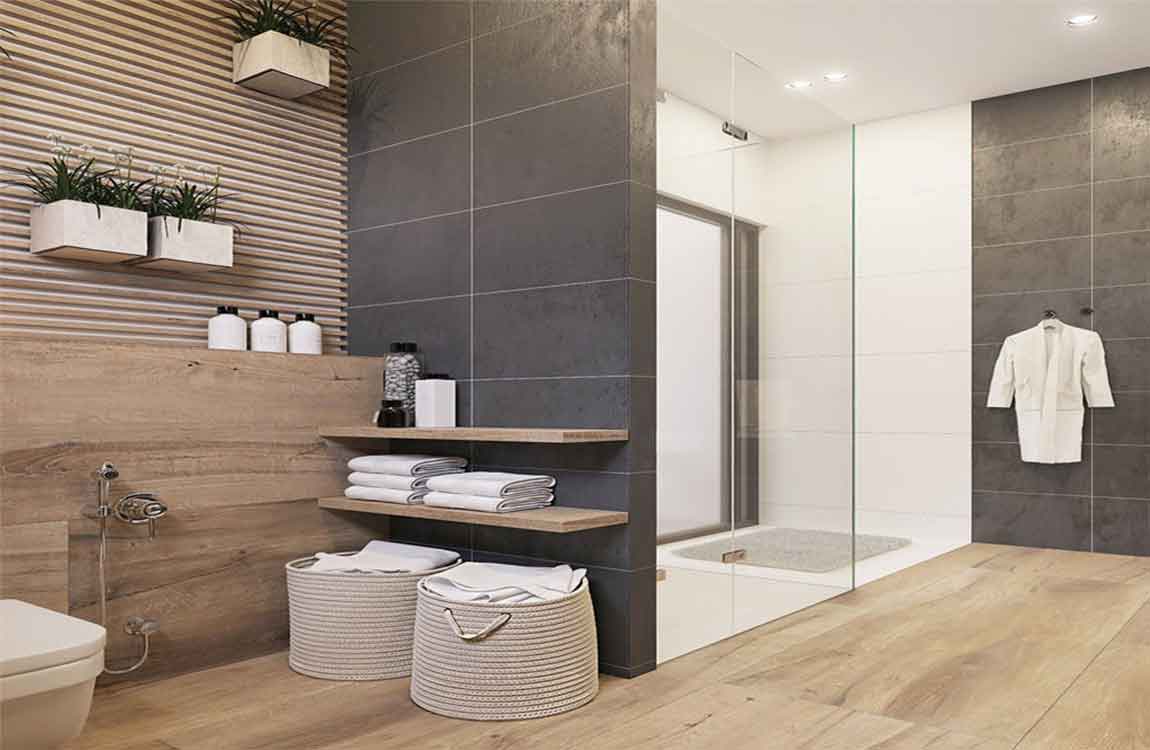
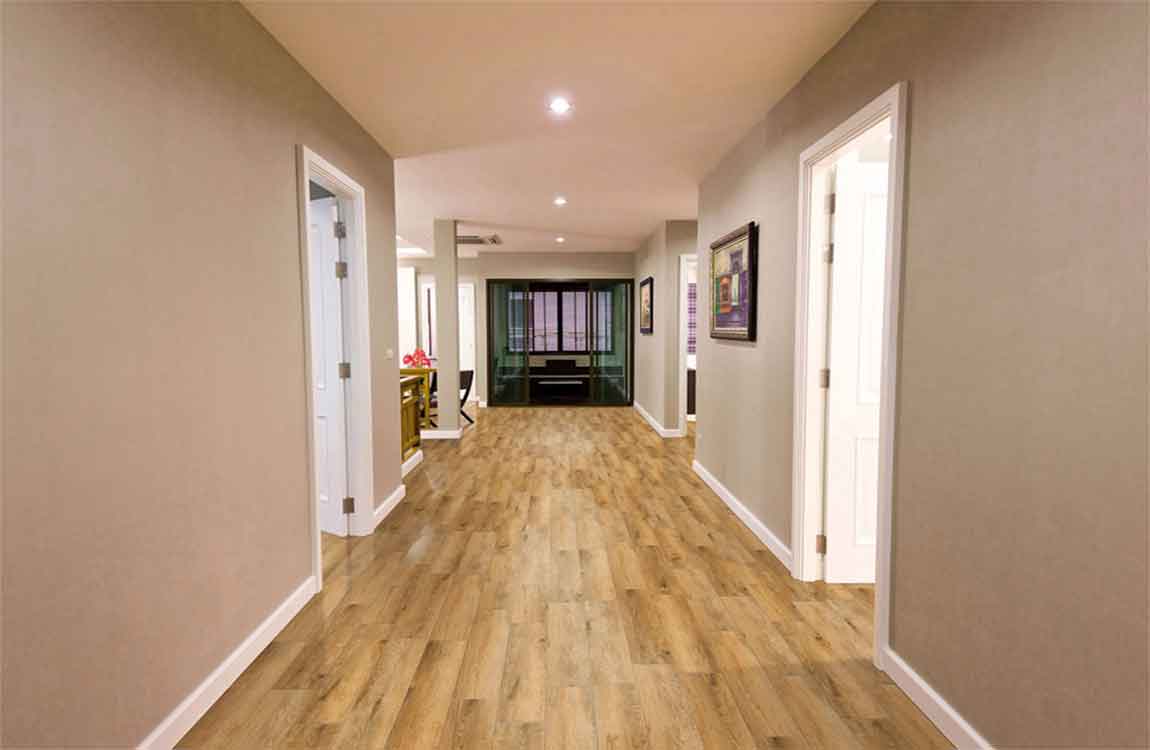
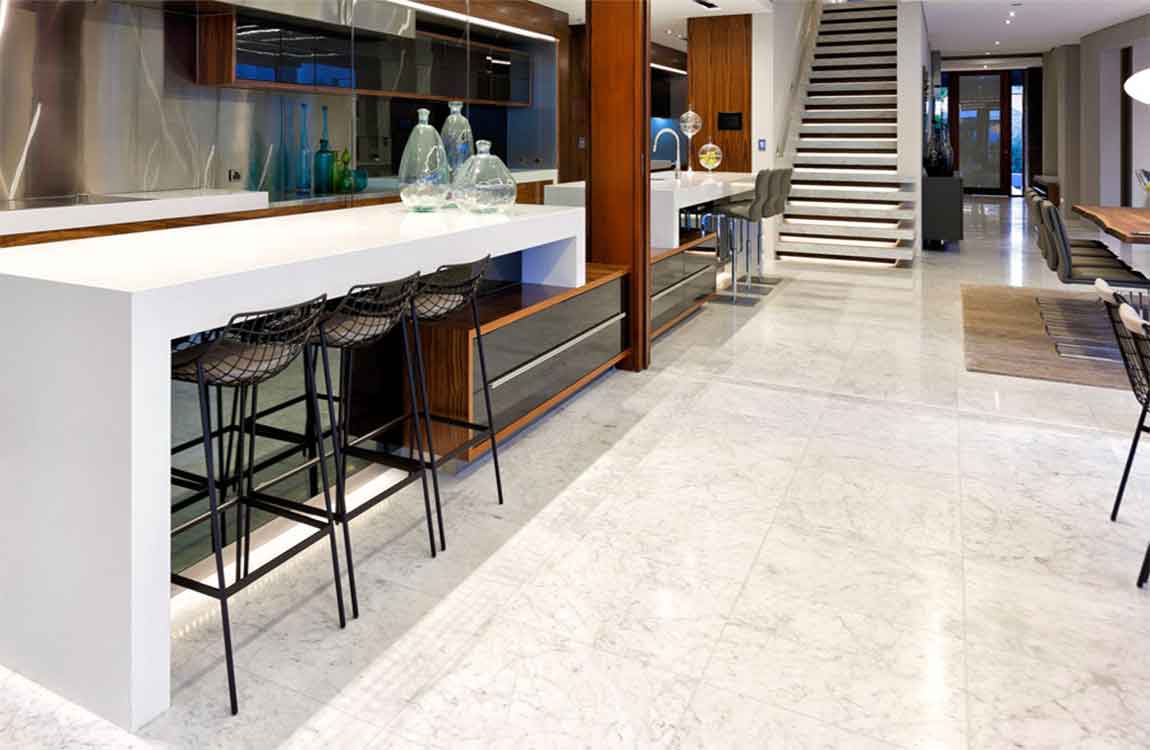
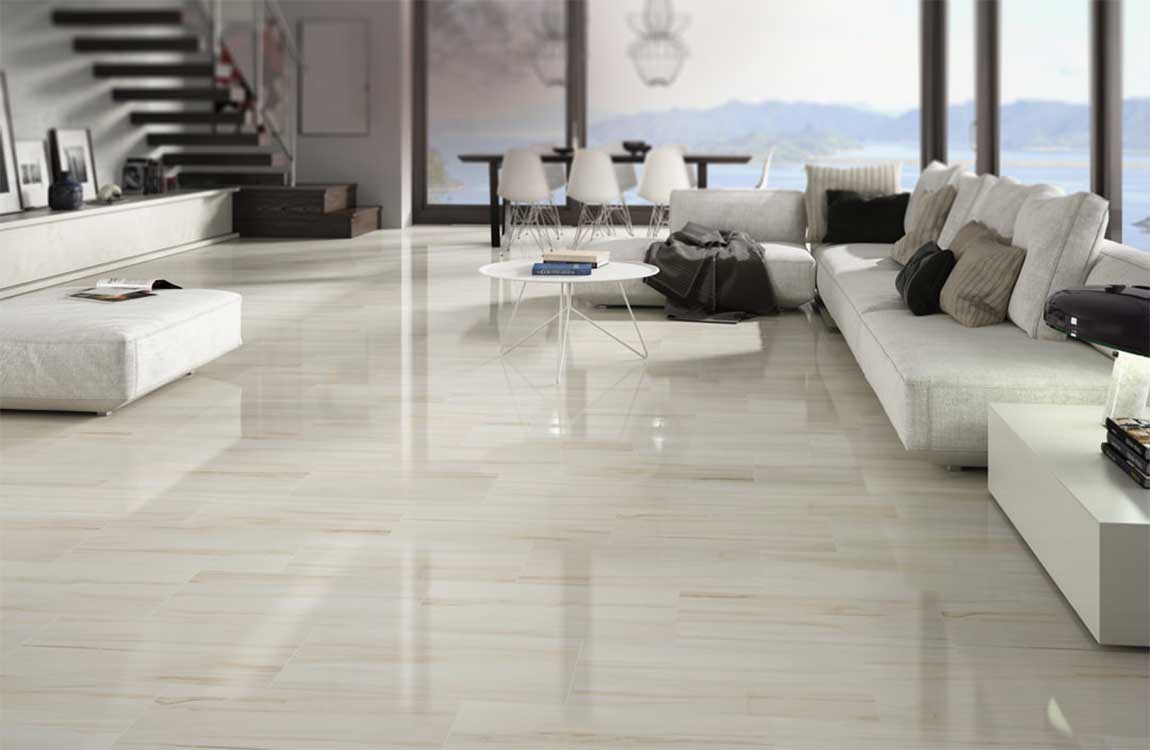
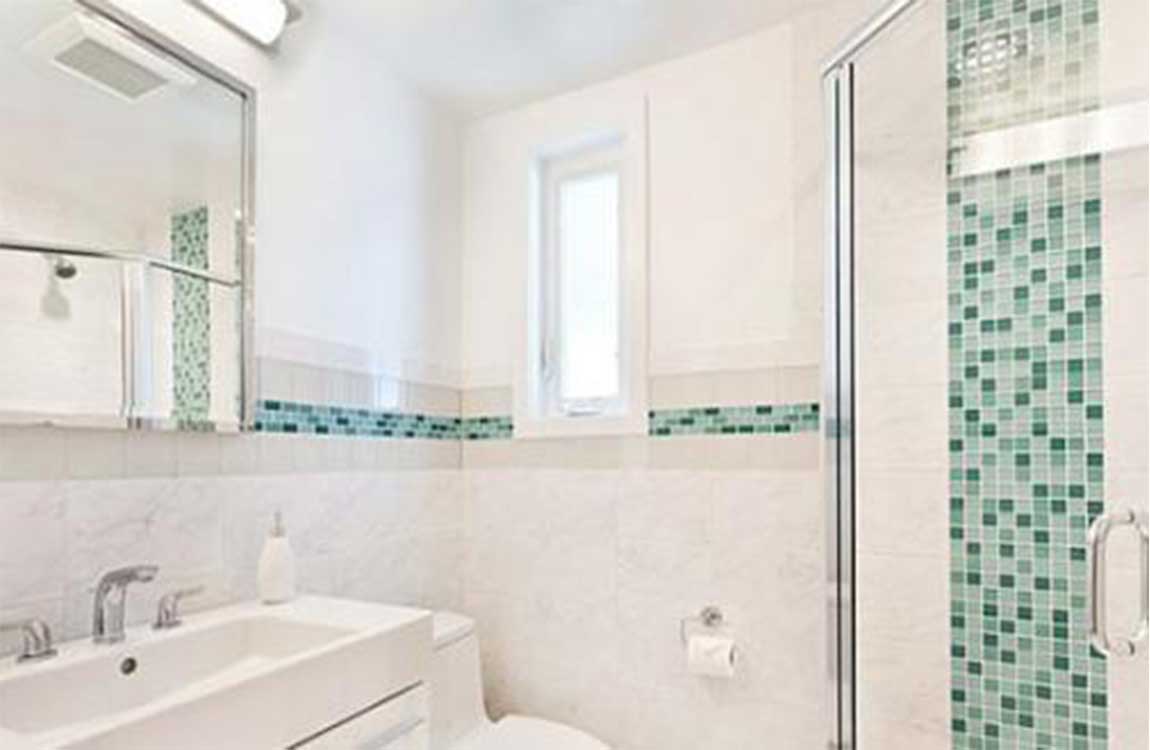
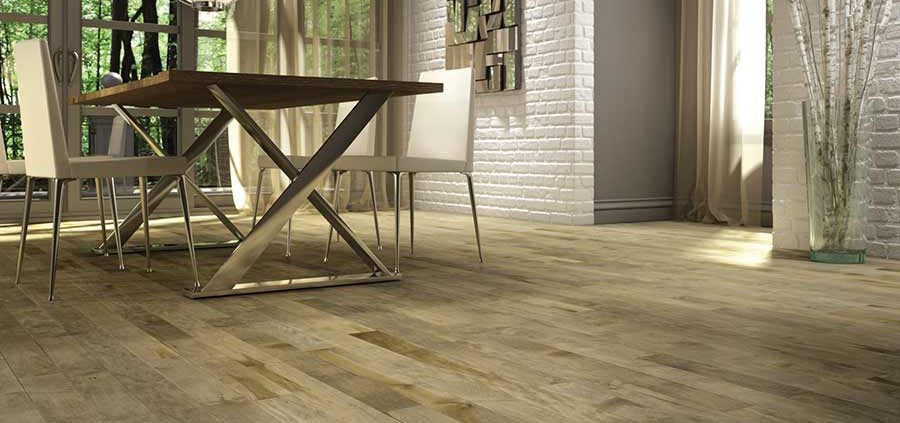
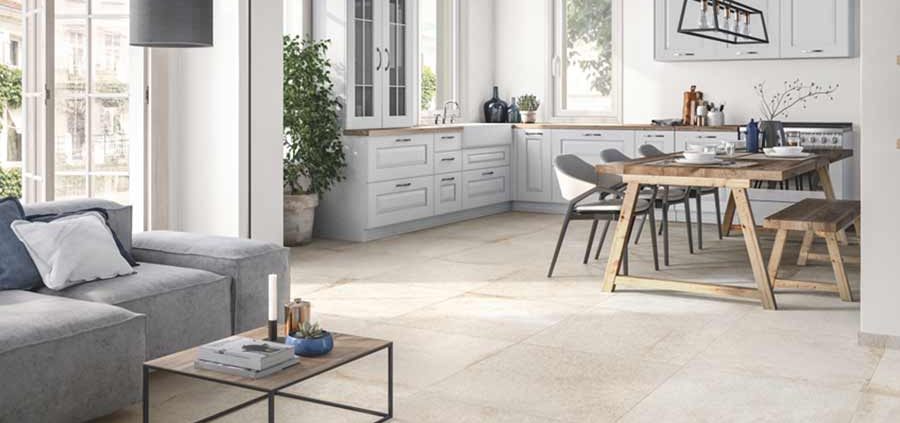
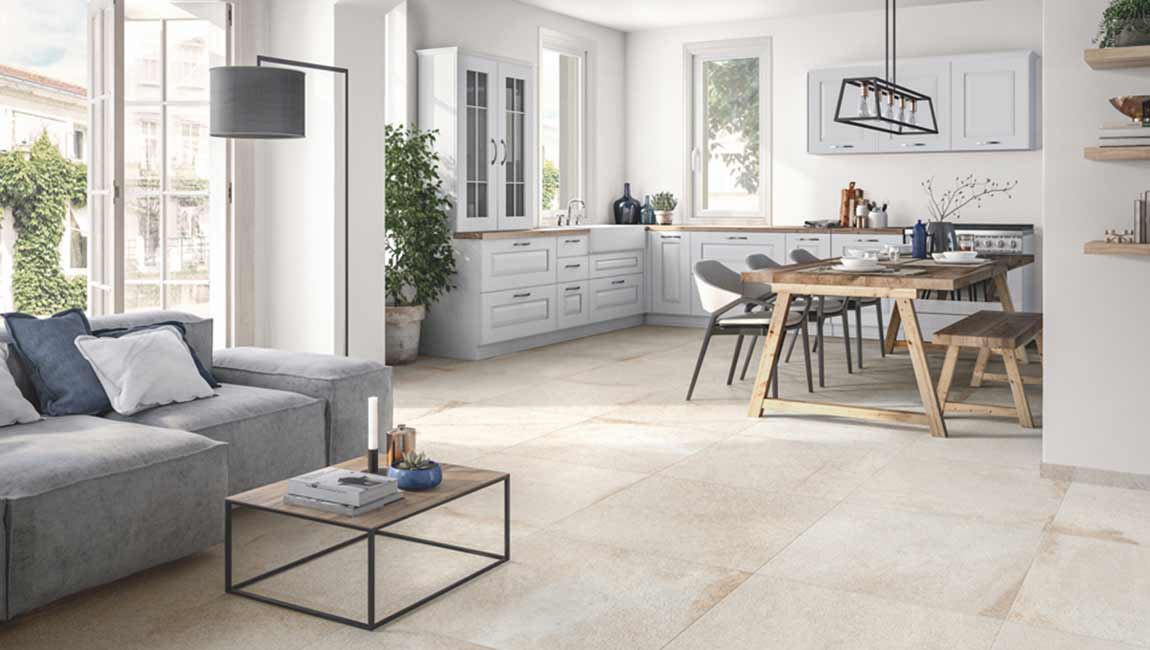
Reapply wax to the floors regularly. Wooden floors should have an additional layer of wax added once every six to twelve months. Vinyl floors should be waxed every six months, as should sealed ceramic or stone floors. Don’t use a soaking mop, and never mop waxed hardwood. The wax seal is not watertight, so the water could damage the wood.
Wipe up spills with a damp paper towel instead. Vinyl and other non-wood surfaces can be cleaned with a damp mop, not a soaking one. This does not apply to wood treated with polyurethane, which can be mopped with a mop dampened by a mixture of one quart (1 liter) water and 1/4 cup (60 mL) vinegar.
Buff or polish the floor if the shine fades. Use a terry cloth or buffing pad to polish the floor if it begins to get dull. This shouldn’t be necessary for no-buff wax. Sand or scrub off part of the wax if it becomes yellowed or discolored. If you don’t want to do this manually, use a floor machine with a light scrubbing pad just strong enough to remove a small portion of the wax.
You should apply a new layer or two of wax after removing some to create a strong protective layer again. This should not be required for several years at least if your floor was waxed properly. Buff the floor if it the wax requires it. Many waxes are no-buff and will remain glossy with no further effort.
Others require polishing with a buffing pad or burnishing machine. If you don’t want to track down specialized equipment, simply use a clean, dry terry cloth towel to polish your floor with a circular motion. Tie the towel around a dry mop head and you don’t have to be on your hands and knees. A buffing pad can be attached under the brush of the floor machine and used to buff the floor.
https://baranaceramic.com/wp-content/uploads/2019/10/Caring-for-a-Waxed-Floor-2.jpg7501150administratorhttps://baranaceramic.com/wp-content/uploads/2017/01/logo-3.pngadministrator2019-10-23 08:00:102019-10-24 07:49:54How Caring for a Waxed Floor?
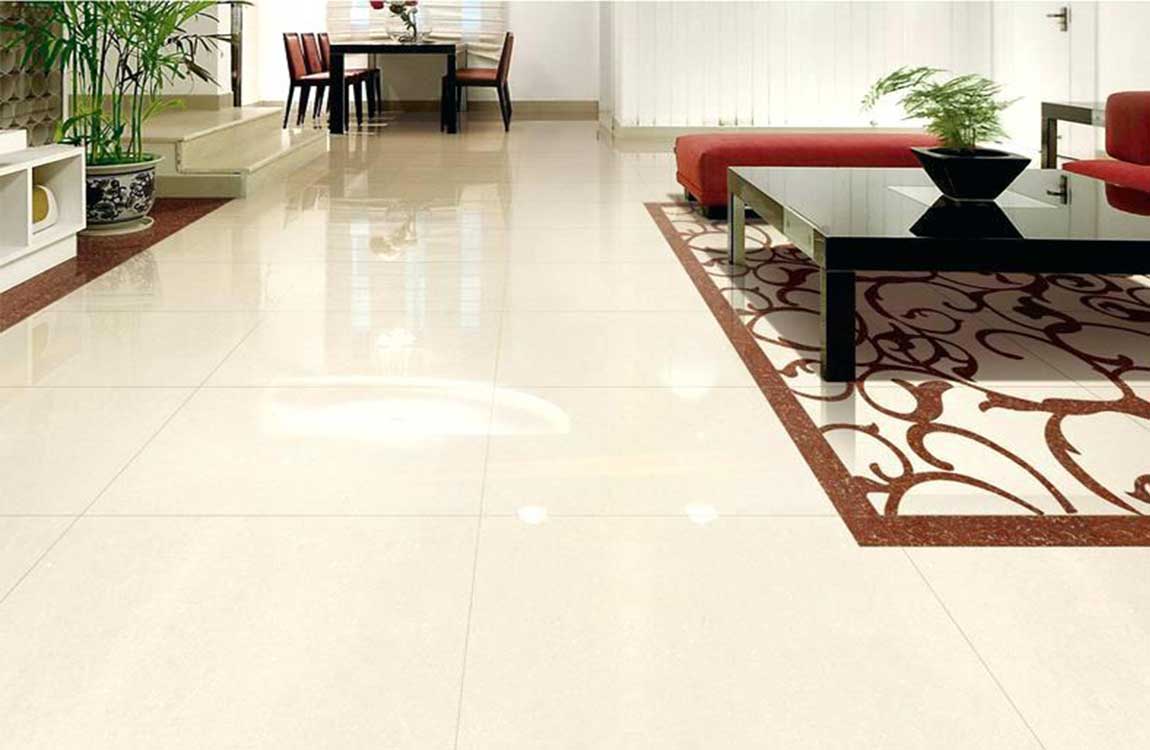
Choose a scrubbing solution. Grout, especially between floor tiles, gets especially dingy and dirty over time. Depending on the severity of your grout discoloration, you will need to use a different cleaning solution. For mild discoloration, use a combination of baking soda and hydrogen peroxide to form a paste. For more severe discoloration, use an oxygen bleach to whiten your grout.
Do a preliminary clean. In order to avoid extra work when you really start scrubbing, do a mild clean down of your grout prior to deep-cleaning it. Use a mixture of bleach and water to kill mold and mildew, and wipe off any grime or dirt that might be present on the surface.
Apply your cleaner. Working in small sections of tile/grout (try 1sq. ft. at a time), apply your cleaner to the grout. Leave it to set for 3-5 minutes, as this will make the scrubbing much easier.
Start scrubbing the grout. Use a brand new toothbrush (electric is preferable) to scrub away the dirt and discoloration on the grout. This can be relatively time consuming, so don’t give up if at first you don’t succeed. Use fresh water and a rag to wipe off the cleaning residue, and apply another coat of your cleaner if necessary.
Continue cleaning your grout. Work your way outwards from your starting point, using the aforementioned process. Add cleaner to small sections, let it set, and scrub away until bright, clean, and shiny grout can be seen underneath.
https://baranaceramic.com/wp-content/uploads/2019/10/Cleaning-Your-Grout-4.jpg7501150administratorhttps://baranaceramic.com/wp-content/uploads/2017/01/logo-3.pngadministrator2019-09-27 08:00:012019-10-10 09:26:17How Cleaning Your Grout?
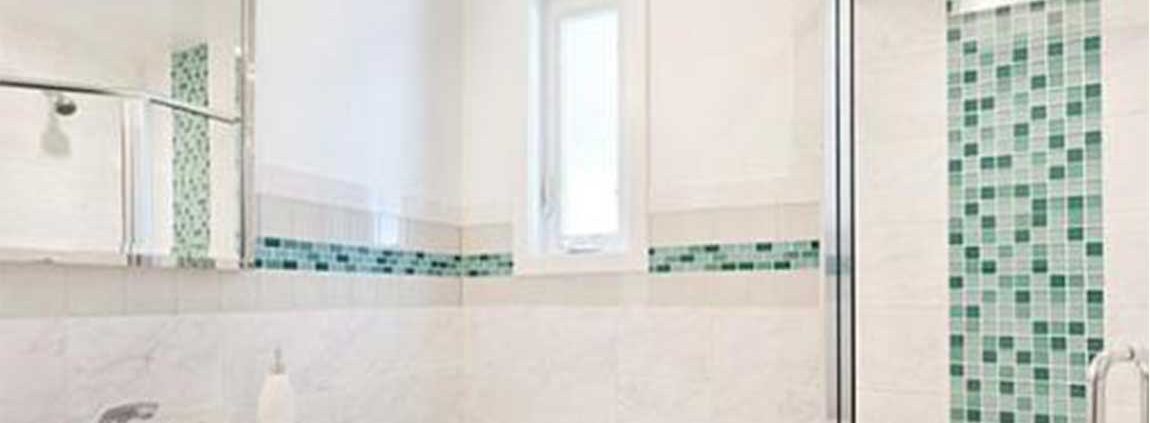
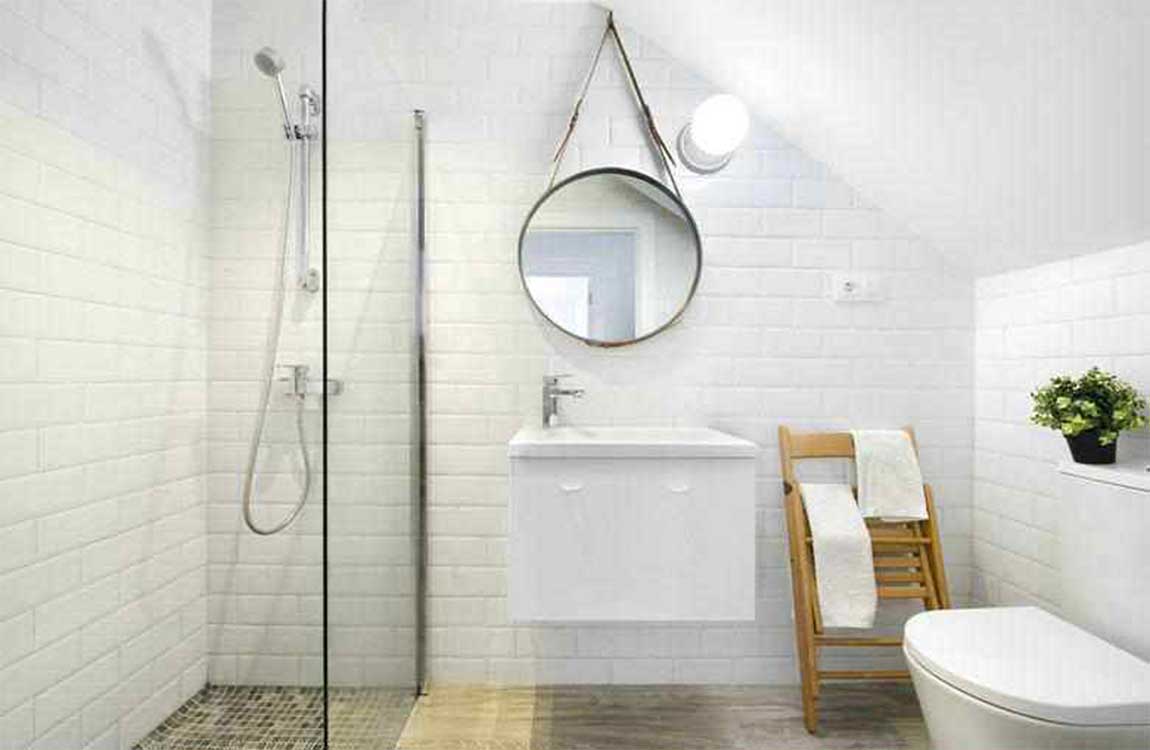
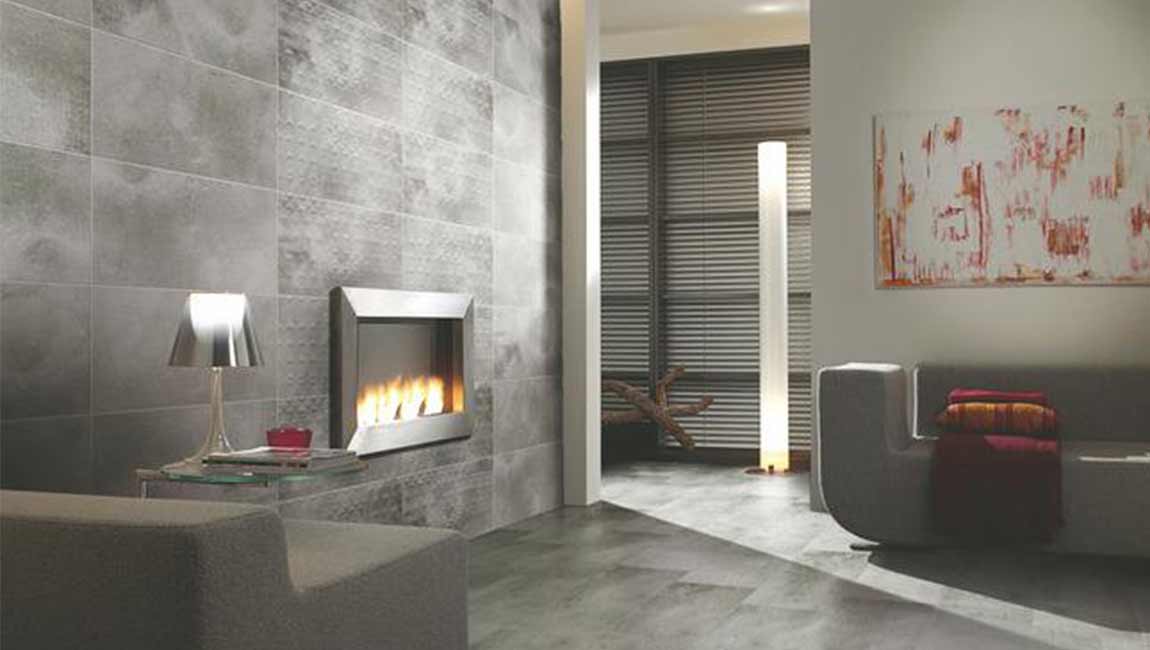
Try water alone for mild mildew. If you clean regularly, mildew is probably mild. A small film of mildew covering grout does not require special cleaners. For this mildew, stick to simply scrubbing water between the tiles. This should be enough to get rid of unwanted mildew. If mildew does not come out with water alone, you may need a stronger cleaner.
Use bleach for intense build up. Mildew that is built up over time requires a cleaner. Bleach is the best course of action to remove mildew. You can buy bleach online or at a local department store. As bleach is dangerous if ingested, make sure to store it in a safe place away from children and pets. Wear gloves when handling bleach. Mix your cleaning solution. In a bucket, mix three parts water with one part bleach.
The precise amount of bleach and water you need depends on how much mildew you’re cleaning. Make sure to mix bleach in a well-ventilated area. Spritz on your solution. Place your bleach solution is a spray bottle. Spritz a liberal amount of the solution over tiles, focusing on where you see built up mildew. Let the solution sit for about 15 minutes before continuing with the cleaning process.
Use an ammonia solution. Mix 3.5 cups (828 milliliters) hot water, ¼ cup (21 grams) baking soda, 1/3 cup (80 milliliters) ammonia, and ¼ cup (60 milliliters) vinegar. Pour the mixture into a spray bottle. Wait 60 minutes, then spray the grout you wish to clean. Use a scouring sponge to remove the dirt from the grout. Wipe the grime away with a damp rag.
https://baranaceramic.com/wp-content/uploads/2019/10/Choosing-and-Applying-Your-Cleaner-1.jpg7501150administratorhttps://baranaceramic.com/wp-content/uploads/2017/01/logo-3.pngadministrator2019-09-23 08:00:362019-10-10 09:31:32How Choosing and Applying Your Cleaner?
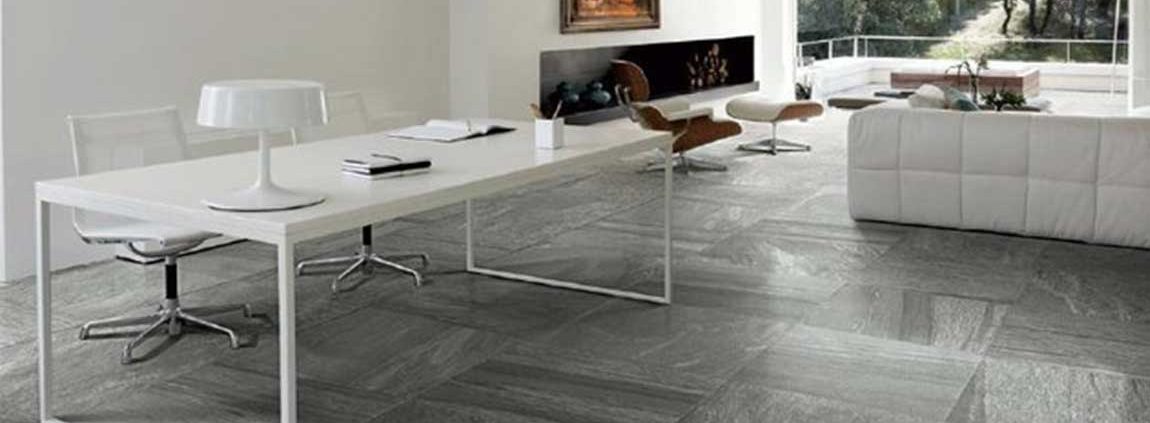
Avoid cleaning with abrasive materials. Never clean your solid stone tiles with anything that’s abrasive. These can scratch and damage the tiles. When making or buying cleansers, avoid: Hard bristle brushes, Vinegar or lemon juice, Products with acid cleanse.
Trowel some thin-set onto the back of the tile and spread it with a notched trowel. This process is called “back buttering.” Apply mortar to the backer board along with back buttering and then set the tiles on top of that. It’s a lot cleaner, too!
Be sure not to apply too much mortar to the back of a tile. You only need a little in each corner and a little dab in the middle for back buttering. More isn’t necessarily better when it comes to thin-set. Keep in mind that back buttering is only necessary when you are using a larger tile (8″ x 8″ or larger) and you only need to add a little dab of thin set mortar to each corner.
Set the first tile in the middle of the wall (or floor). This will create a pleasant visual effect and allow each tile that is placed beside it on either side seem centered. After back buttering, simply press the tile onto the backer board and apply pressure to make sure that the mortar adhered properly to both the tile and the backer board. Then, give the tile a little twist and tap each one with a rubber mallet, especially the floor tiles.
Wipe away any excess thin-set mortar after pressing the tile onto the backer. Although you’ll be grouting and caulking between the tiles, it’s best not to leave any thin-set on oozing out from the sides of the tile. Dig out any oozing thin-set that you notice. Simply wipe away excess thinset with your finger or a Q-tip.
https://baranaceramic.com/wp-content/uploads/2019/07/How-to-Cleaning-tile-5.jpg7501150administratorhttps://baranaceramic.com/wp-content/uploads/2017/01/logo-3.pngadministrator2019-07-25 08:00:212019-07-23 10:28:04How to Cleaning tile?
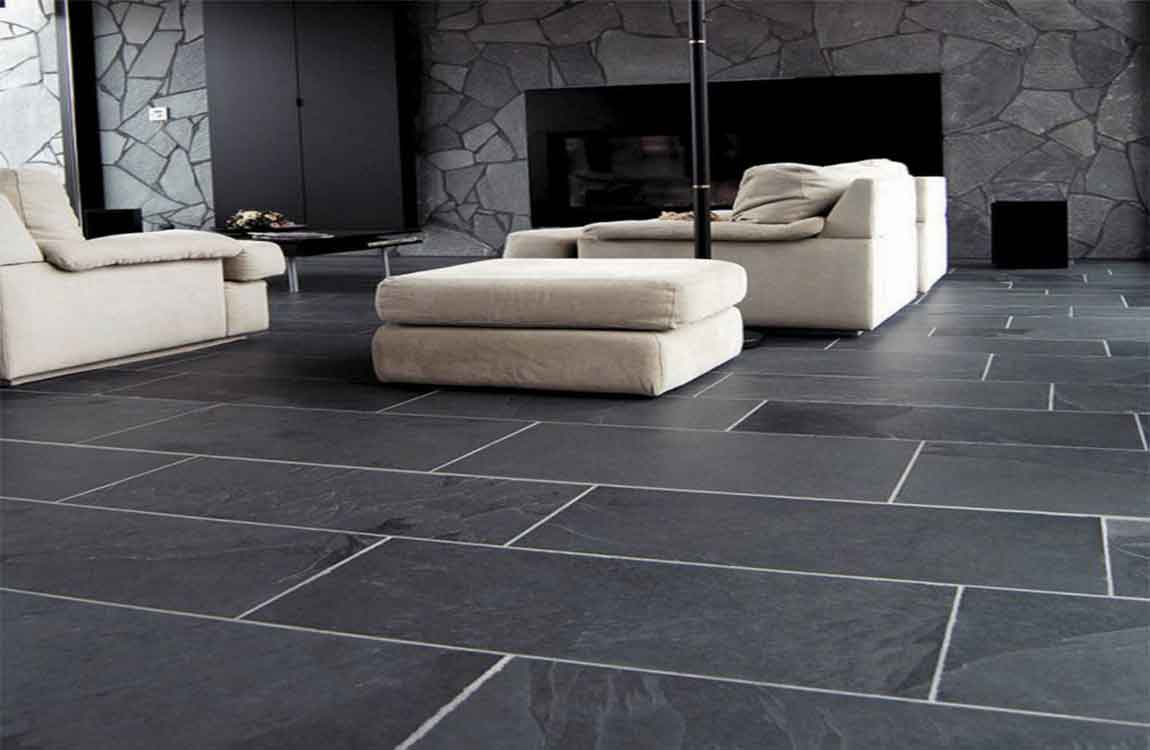
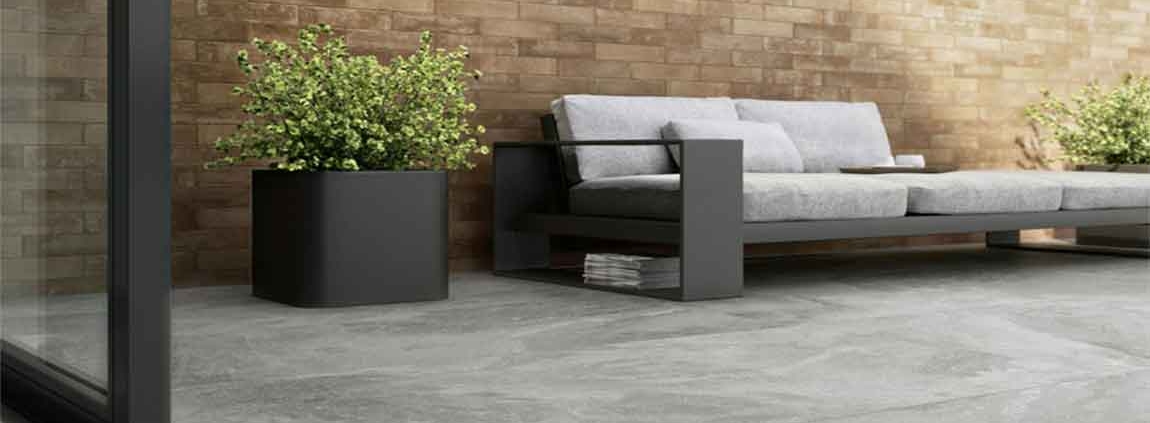
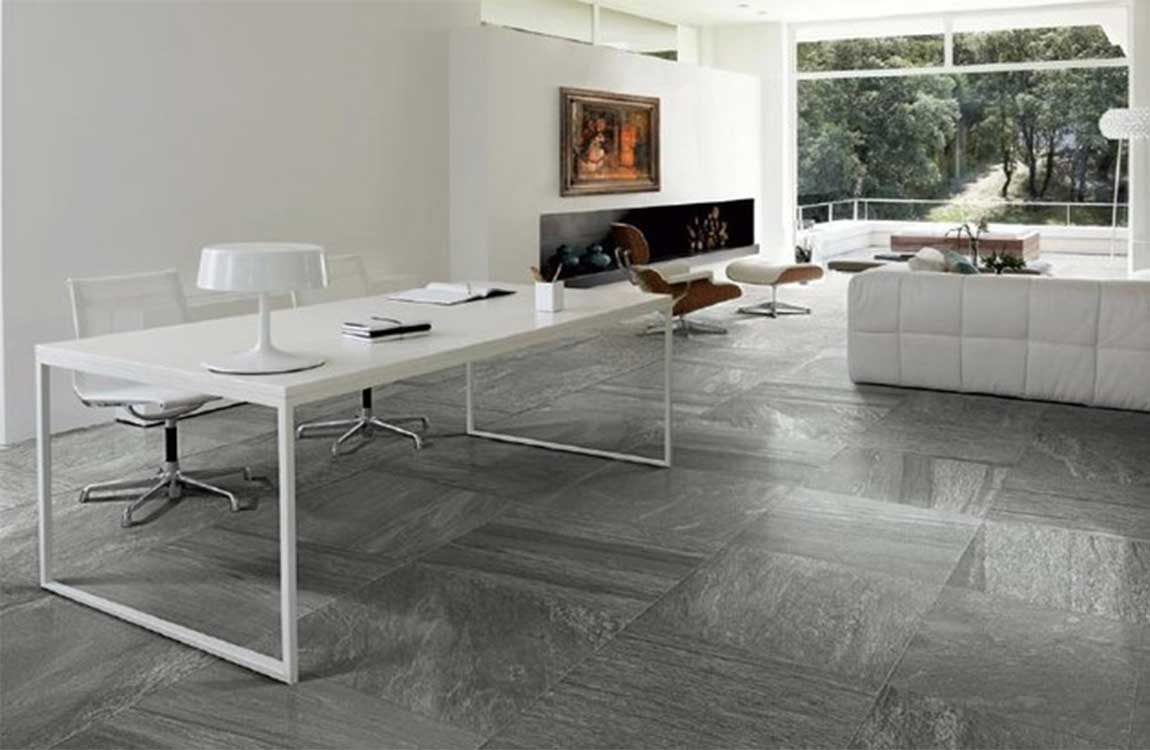
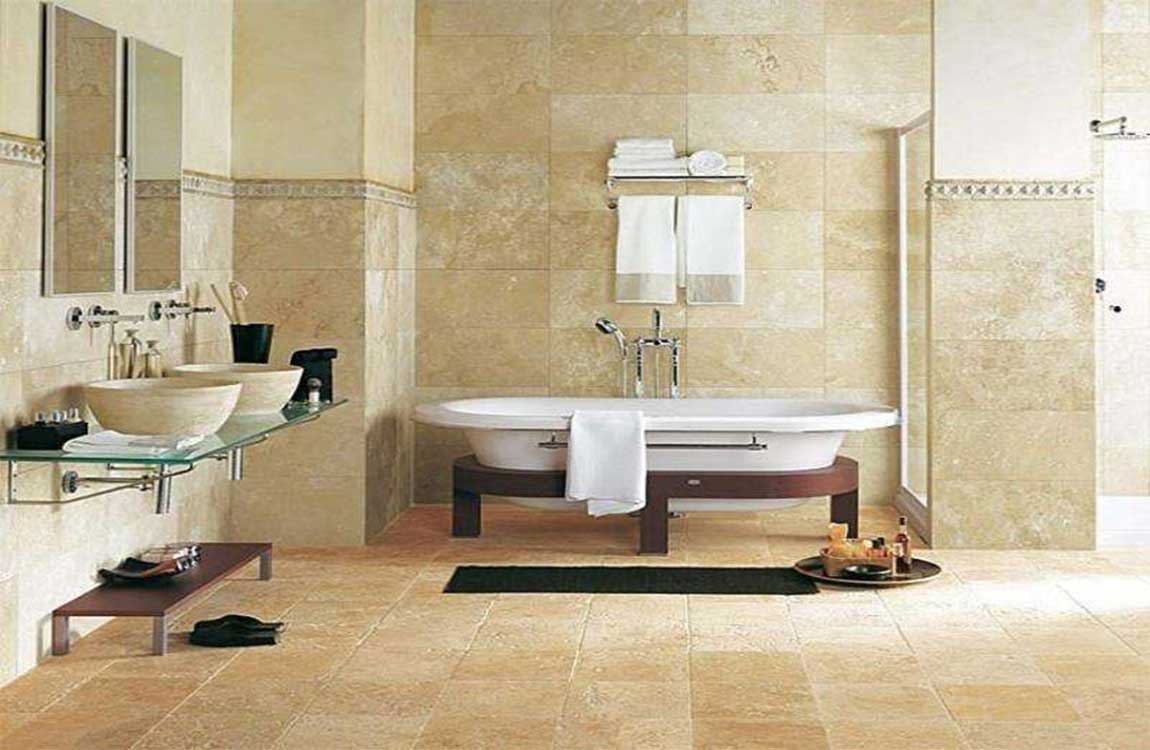
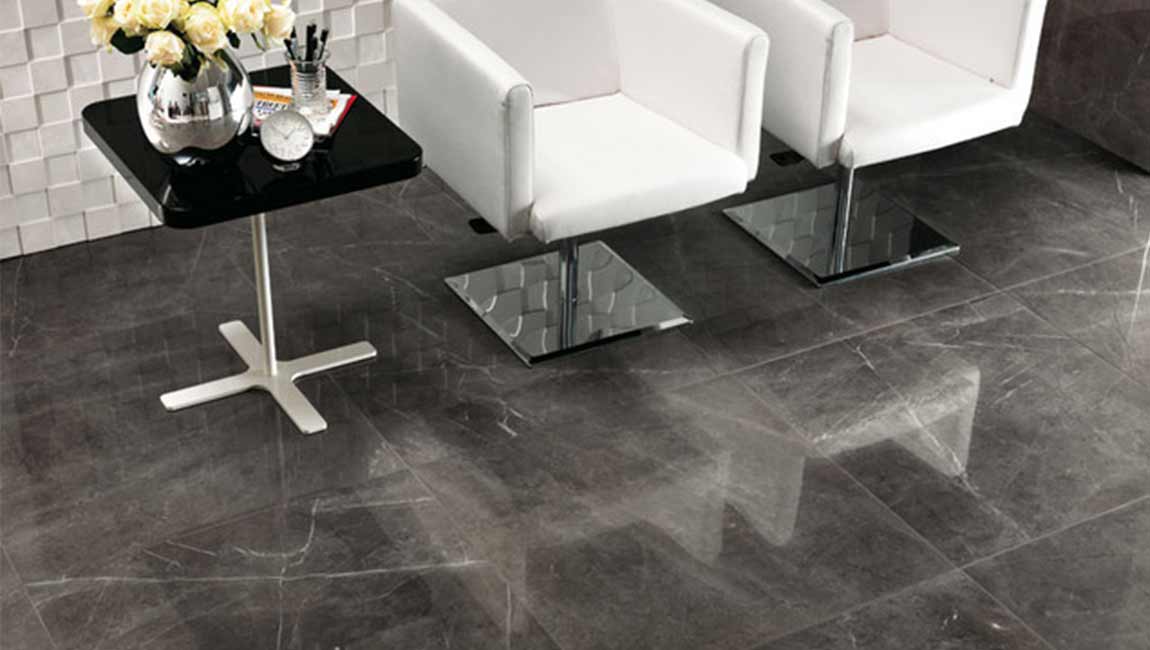
Dry mop solid stone tiles every day or two. Dry mop your tiles every day or as soon as you notice dirt or debris. The dry dust mop will prevent sand and grit from rubbing against the tiles which can cause scratches. You should dry mop if your tiles are made of:Granite, Slate, Limestone, Marble, Sandstone.
Wash the tiles with soap and water. Fill a 5 US gal (19 L) bucket with water and a few squirts of mild dish soap or stone soap. Dip a mop into the soapy water and wring it out. Mop the tiles in small, overlapping circles to remove the dirt and prevent streaking.
Choose a soapstone with a pH level of 7 or try to find a soapless cleanser since it won’t leave streaks. If you’re using dish soap, choose one that’s phosphate-free and biodegradable.
Identify if you should use a bleach solution. To remove algae or moss, clean the tiles with a bleach solution. If your solid stone tiles are near a pool, patio, or hot tub, wash them off with clean water. Pour 2 gallons (7.6 L) of water into a bucket and stir in 4 tablespoons (59 ml) of bleach. Use a sponge or mop to wash the area with the mild bleach solution.
Rinse and dry the tiles. If you’re cleaning a large space, take a garden hose and rinse the tiles with clean water to remove any soap residue. If you’re cleaning a small area, you can dip the mop in clean water and wring it out. Mop over the tiles so they’re rinsed with the clean water. Wipe the tiles with a soft cloth until they’re dry and let them air dry completely.
https://baranaceramic.com/wp-content/uploads/2019/07/How-Cleaning-Solid-Stone-Tiles-5.jpg7501150administratorhttps://baranaceramic.com/wp-content/uploads/2017/01/logo-3.pngadministrator2019-07-18 08:00:302019-07-15 10:47:16How Cleaning Solid Stone Tiles?
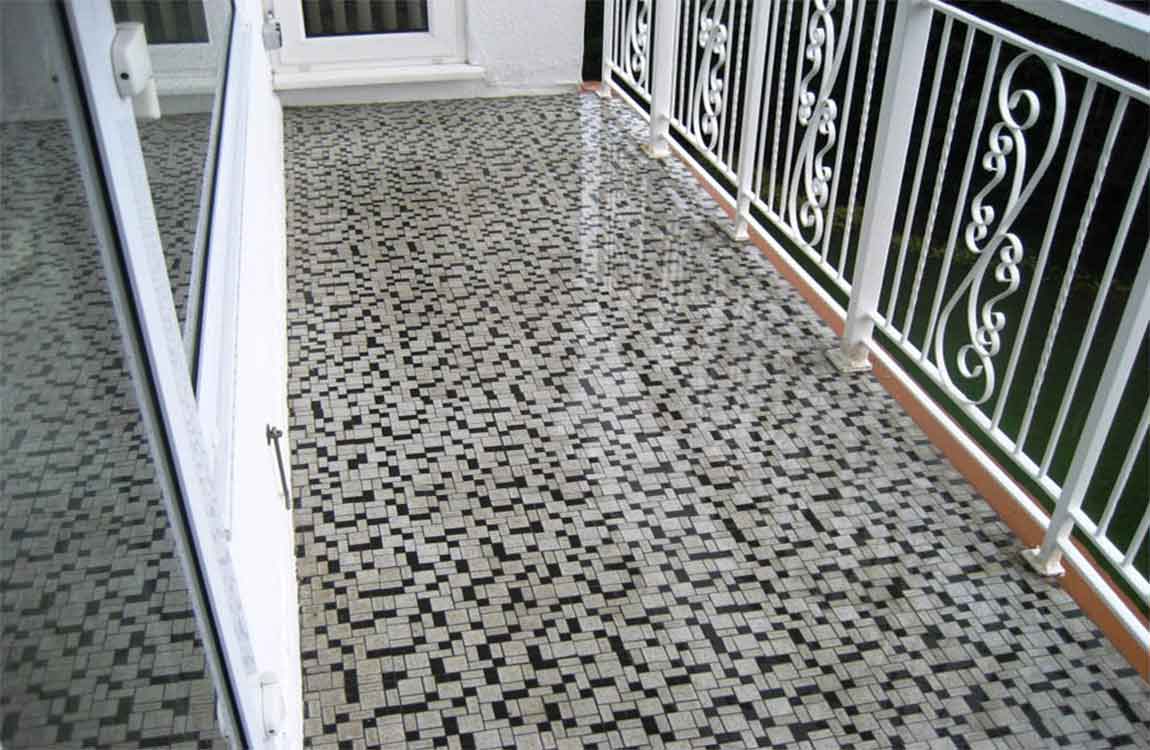
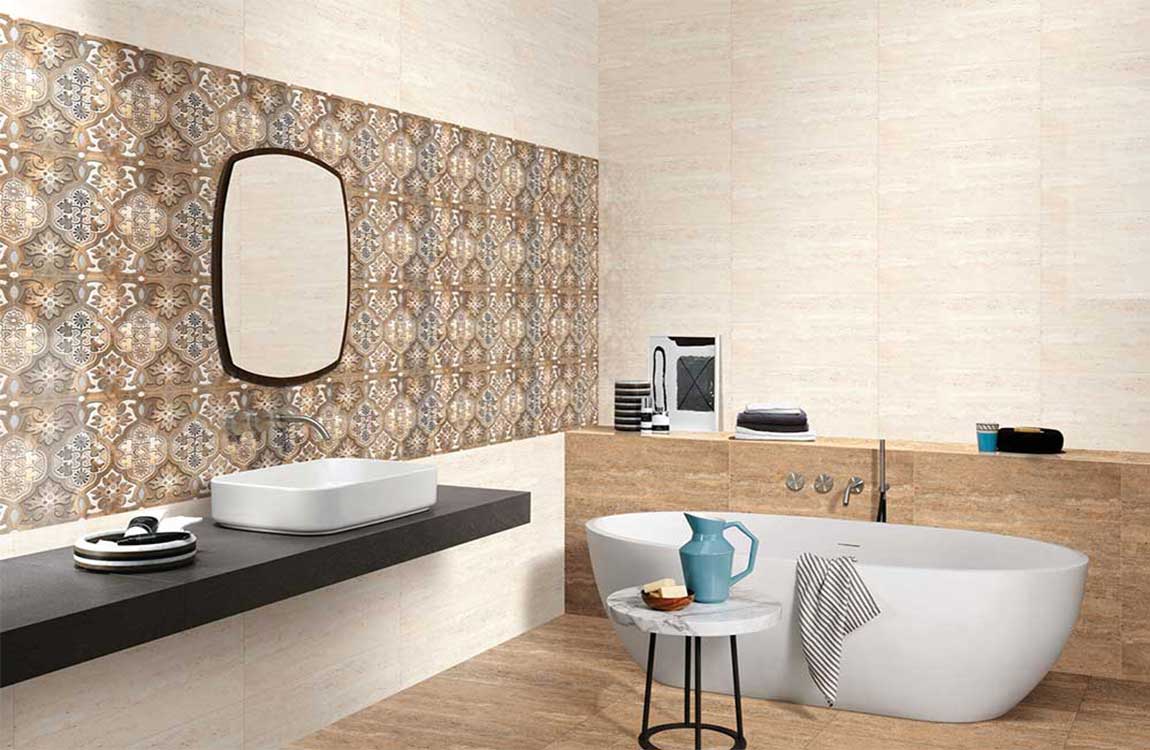
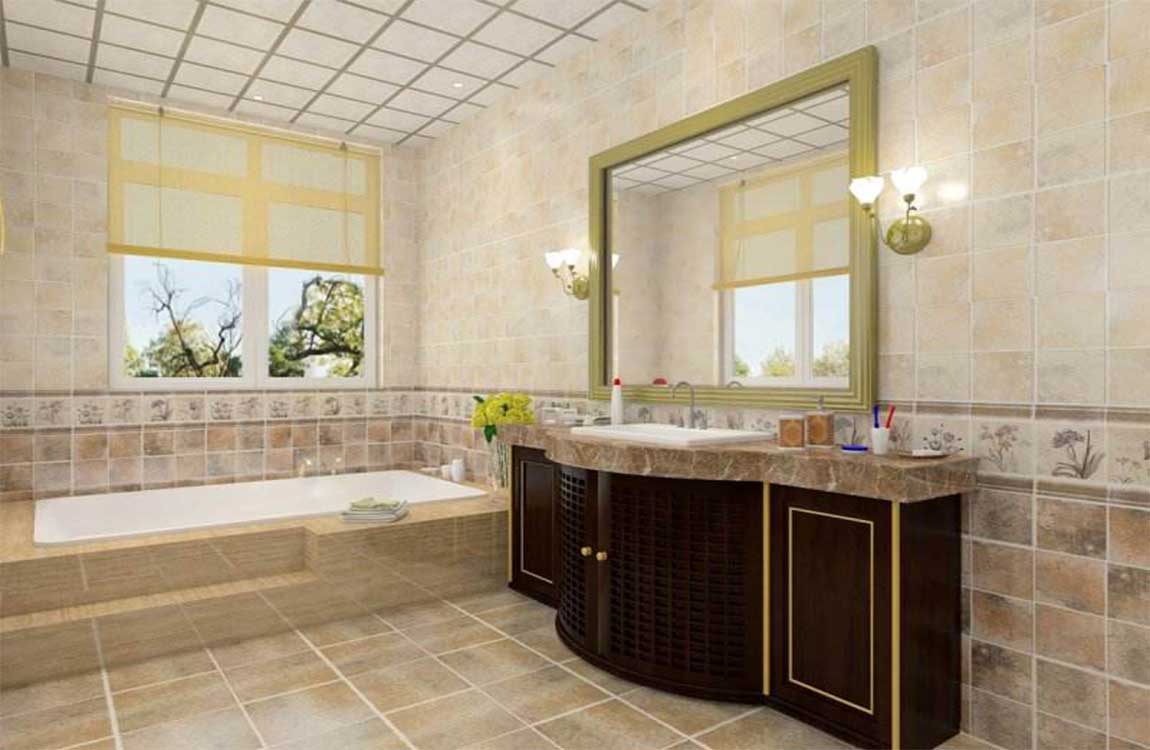
Sweep or vacuum the tiles at least twice a week. Maintain your porcelain tiles by getting into the habit of sweeping your tiles at least twice a week. Use a dry dust mop or a broom with soft, nylon bristles. Never use brushes with hard bristles or a broom with stiff bristles, as this can damage the tile.
You can also vacuum the woodtiles twice a week to remove any dirt or debris. Use a flexible, multi-surface vacuum cleaner to suck up the excess dirt. Be sure to vacuum in corners and areas where the subwaytiles touch the wall. These spaces are often forgotten,leading to a build up of excess grime.
Clean up any spills right away. If there are any spills on the porcelain tile, you should make sure you wipe them up right away. Use a microfiber cloth to clean up spills with hot water. You may also use a water and vinegar solution to clean up big spills on the wall tile. Never use steel wool on the tiles to clean up spills or to remove stains. The steel wool can cause rust stains to develop in the grout between the tiles.
Do not use bleach or ammonia on the tiles. Make sure you do not use cleaning products that contain bleach or ammonia on the tiles, as this can stain the grout and damage the coloring of the porcelain tiles. You should also avoid cleaners that contain coloring or dye, as this can stain the eleganttiles. Stay away from oil-based wax cleaners and detergents, as these can also damage your porcelain tiles.
Use rugs and floor mats. You can protect your porcelain tile floors by putting down floor mats and rugs. Rugs and floor mats are also good for keeping dirt and debris off the floor. You should also make sure there are felt pads on the bottom of the legs of any furniture. This will ensure the furniture does not scratch or damage the porcelain tiles.
https://baranaceramic.com/wp-content/uploads/2017/01/logo-3.png00administratorhttps://baranaceramic.com/wp-content/uploads/2017/01/logo-3.pngadministrator2019-07-04 02:18:072019-07-04 02:18:07How Keeping the Porcelain Tiles Clean?
Install the floortiles. Lay the tiles into the mortar and using the spacers, make sure you are running even with the chalk line. As you move on to the subsequent rows, use the spacers to keep your pattern square. Once a tile is set, try to avoid touching it again.
Clean the area. Wash the woodmarbletiles off with a damp rag as you go to prevent clumps of mortar from drying on the surface. As you get to the end of the room, make sure your cut pieces fit properly, and then leave the mortar to dry for the manufacturer’s specified length of time.
Apply grout. Mix the grout as specified on the package and begin liberally spreading it over the tile design using the grout float. Use the float to make sure that there are no low spots, and then use a damp rag to wipe any excess grout from the face of the tile size. Don’t worry at this point if the tile appears a little cloudy. Once the grout has had time to set up, repeat the process, again using the float to squeegee and extra grout off of the face of the tile.
Aside from being available in many different colors, grout comes in two varieties: sanded and un-sanded. The sanded variety is used when the gaps between your cementtiles is bigger than 1/8″. The sand gives the grout additional strength. Anything 1/8″ or smaller will be just fine using un-sanded grout. You will most likely find that you want to use the un-sanded grout in the smaller gaps because it finishes much smoother. Working sanded grout into a small gap can be frustrating.
One word of warning: if you are using marble tile on your floor, never use sanded grout! Make sure you install it with 1/8″ or smaller gap because you must use un-sanded grout with marble. The sanded grout will scratch the surface of the marble tile and it is not repairable.
https://baranaceramic.com/wp-content/uploads/2018/11/What-Should-We-Do-After-Apply-Tiles-to-Concrete.jpg600900administratorhttps://baranaceramic.com/wp-content/uploads/2017/01/logo-3.pngadministrator2018-11-02 07:04:542019-11-26 08:48:24What Should We Do After Apply Tiles to Concrete?
Installing ceramic tiles over concrete can help to create a more inviting indoor or outdoor living space. Prepare the concrete. Using an acid based cleaner or deep cleaner of your choice, clean the concrete and allow it to dry thoroughly. Examine the floor and see if there are any cracks or pits that need to be fixed and use the proper concrete repair kit to repair them.
A muriatic or other acid-based cleaner is usually the best way to completely clean the concrete prior to installing woodtile. Seal and level the concrete. Once your repairs have dried, take the time to seal the concrete. Once the sealer has dried, apply the concrete patch or leveler and make sure that you have a flat surface with no defects. The floor must be level or your tiles design and grout will form cracks.
Cleaning the concrete should be done before adding a floor leveling compound. A sodium silicate or lithium silicate based sealer will help to waterproof and strengthen the concrete. Because silicates work below the surface, they won’t interfere with adhesion.
Plan the tile layout. Before installing the smalltile it is a good idea to lay our your design. Pre-plan which and how many pieces of tile have to be cut and where the cut marbletile will be placed. Chalk lines will become very helpful so make sure you mark the floor.
Mix the mortar. After you have decided where you want to begin, follow the instructions provided by the manufacturer and begin to mix the mortar. Don’t mix too much in advance, as it will begin to set up on you before you can use it. Using your grooved trowel, begin spreading the mortar over a small area. Never spread out more than what you can cover with three or four floortiles at a time.
Different kinds of tile require different types of mortar. Ask the sales representative who sells you the glazed rustictile to help you choose the right one. A grooved trowel will be necessary to spread the mortar. They are available with different sized grooves, so be sure to read the package directions on the mortar to ensure that you buy the right size.
https://baranaceramic.com/wp-content/uploads/2018/11/How-to-Apply-Ceramic-Tiles-to-Concrete.jpg600900administratorhttps://baranaceramic.com/wp-content/uploads/2017/01/logo-3.pngadministrator2018-11-01 08:04:182019-11-26 08:48:36How to Apply Ceramic Tiles to Concrete?
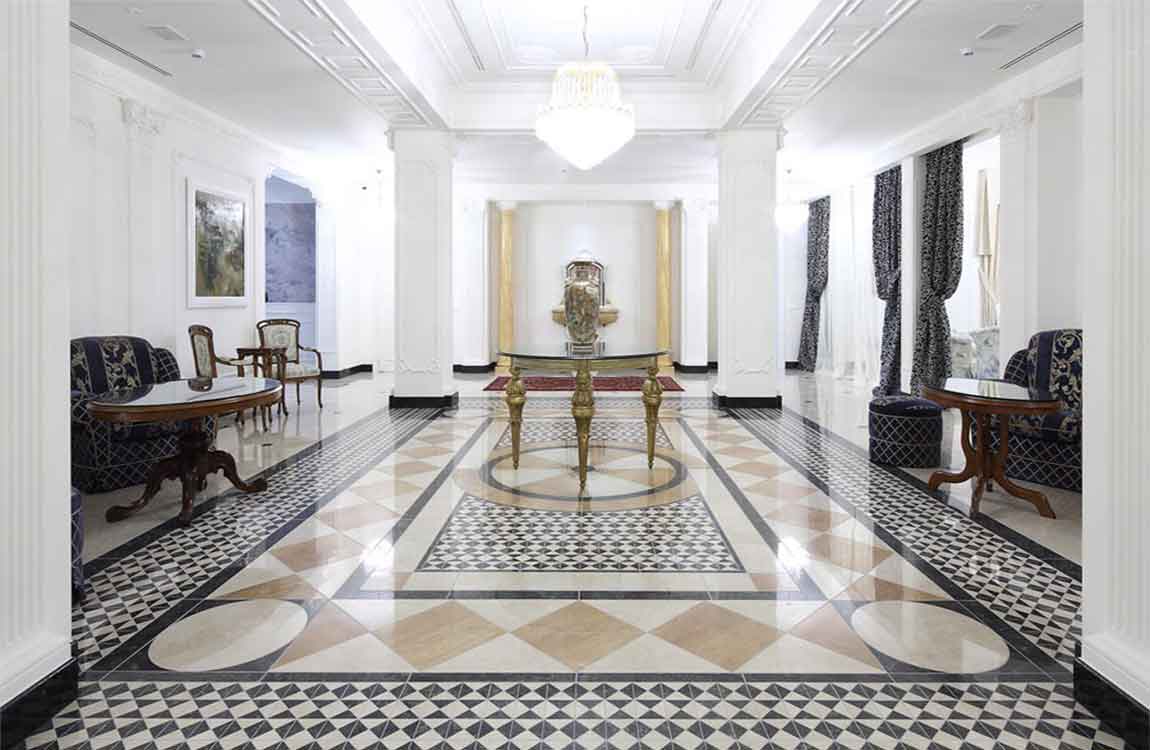
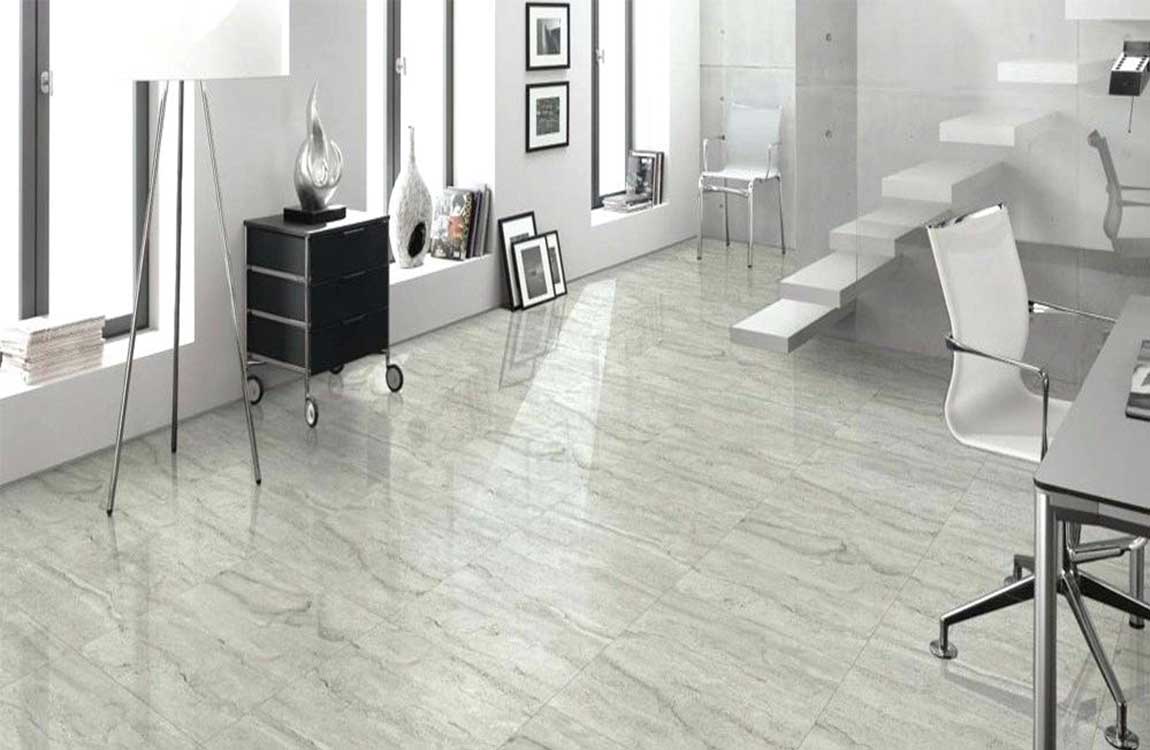
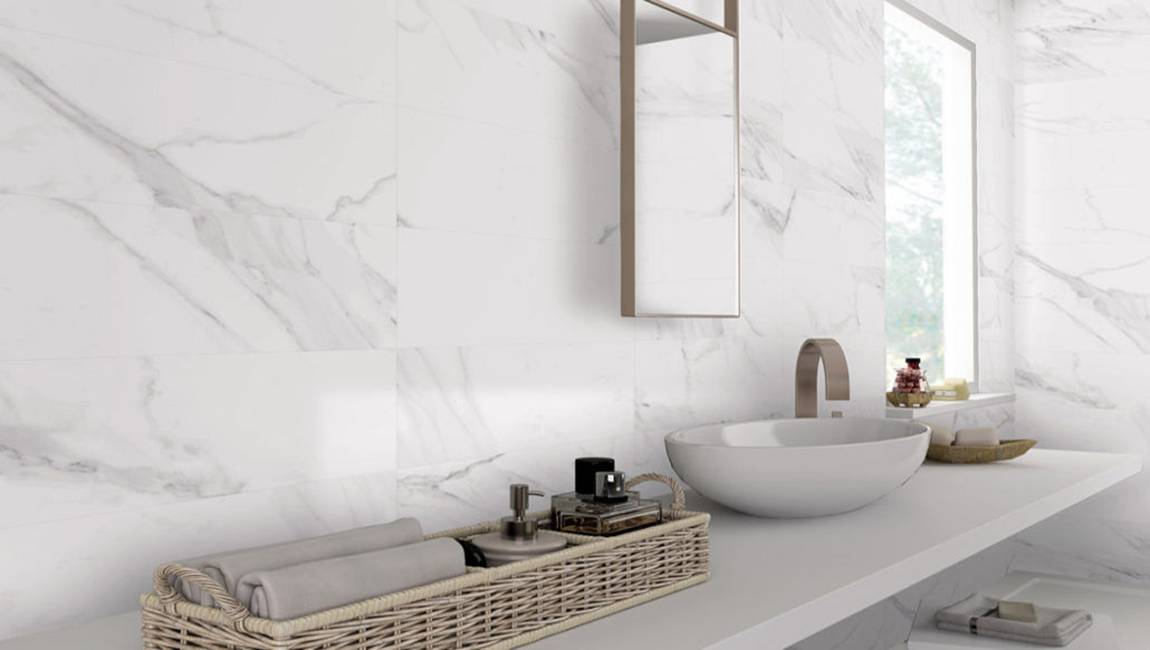
When the family decoration is purchased, many ordinary consumers are entangled in the color and lustre of the brick. Generally, they will choose the brick products with white brick. Although the color and quality of most tiles are not proportional to the quality, the normal quality of the tiles can not be determined by the color and lustre of the bricks, but the undeniable point: White tiles with large size tiles have great competitive advantages in product sales.
In the case of fierce market competition and serious product homogenization, the manufacturer makes a distinction between the quality of the product, and the selection of the white tile material and the iron removal process are more complex. Due to the related marketing, the low degree of quality of tile itself has created the effectiveness of marketing, resulting in general consumers blindly being followed and misled. Some ceramic manufacturers sell their inferior quality and color and lustre ceramic tiles in the market. For a long time, the ceramic tile products with deep color and lustre have left a very bad reputation in the market.
Some ceramic tiles have high requirements for whiteness, such as micro – powder tiles. It is necessary to improve the whiteness of white lines and transparency of transparent materials to improve the sense of the product. There are several ways to increase whiteness: One is to increase the amount of zirconium silicate; The two is to reduce the content of iron oxide in raw materials (white and transparent materials), so as to improve the permeability of products.
The most important factor affecting whiteness of ceramic floor tile is the content of ferric oxide and titanium dioxide in raw material, especially iron oxide content.
The raw materials for producing ceramic bath tile are mainly divided into two parts, feldspar raw materials account for about 80%, and clay materials account for about 20%. Generally, the content of ferric oxide in raw feldspar material is less than 0.2%, and the content of feldspar iron oxide in finishing (such as water mill) is less than 0.08%. The content of iron oxide in clay materials is about 1.2% ~ 1.8%, and the content of iron oxide in washed clay is about 1.2%.
The iron oxide in the green body is mainly carried by clay materials. In order to improve the whiteness of ceramic tile flooring, we must control the content of iron oxide in clay and choose refined clay. For example, the main indicators of ultra white washed clay produced by some manufacturers are: The content of iron oxide is less than 0.5%, generally around 0.4%, and the electric furnace is 90 degrees white, and the firing degree of kiln is 82 degrees. High strength and proper loss of ignition will not cause difficulty in forming or black heart when firing.
The main means to reduce the content of iron oxide is to select high quality mineral resources and two to remove iron from water.
After processing, the composite white iron oxide with low content and high strength meets the needs of tile production. However, it should be noted that some ultra white mud is very harmful to tile production when it is processed to increase whiteness and add a lot of quartz powder. Some of the northern clay with high whiteness and high fixed carbon content and large loss of burning loss is used as raw material. Although the clay whiteness of the synthesized clay is high, it is easy to produce black heart, and its strength is low, and it is not easy to form.
The whiteness of ultra white mud can not be examined solely, but also the brightness of the simulated products.
The general method of detection is: 70% of the billet was mixed with albite and 30% super white mud. After mixing ball milling, the cake was fired and the whiteness was measured in the furnace. The whiteness measured in this way is the whiteness reflected in the actual production. There is also a simple way to soak the burnt white mud cake into the water to see the change of whiteness after soaking. All iron oxide with high content of clay, whiteness of white mud super hard; low iron content, whiteness of generally not more than 10 degrees.
In addition to whiteness, mud mobility and forming strength are also important indicators of ultra white mud. Poor fluidity of mud will cause difficulties in ball milling. When the forming strength of the slurry is low, the product will crack easily.
The core index of ultra white water washing mud is: Low iron oxide content, high forming strength and whiteness after porcelain. Using ultra white mud, the production cost can be reduced and the production cost can be reduced without or less use of zirconium silicate, and the problem of excessive radiation caused by the use of zirconium silicate is also avoided.
https://baranaceramic.com/wp-content/uploads/2018/05/Is-the-better-the-whiter-quality-of-tile-1.jpg600900administratorhttps://baranaceramic.com/wp-content/uploads/2017/01/logo-3.pngadministrator2018-05-16 03:30:082019-09-03 07:23:12Is the better the whiter quality of tile?